Thursday, 28 February 2019

This week at Vera Lane Studio.

Hello everyone,

For today's Vera Lane Studio inspiration I have made two postcards. Postcards are great fun to make because they are not too large so not too intimidating. They are also great to make into a little 'Look-Book" with decorated cardboard covers and rings to keep everything together.

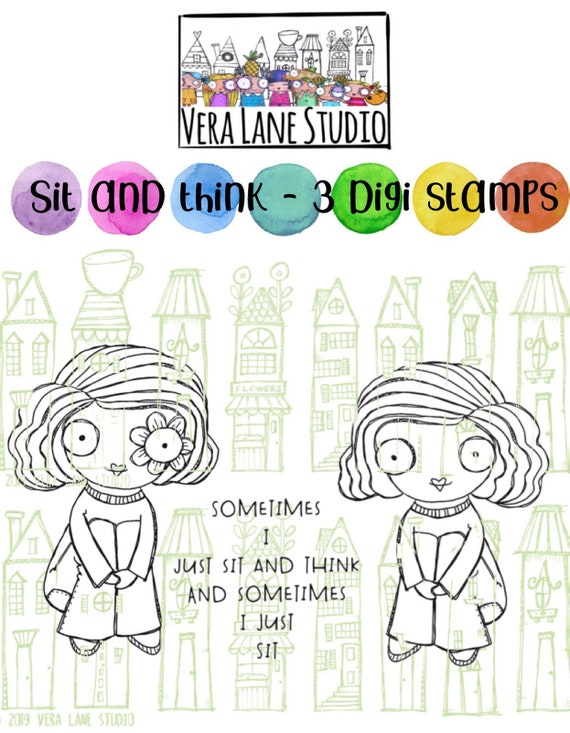
This first postcard was made with pattern paper and the newly released set "Sit and think". Isn't she cute !  I resized her, printed and coloured her. I then cut her out and adhered her in top of some washitape to ground her. The sentiment is from the same set.


You'll find her HERE

image 0

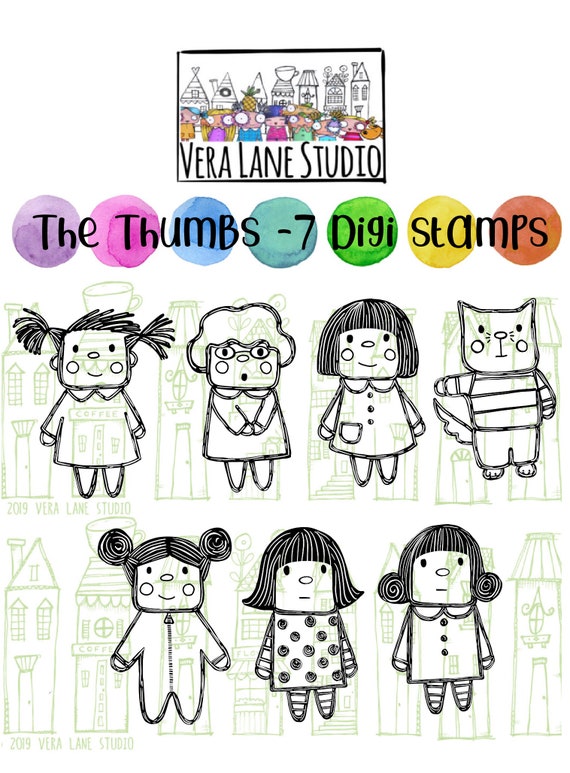
This one has the cat from the "Thumbs" set on it. I made the background on a piece of watercolour paper with Distress Oxide Inks. I also splattered some white paint on it and added some black lines. The cat was resized, printed, coloured and cut out. I added a snarky sticker for a bit of fun ! 


You'll find all the Thumbs HERE

image 0

Thank you so much for stopping by ! 


Saturday, 23 February 2019

Under the sea

Hello everyone,

For my AALL & Create project today,  I have made another 6 x 6 panel. I love making these because the size is pretty perfect for me. Not too big, not too small. Of course you could make this as big or as small as you want !


I love these 'Rubarb and Custard' colours and enjoyed making it although it almost landed in the bin when I messed up the edges and had to put a few more layers of paint on to hide my blunder ! lol

Anyway, here is how I made it:


I cut a panel measuring 6"x 6" out of thick white card stock. I then brayered on the yellow acrylic paint. I used all Amsterdam Acrylics for this project. Next I brayered on the pink and then put the stencil over it when it was still wet. I used a baby wipe to wipe away the paint through the stencil. This is a fab technique and I love doing it. 


Next, another two of my favourite things: I used this 'Digital Bubbles' stencil; I smeared Distress Oxide ink on it, sprayed it with water and printed it onto my panel. I then dabbed off the excess. It is very subtle but it is there. Next I brayered white paint over the top to tone everything down. 


Another favourite is heat embossing over paint. So, that is what I did. I stamped this fantastic stamp over the top of my panel using VersaMark ink and heat embossed it with white embossing powder. I love this effect. 


I also brayered brighter pink around the edges and added some modelling paste through this stencil which is called 'Rota Vitae'. I didn't like this bright pink and so the problems started... I added grey, black, didn't like it, doodling, stamping, didn't like that either so I went back in with light pink and white paints and it ended up a little lighter as you can see in the finished project photo. I like it much better now. 


I stamped the seahorses onto book paper, which is another favourite of mine ! I cut them out and did the same with the sentiments. 


And there it is. I added some stamping in grey along the left bottom and right top corners and doodled around the panel with a pencil, I also added some black splatters. I used a pink pencil to add some colour to the sentiment strips. 


A detailed photo.


And another, you can still spot a little of the grey and black mess under the pink paint. 


Here is the finished project with all the AALL & Create products I have used. 


I used the following stamps:
#137 - Underwater Wonders by Olga Heldwein
#58 - Scribble it by Autour de Mwa

Stencils:
#41 - Mickle Muckle by Autour de Mwa
#45 - Digital Bubbles by Autour de Mwa
#49 - Rota Vitae by Olga Heldwein

For more information about all the fabulous AALL & Create products and a list of worldwide stockists, please visit the website HERE.

Thank you so much for stopping by today !

Friday, 22 February 2019

Cheval

Hello everyone,

Every now and then I like to revisit old stamp sets and that is what I did today for Katzelkraft.
I made a mini artjournal spread:


This was great fun to make. I started with Distress Oxide Inks and a blending tool. I used Carved Pumpkin, Abandoned Coral and Fired Brick. I splashed some water over it to get it to oxidise. Next I used a stencil and gel medium to get some texture. I then added gesso with my fingers and with a brayer to accentuate the texture. I stamped the background and then stamped the horse and the word Cheval on book paper. I added a wing to the horse as well. I did add some shading to the horse and the wing and glued them onto the page on top of some washi tape. The rest of the washi tape is along the pages. The stickers are by Tim Holtz. 

I used the following stamp sets:
KTZ65 - Da Vinci Vitruve


Thank you for stopping by today ! 


Thursday, 21 February 2019

This week at Vera Lane Studio

Hello everyone,

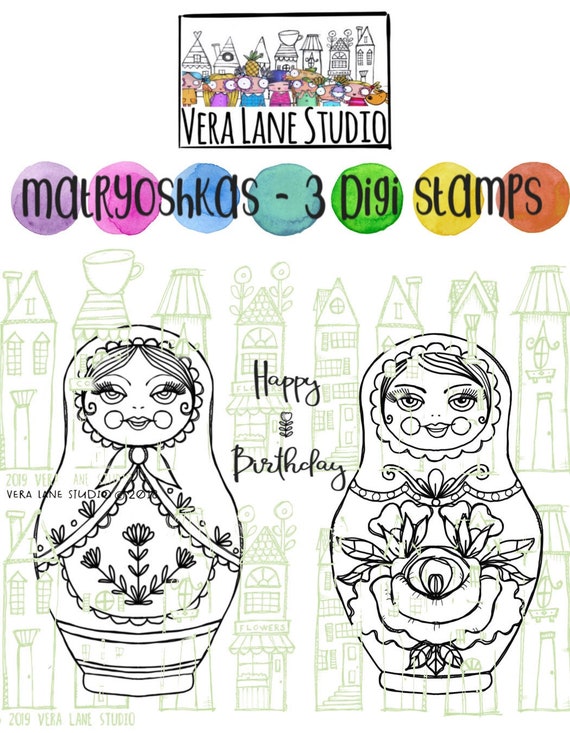
For Vera Lane Studio for today I have made a birthday card and a postcard.  For the birthday card I used the newly released 'Matryoshka'. There are two in the set. I coloured her with Copic Markers. I made a quick background with acrylic paint, a stencil and a gelli plate.


You'll find the Matryoshkas HERE.

image 0
For this postcard I have used the Wednesday release called "Thumbs". Isn't she adorable. The background is a gelli print from my stash. I added a chit chat sticker and a Clippings sticker both by Tim Hotz. 


You'll find this lovely girl and her friends HERE

image 0

Thank you so much for stopping by today ! 

Wednesday, 20 February 2019

Adventure awaits

Hello everyone,

Welcome to my blogpost where today I have a tag to share. I really love this colour combination and I come back to this time and time again. I tried to do it with Lindy's Inksprays but failed miserably so used Distress Oxide Inks instead (over the top). That worked out fine !


This tag was made with the following stamps:


I also used the following other materials:
Prima Art Basic Modelling paste
UmWow Studio stencil Dahlia
White gesso by Amsterdam
Lindy's Stampgang Flat Fabio Sprays
Distress Oxide Inks
Archival inks 

Thank you so much for stopping by today !


Saturday, 16 February 2019

Treasure Life

Hello everyone,

For today's AALL & Create project I have made a trio of ATC's. When I started this project I knew what stamps I wanted to use and that I wanted to make ATC's. Apart from that, I just played !


And here's how :


The Mixed Media paper I used was coloured with Lindy's Stamping sprays. I used the ones without sparkle for this. Next I used the 'Weathered Tiles' stencil and Distress Oxides in similar colours to add some interest. 


Next I cut the paper into three ATC sized pieces, making sure to pick the nicest bits. I then stamped the background using the same Distress Oxide inks and Archival ink in grey and black. 


Next I stamped the images I was going to use on the cards and also on another piece of MM paper. 


I added modelling paste which I later coloured whiter because I didn't expect it to dry this dull. lol I did try to colour it first with my Inktense pencils but I didn't like that. 


Colouring the images before cutting them out. 


Here you can see my attempt to colour the model paste. Not a success... I cut out the images and adhered them over the top of the stamp on the cards. I then matted the sentiments onto black card stock and added them to the cards too. 


I then mounted all three cards on pattern paper and made a little board to stick them on. I used more pattern paper to glue onto the cardboard to make it look a little nicer. 


A detail...


Another detail..


I hope you enjoyed my tutorial. 

I have used the following stamps:

#125 - For the record by Aida Domisiewicz
#137 - Underwater wonders by Olga Heldwein
#153 - Botanicals by Bipasha BK

I also used :

Stencil #59 - Weathered Tiles by Autour de Mwa

For more information about all the fabulous AALL & Create products and a list of worldwide stockists, please visit the website HERE.

Thank you so much for stopping by today ! 

Friday, 15 February 2019

A fortunate find

Hello everyone,

For my post for Katzelkraft I have a postcard to share today. I love making postcards, they are not to large or intimidating. In this case I have used pattern paper which makes it even easier. And be honest; who doesn't have a stack of age old pattern papers.. so use them.


I inked the edges of the paper with Distress Oxide ink and added some washi tape. Sherlock was stamped without his dog, coloured and cut out. I also stamped the clock from the accessoires set and did the same with that. I put it all together and found this sticker by Tim Holtz which I thought worked really well.. 

I used 2 stamp sets:


Thank you for stopping by today ! 


Thursday, 14 February 2019

This week at Vera Lane Studio

Hello everyone,

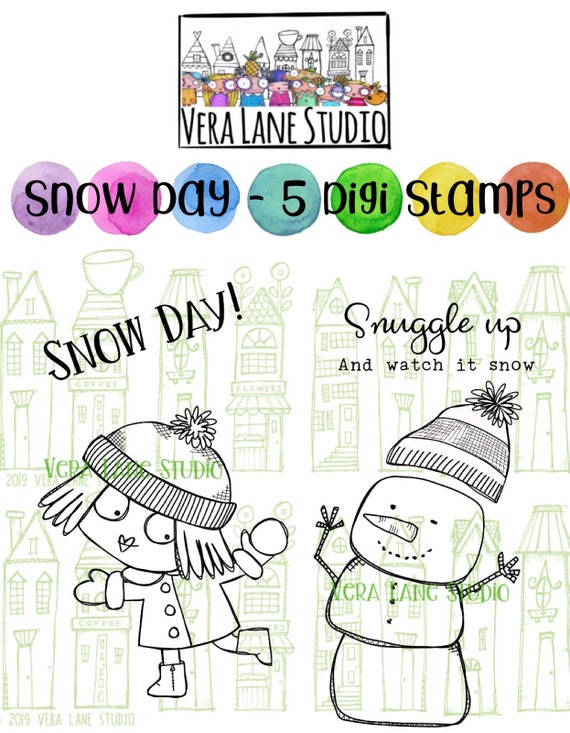
Happy Thursday ! For today's Vera Lane Studio post I have made a card and a bunting pendant. I couldn't resist to get old Miss Dee out again. She must be one of my all time favourites; probably because she reminds me of me... lol For the pendant I used the latest release called Snowday and apart from this adorable little girl there is also a snowman in the set.


I painted the pendant with blue paint and then stencilled the circles on it with a slightly darker blue. I then added some red paint with a brayer and some washi tape. I printed the girl, coloured her and cut her out. I adhered her onto the pendant on top of the sentiment. 

You'll find this lovely girl HERE

image 0


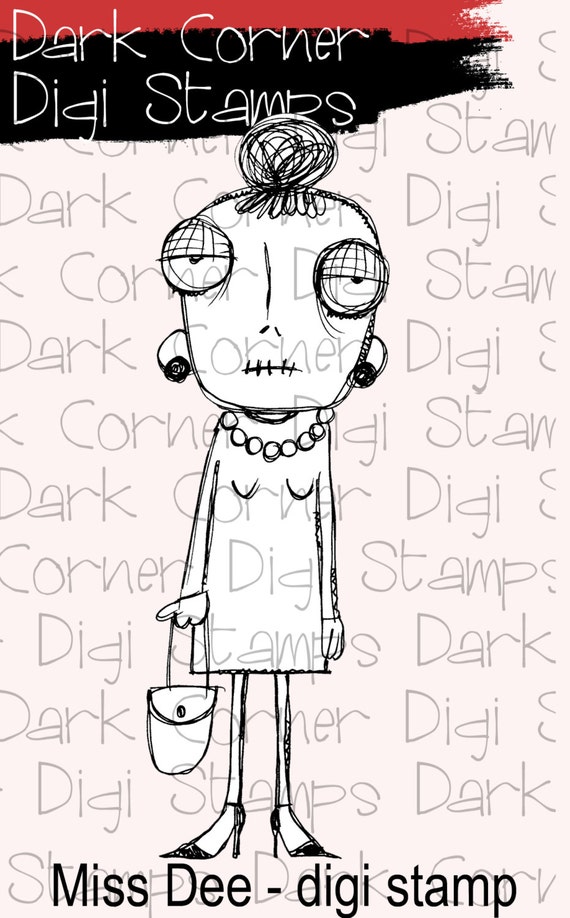
Miss Dee is here again too.. I love miss Dee. 


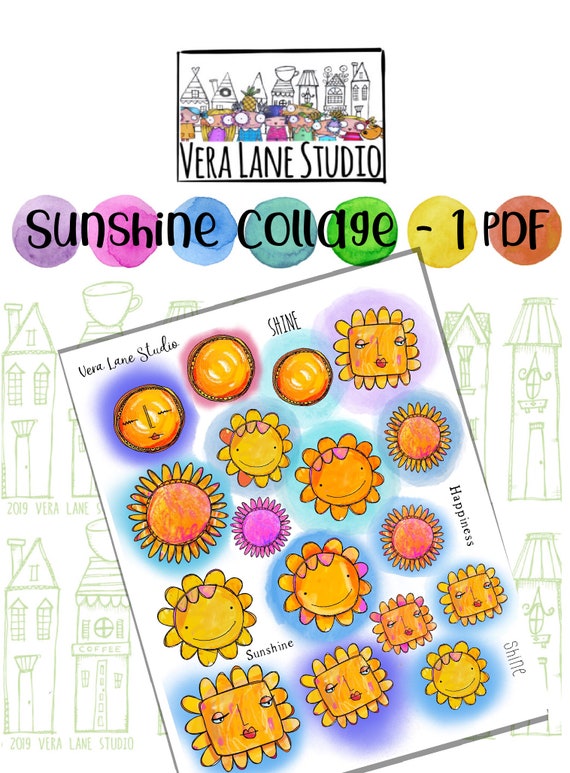
For today I placed her on a piece of paper that I coloured with spray inks and then stencilled flowers on with white paint. I added a scrap of paper and some washi tape and glued the sentiment on top. Miss Dee was printed, coloured and cut out. I placed her on the tape/paper cluster. Lastly I added a sun from the Sunshine set, cut in two and drew a doodle line along the edges. 

You'll find Miss Dee HERE

image 0

and the Sunshine collage sheet HERE.


image 0 


Thank you for stopping by today !  

Tuesday, 12 February 2019

Keep your balance

Hello everyone, 

I was very happy to be asked by Abs of AALL & Create to make some samples for the Creative World fair in Frankfurt in Germany which took place on 26th - 29th of January. I will share all of them in the near future. I hope you'll like these new released stamps by Olga Heldwein ! I will list all the stamps, old and new, under the photos. 


For this project I cut a piece of card stock into a tag shape and painted it with acrylic paint. I added model paste through a stencil and stamped it here and there too. I then stamped the image, coloured it and cut it out. I glued it to the tag en added the sentiment from the same set. 

I used the following stamp and stencil for this tag :

Stamp set #167 Balance
Stamp set #142 Edison Game 
Stencil #49 Rota Vitae

For more information about all the fabulous AALL & Create products and a list of worldwide stockists, please visit the website HERE.

Thank you so much for stopping by today ! 


Monday, 11 February 2019

Your crazy is showing

Hello everyone, 

I was very happy to be asked by Abs of AALL & Create to make some samples for the Creative World fair in Frankfurt in Germany which took place on 26th - 29th of January. I will share all of them in the near future. I hope you'll like these new released stamps by Olga Heldwein ! I will list all the stamps, old and new, under the photos. 


How cute is he??? For this 6 x 6 panel I used acrylic paint, lots of layers... I stamped the background, using inks and embossing powder. I also added splatters. The dog was stamped, coloured and cut out. I adhered him onto a white circle to make him stand out more and then lastly added a Snarky Sticker. 


I used the following stamps: 

Stamp set #142 Edison game
Stamp set #125 For the record
Stamp set #170 Dog Attitude

For more information about all the fabulous AALL & Create products and a list of worldwide stockists, please visit the website HERE.

Thank you so much for stopping by today ! 


Blah blah blah

Hello everyone,

For my second post for the Challenge over at Country View Challenges where the theme this month is black and white with optional another colour I have made a card. It is black and white with a touch of green. I have also filmed the process and hope you enjoy my tutorial.

Please do play along and make something, enter it into the competition and you might just win a £20 voucher to spend in the shop. Just make sure to read the RULES first.


If you'd like to know how I made his then hop over to my YouTube Channel HERE.

Or click on the pic below. 


Thank you for stopping by today ! 


Sunday, 10 February 2019

The big moon

Hello everyone, 

I was very happy to be asked by Abs of AALL & Create to make some samples for the Creative World fair in Frankfurt in Germany which took place on 26th - 29th of January. I will share all of them in the near future. I hope you'll like these new released stamps by Olga Heldwein ! I will list all the stamps, old and new, under the photos. 


This postcard was made by adding Distress Inks to a piece of 6 x 4 paper. I then added water to make it run and get lighter. I stamped the background with black Archival ink and also heat embossed some of the stamping that was done with Distress Oxides. This works really well because they stay wet for a long time. Next I used a stencil and bleached out some circles with water and also used a white pen to go around the circles. The images were stamped, coloured and cut out and then arranged on the card. I used a Clippings sticker by Tim Holtz as the sentiment. 

I have used the following stamps and stencil:

Stamp set #142 Edison Game
Stamp set #22 Moon set
Stam set #171 Moody Kittens
Stencil #45 Digital Bubbles

For more information about all the fabulous AALL & Create products and a list of worldwide stockists, please visit the website HERE.

Thank you so much for stopping by!