Hello everyone,
For today's AALL & Create GDT project I have made a 6 x 6 card/journal page. I have used all products by Tracy.
Here's how:
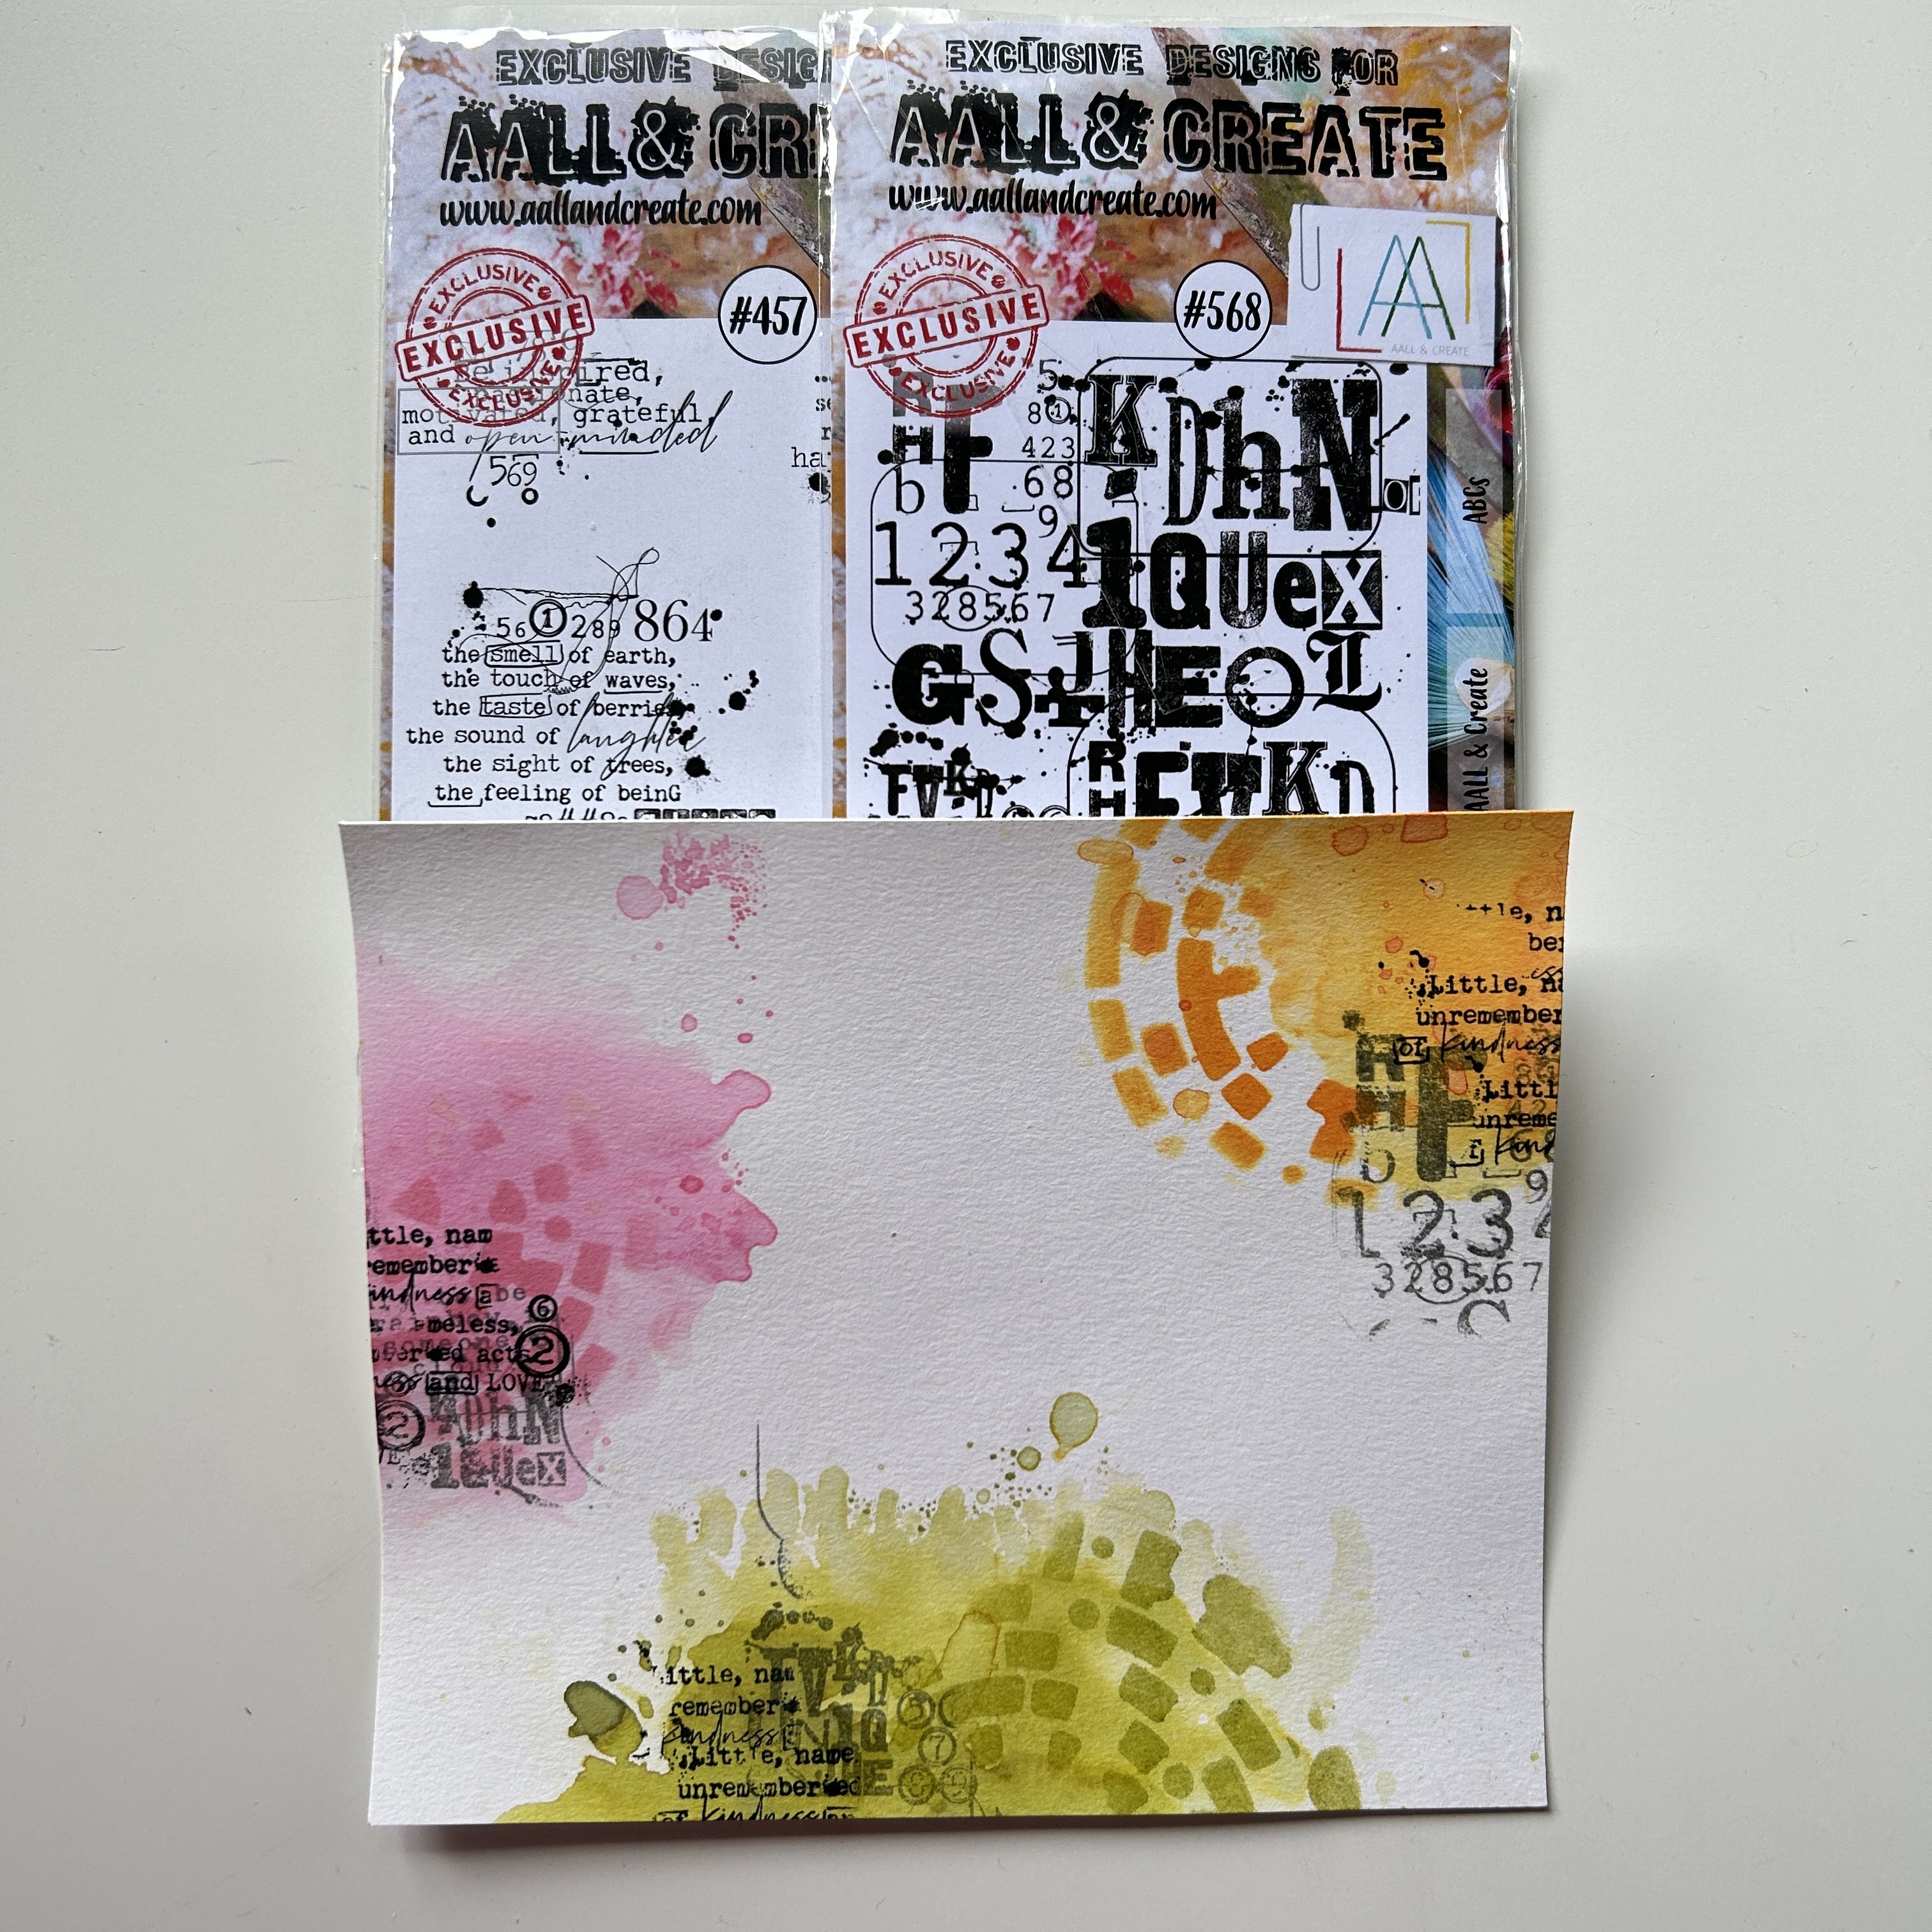
First, I made a gelli print with acrylic paint and a stencil. I then toned it down with a brayer and white paint.
Next, I stamped this stamp here and there using Distress Oxide Walnut Stain.
Next used this stamp with black VersaFine Clair.
Next, I cut a tag and gave it some colour with Distress Oxide in Antique Linen. I then stamped the flower stem from this set with VersaFine Clair.
I added some washi tape.
Coloured the flower stem with watercolour markers and inked up the edges. I also stamped the background a little with the same ink as the background.
The sentiment.
And here it is all put together. I also inked up the edges of the card and added some string around the tag. I adhered the tag on the page with dimensial adhesive tape. Lastly I added the sentiment. I also inked the edges of the words.
I have used the following products:
All by Tracy Evans
Washi tape #41 - Kaleidoscopic
Stencil # 175 - Reptilian Petals
Stamps:
#1007 - It's Acer, Officer
#993 - Vertical Stems
#992 - 30 Days
#533 - Bring On The Sentiments
For more information about all the AALL & Create products please visit including a worldwide stockist list:
Thank you for stopping by !