Showing posts with label PaperArtsy Fresco Chalk Acrylics. Show all posts

Tuesday, 19 December 2023

Oh Deer, it's Christmas

 Hello everyone,

For today's AALL & Create DT project I have made another 6 x 6 card. This time I have used stamps by Abs and a few by Janet. 


Here's how I made this:


I really like this dear stamp but I didn't like the star on its forehead. So I decided to mask it off. 


I coloured him with watercolours;  also stamped a little party hat and painted that as well. I then cut everything out.


The sentiment which I separated. 


I painted a 6 x 6 with very light paint and added a stencil print with Distress Oxide ink. 


Some stamping...


Some more stamping an a few bits of washi tape. 


And here it is, all put together. 


I have used the following products:

Stencil #221 - Snow Crystals by Autour De Mwa & Co
Stamps: 
All by Autour De Mwa (& Co)
#366 - Roundly 
#489 - Wisecracks
#998 - Deer Oh Deer
#1003 - Jingle Dreams
Stamps by Janet Klein:
#948 - Define Christmas
#968 - Woof It Up
Washi tape : #53 - Jingle Stars by Janet Klein

For more information about all the AALL & Create products including a list of international stockists, please visit:


you'll find the online shop on the same website.

Thank you so much for stopping by today and for later this week :

Merry Christmas! 


Tuesday, 28 November 2023

Life's prickly moments...

 Hello everyone, 

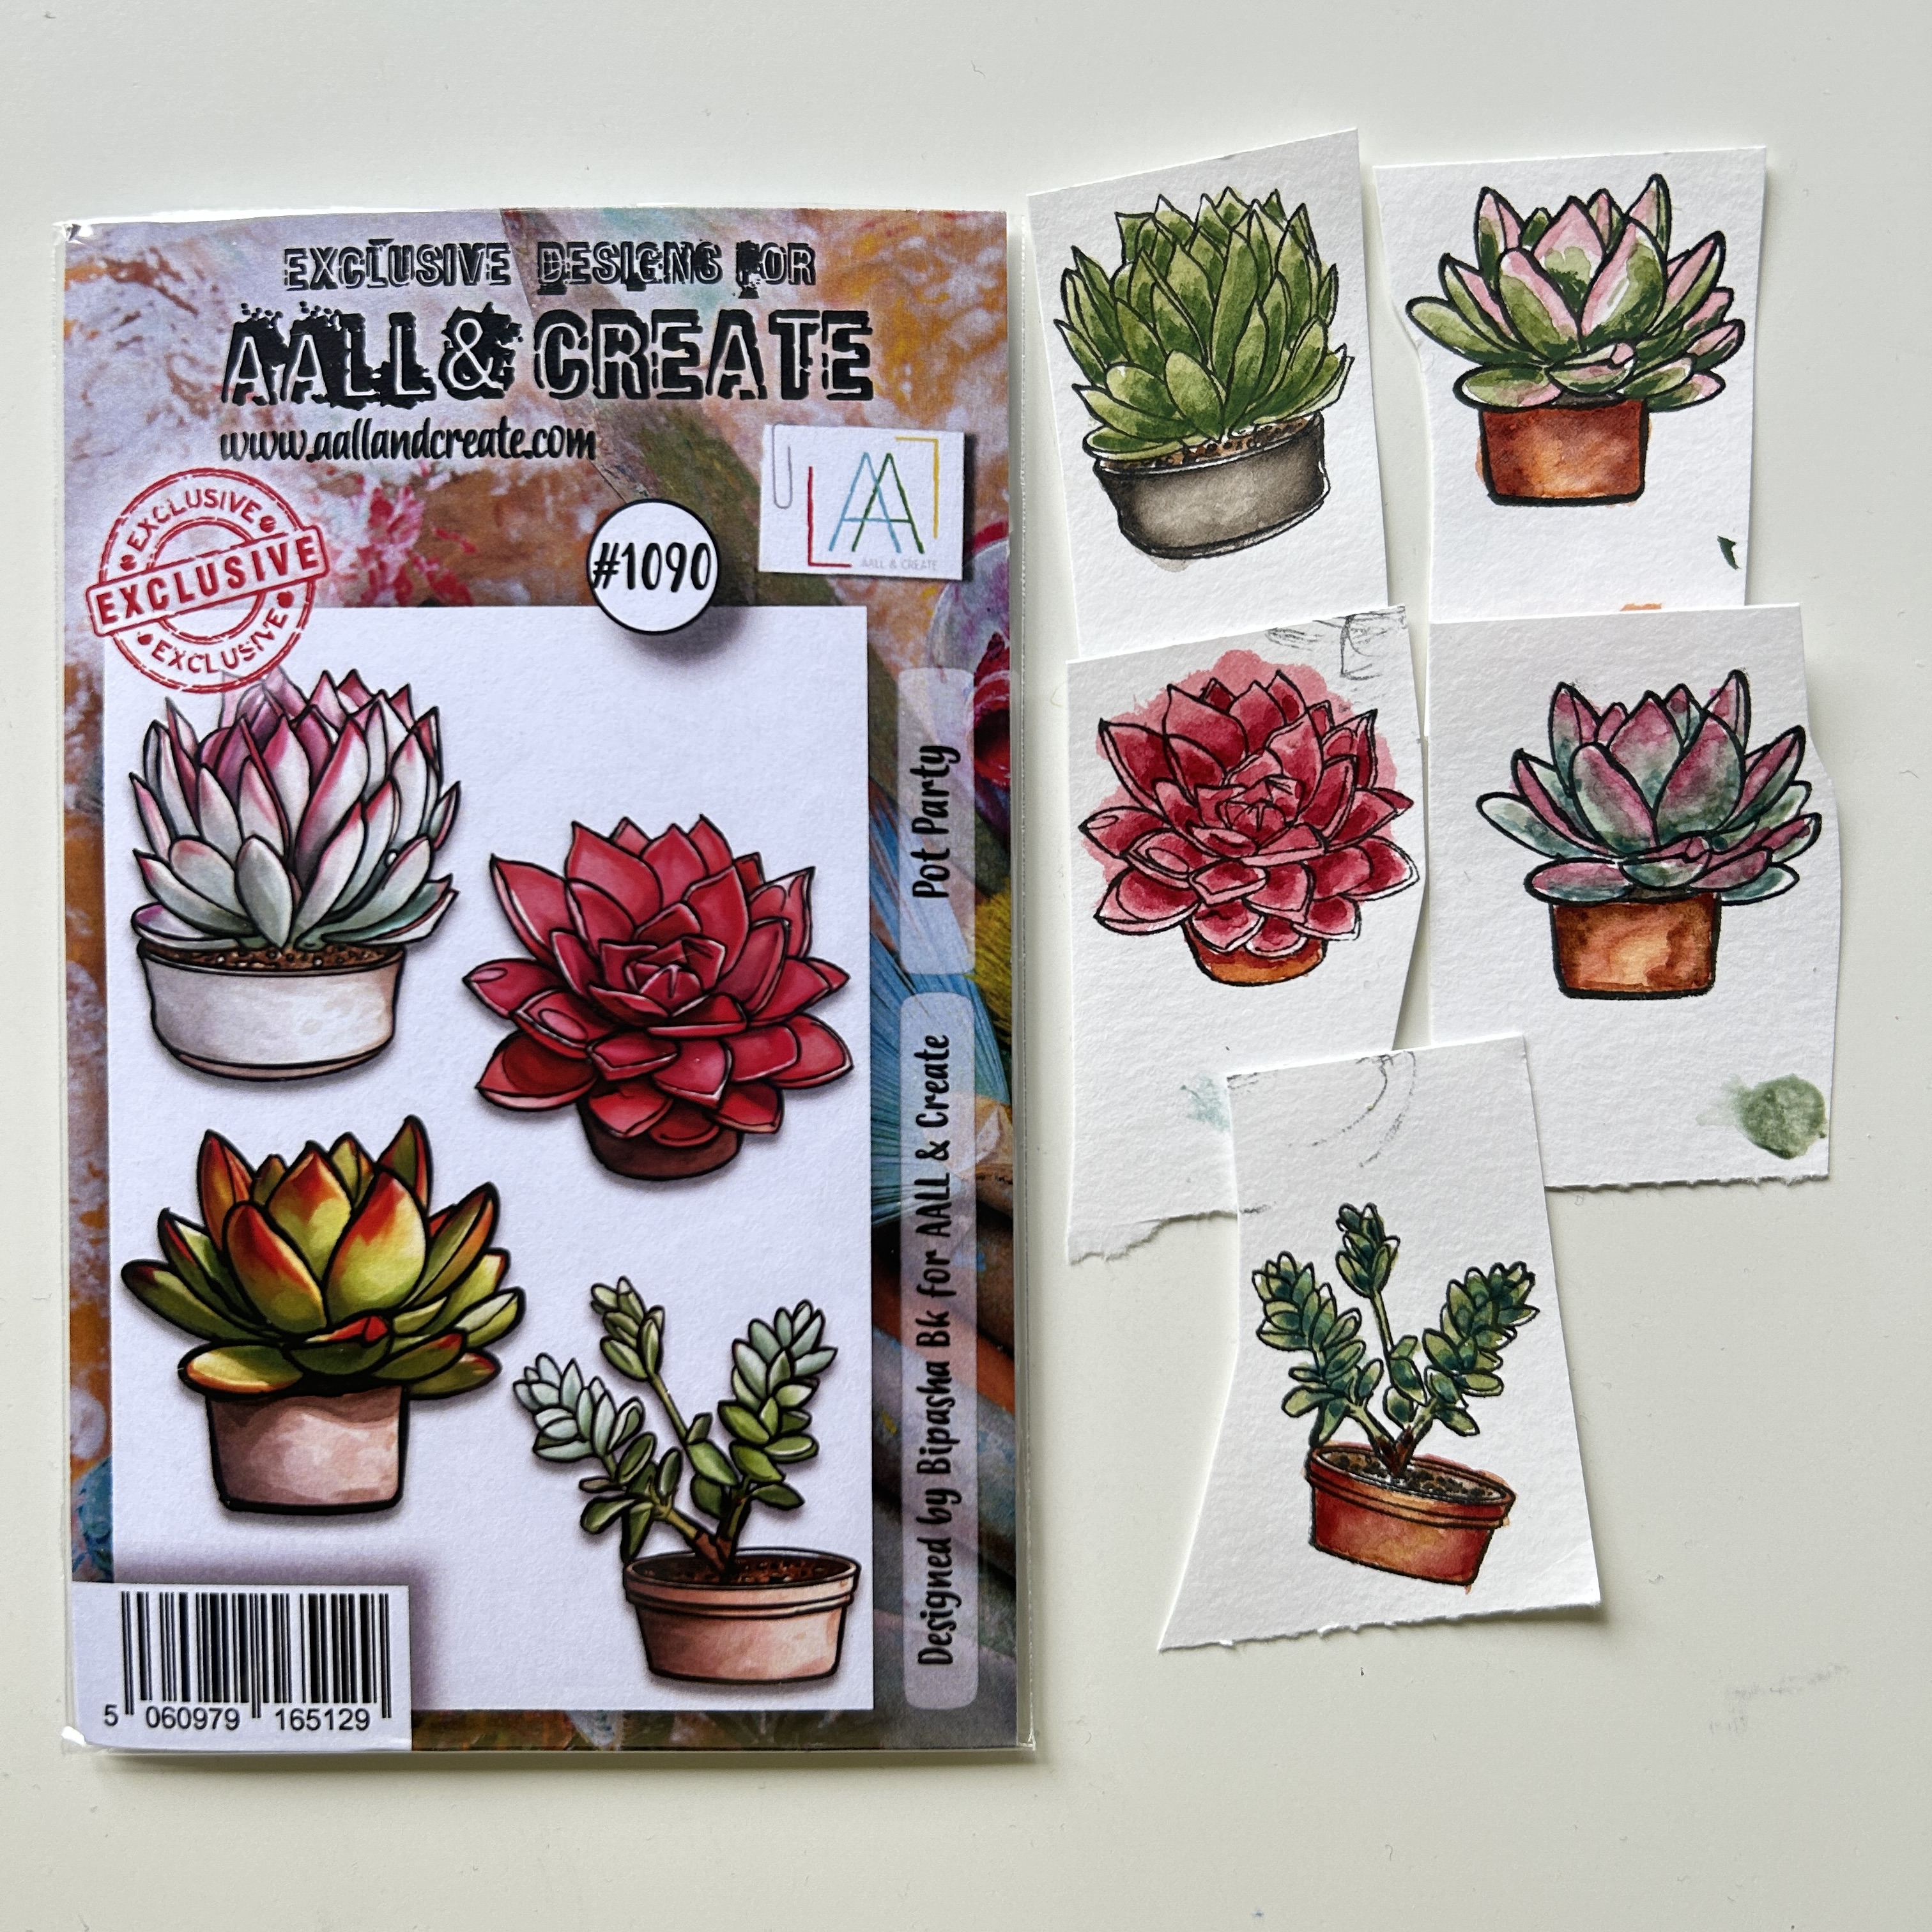
Welcome to my blog where today I am sharing a set of 3 ATC's that I made with some of Bipasha's new stamps and some of the older ones. 


Here's how I made this:


I started with stamping and colouring the little plants. I used watercolours this time. 


Next I made the backgrounds with my gelli plate and toning it down as always with a brayer and white paint. I then added some stencilling also with white paint. 


Some stamping in green, pink and black. 


Adding pieces of washi tape. 


The sentiment which I heat embossed with white powder. 


And here they are finished. I did add some lines around some of the edges for more interest and to frame them. 


To make sure they don't go missing (I send all my samples to AALL & Create) I mounted them on some dark grey pattern paper and then all three on some pink polka dotted paper.  I actually preferred them loose but I don't want them to disappear. 


I have used the following AALL & Create products:

All by Bipasha Bk
Stencil : #147 Coffee Stains
Washi Tape #36 - Midsummer
Stamps: 
#1090 - Pot Party
#1072 - Oasis Heaven
#349 - Bold Alphas Mini
#457 - Background Voices

For more information about all the AALL & Create products please visit:


Thank you for stopping by ! 


Thursday, 2 June 2022

This week at Vera Lane Studio

Hello everyone, 

Happy Thursday ! For today's Vera Lane Studio project I have made a postcard using Dorothy and Toto. 


This card was made with design paper; I just added a little paint and stamping. I printed Dorothy, Toto and the sentiment and coloured Dorothy and the dog with Copic Markers. I cut them out and adhered them to my card. The stamps I used are all from AALL & Create. 

You'll find Dorothy HERE.

Thank you for stopping by ! 


Thursday, 24 February 2022

This week at Vera Lane Studio

 Hello everyone,

Happy Thursday ! 

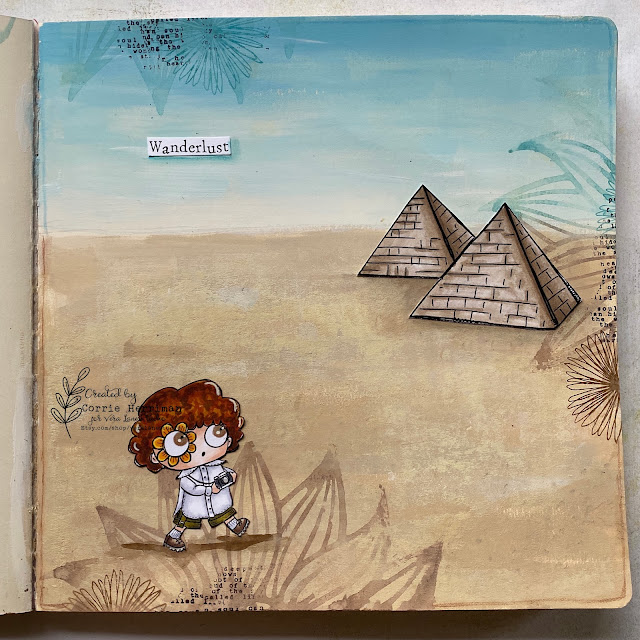
For today's Vera Lane Studio project I have made an artjournal page in my 8 x 8 Dylusions journal.


I started by painting the pages with acrylic paints in different beiges and creams for the sand and a blue and white for the sky. I then added a stencil print (#77 Sunflower Power by AALL & Create) and some stamping (#338 & #523 both by Janet via AALL & Create). I printed and coloured the images and then cut them out. I glued them onto the page and added some shading underneath the girl and the pyramids. The sentiment from the set and a pencil line along the edges of the page finished it off. 

I have used the set "Wanderlust" that came out this week. You will find it HERE

Thank you so much for stopping by! 


Wednesday, 23 December 2020

Tis the season

  Hello everyone,

Welcome to my blog where today I am sharing a Christmas card that I made for VivaLasVegaStamps! This is my last post for VivaLasVegaStamps! as I have decided to step down from the team. I have been on it for the last 5 1/2 years and enjoyed it very much but there comes a time... 

Anyway, here is my card:


and here is how


I used some old not very sticky washi tape to create a stripe pattern on my card.


I painted roughly between the lines of washi tape to get a not perfect effect. 


This is how it looked after drying.


Next I stamped the elf and the sentiment on the card and on a piece of paper. I wanted to colour him with my Copic Markers. I stamped the head and hat again in red because I wanted his hat to be white and red stripes. 


After everything was coloured. 


The completed card. I added some Liquid Pearls over the berries of the holly but because I didn't have red I used a white one and dabbed a tiny amount of red paint over the top. The leaves were coloured straight on the card. I also lengthened the strings with a black pen and added some shading around the box so it isn't floating. 


I only used two stamps for this card:


Other materials:

Acrylic paint, washi tape, Copic Markers, Coloured Pencils, Archival ink, Memento ink. 


Sunday, 13 December 2020

Merry Christmas

 Hello everyone, 

There is still lots of time to play in the Country View Challenges 'Christmas, anything goes' challenge.

I have made a journal spread and it didn't quite go to plan... lol


There is a process video if you'd like to see how I made it. 

You can click HERE or go via the pic below:


Merry Christmas ! 

Thank you for stopping by today ! 


Thursday, 12 November 2020

This week at Vera Lane Studio

 Hello everyone, 

Happy Thursday ! Today I have made 2 postcards for Vera Lane Studio. The first one was made with the this week released 'Winter/Spring' and is a little wishful thinking on my part... The second was made with an older set called 'Tiny snow family'. 


I chose the Spring version of this set as I said: wishful thinking. I really do not like Winter because I hate the cold and wet weather we get here. Anyway, I used a background from my stash that had a printed stencil (AALL & Create) on it. I printed the girl, the tree and the sentiment, coloured them and cut them out. I added some washi tape to the bottom of the card and put the girl and the tree on top if it. 

You'll find this set HERE.


For this postcard I made the background by masking a piece of paper and painting between the tape. It is not perfect but I like it. I printed, coloured and cut out the images and adhered them onto the card after I put some washi tape down to stand them on. The sentiment is from the the same set. 

You'll find the Tiny Snowfamily HERE

Thank you for stopping by today ! 


Tuesday, 20 October 2020

A hug in a cup - a mini canvas for AALL & Create

 Hello everyone, 


welcome to my blog where today I am sharing a mini canvas made with some of the new release stamps from AALL & Create. They are fabulous ! 


.. and here is how:


I started with a mini canvas (10 x 10 cm - 4" x 4") and applied texture paste through this stencil. When this was dry I added a layer of clear gesso because I was going to use pigment powders and that way the surface is all the same. In the end I used acrylic paints so the gesso was really not needed. 


I added some washi tape just for some more texture and interest. 


I painted the canvas with PaperArtsy Fresco paints in two shades of blue and cream in the middle. You can see the washi tape still in the top left corner. I also added some stamping with this set and some inking along the edges. 


Next I stamped out this fab little girl by Janet Klein for AALL & Create. 


I coloured her with my Copic Markers... and cut her out. 


and here it is all put together. 


I have used the following AALL & Create products:

Stencil #97 - Starry night by Janet Klein
Stamp set #418 - Tea Time
Stamp set #338 - Background Noise by Janet Klein

Thank you for stopping by ! 


Friday, 9 October 2020

Tis near Halloween !

 Hello everyone, 


For the second inspiration piece for Country View Challenges I have made a journal page. The theme is "Halloween, create a scene" and here's mine:


We hope you will play along with us but before you do, please read the RULES
You could win a £20 voucher to spend in the shop ! 


So, I used two Vera Lane Studio digital images for this together with some Tim Holtz stamps and PaperArtsy paints.  

If you'd like to see how this came together then please watch my VIDEO of click on the picture below. 


Thank you so much for stopping by today..

Tuesday, 8 September 2020

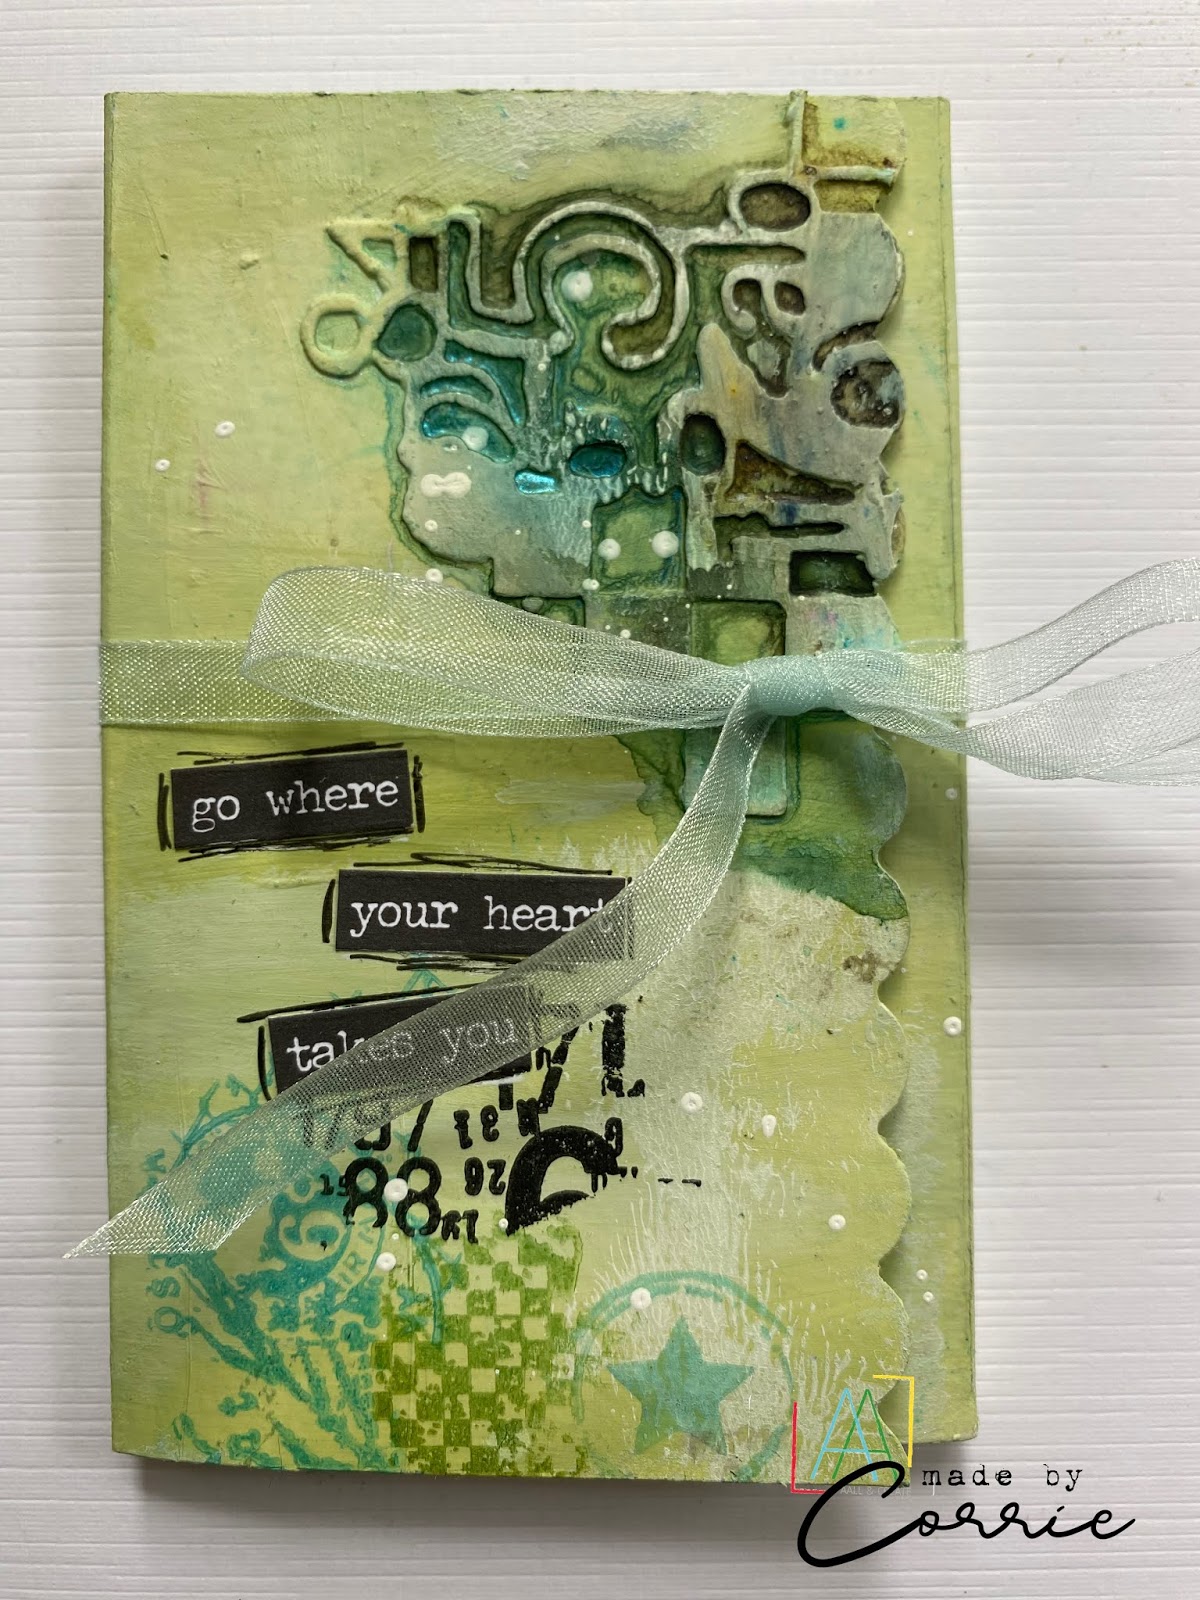
Go where your heart takes you.. a small tag album

Hello everyone,

and welcome to my blog where today I am sharing another project for AALL & Create and today it is a little tag album. It could also be used for photos of anything else. I didn't even measure it but eyeballed it.


and here is how:


First I used this die to cut some white card stock out. I just did the bottom and the top as I didn't want to used the whole die cut. I then glued them onto my cover which is a piece of card stock that I scored so I got three panels. 


I painted the whole thing in two shades of green and then added pigment powders to the die cut areas. I used greens and blues. (Infusions and Nuvo). I spritzed them with water and let them do their thing. I like how grungy that looks. 


Next I added stamping, using green, turquoise and black inks.


The inside was treated in the same way minus the die cuts but I did add some black lines to the edges. I added a little pocket for stuff to sit in. 


Next I worked on my little bonus tag to go inside. I stamped the Wellington boot and the bear and coloured them with Copic Markers, then cut them out. 


The tag was also treated the same way; paint, stamping and I added some washi tape. I placed the bear into the boot and glued the whole thing onto the tag. Lastly I added another sentiment. 
All the words are from Tim Holtz chat stickers. 


Here is the tag, placed into the pocket.


The back of the book, I did cut two slits in the middle panel for a piece of ribbon so I could close the album. 


Close up of the front. 


Close up of the middle and back panel.


This is what it looks like when it is closed. 


And the back. 

I have used the following products: 

Die:
#22 - Checkered Figures by Bipasha BK
Stamps:
#372 - Textural elements by Tracy Evans
#370 - The great Outdoors by Tracy Evans
#344 - Puppy Toys by Janet Klein


For more information about all the fabulous AALL & Create products, please visit:


Thank you for stopping by today !