Thursday 30 November 2017

Say cheese

Hello everyone,

and welcome to my blogpost for Katzelkraft. I cannot get enough of the animal stamps and today I have used a cat which I paired with the camera. I turned the scene into a card.


I used a gelli print for this card which I took from my stash. I stamped the camera on white card stock and coloured it with coloured pencils, cut it out and set it aside. I then stamped the cat on tissue paper and glued this face down onto white card stock with gel medium. Because the tissue is so thin you can see the image through the paper and so have created a reverse image. I coloured him with Faber Castell Big Brush Markers and a water brush and then cut him out to. The two were then adhered to the gelli printed panel after I stuck some washi tape on it. Lastly I added some shading and the sentiment that comes with the camera. I then glued the panel to a white card. 

I have used the following stamps:


Thank you so much for stopping by today ! 


Wednesday 29 November 2017

Art is life

Hello everyone,

and welcome to my blogpost for Hobbycompleet De Duif where today I am sharing a card. In the middle of last month I was sent some Dina Wakley goodies and this is the last of the five projects I made with them. 


I started with a panel of watercolour paper and used the method where you smoosh the Distress Oxide ink on your craft mat, spray with water and then dunk your panel in it as often as you'd like. When I was happy and it had dried I stamped the background with one of the sentiment stamps in the same colour inks and doodled around the edge with a black pen. Next I stamped the girl with my stamp platform and heat embossed her with clear powder. I stamped the sentiment onto white paper, cut out the words and adhered them to the panel. I doodled around the words too and then lastly splattered some white paint on it. 
The panel was then adhered to a card. 

Thank you so much for stopping by today ! 

Be Authentic

Hello everyone,


Today I have a tag to show you :


I have made this tag for you today. The chipboard was simply painted with acrylic paint. 


I used the Dahlia stencil, some thread, book pages, stamping and some butterflies from Tim Holtz. 


The sentiment is by Tim Holtz also. 


I hope you got some inspiration ! 

I used this chipboard:


It is called 'Airmail Border' and you'll find it HERE

Also used this stencil :


You'll find it HERE.

Thank you for stopping by today ! 

Tuesday 28 November 2017

Sweet friends

Hello everyone,

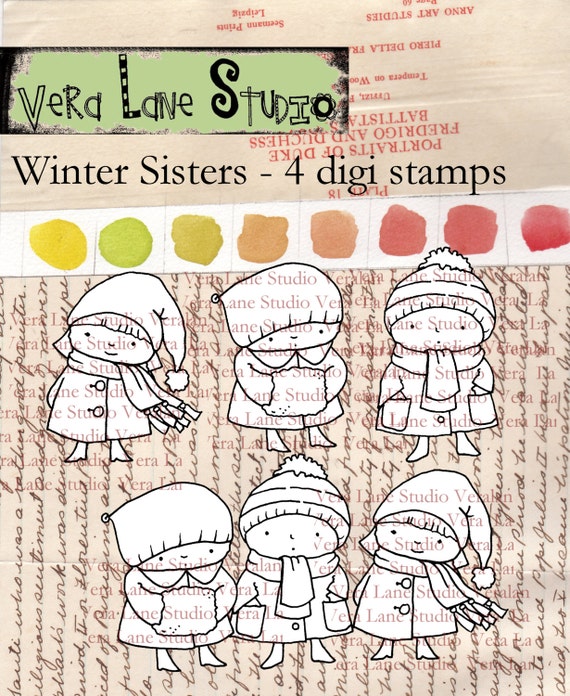
I had some time left last week and made this postcard. The three girls are by Vera Lane Studio and are called Winter Sisters.


I printed them out and coloured them and cut them out. I arranged them on a piece of pattern paper that I stencilled on a little and also added some strips of flowers at the bottom; you know when you get 12 x 12 papers they sometimes have a little strip at the bottom of the pattern that is on the other side. That is what I used here... 

I used this set : 


Thank you for stopping by today ! 


Sunday 26 November 2017

Game of cards anyone ?

Hello everyone,

and happy Sunday !

Can you believe it is the last Sunday of the month again!  Time flies !

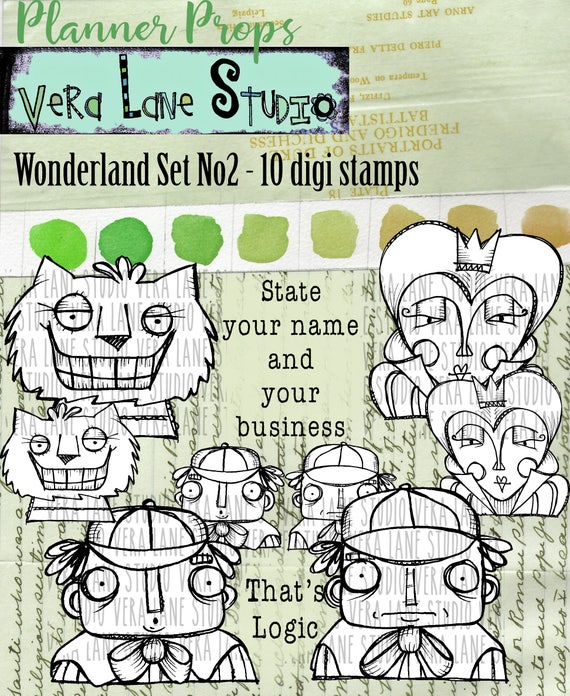
For today's Vera Lane Studio Post I have made some playing cards with the Alice in Wonderland images. These are so called planner props and as I am not at all into planners I had to think outside the box ! That's when I came up with the idea of playing cards.


Aren't they cute ? 

I printed the images together on one of the journaling cards and coloured them. I added the hearts (made with a punch) and the letters, cut out the cards and that was it ! I did add a crown to the 'King' cat. 

You'll find the sets that I have used here :


Thank you so much for stopping by today ! 


Saturday 25 November 2017

I is for Industrial !

Hello everyone,

and now for something completely different as they say ! I was chosen Queen of Snark with on of my Art Journal pages and part of my winnings was a Guest Designer Spot ! Yay ! I think that was a great prize and I had so much fun making another Journal page ! Thank you so much, sisters, for having me !


Anyway, today sees the start of a new challenge over at the Sisterhood of Snarky Stampers and as you can see above the theme is "I for Industrial". 

This is what I have made : 


It is another Art Journal page and I made it by smooshing some Mixed Media paper in Distress Oxide inks for the background. I used a variety of stamps to add interest too. 
The main images were stamped on separate paper which I coloured with the same Distress Oxide ink and cut out and adhered to the background. I added details with metal and some embossing too. 
Lastly I inked the edges of the page and added the sentiment which is by Edgar Allan Poe.


A detail of the metal pieces (a gear and a propellor) that I painted and oxidised with a patina spray. They were adhered with gel medium. 


A closeup of the detail in the background. 


I painted the propeller of the flying machine with the same paint as the metal and added some of the same patina spray (with a brush) to get it the same colour as the metal propeller. 


Detail of the flying machine... 


And here is the completed page again. 


Thank you so much for stopping by today ! 


Friday 24 November 2017

I want...

Hello everyone,

and welcome to this blogpost for Hobbycompleet De Duif,  where today I am sharing an Art Journal page made with Dina's new goodies..


I started with a piece of Mixed Media paper on which I stencilled the words first using crackle paste. Next I added thinned down acrylic paints in rainbow colours. Next I used a star stamp and a text stamp from one of the new Dina Wakley sets and filled the page, using the same colours as I used in the background. I used mostly Archival inks for this but I also stamped with Distress Oxide and paint as I didn't have all the colours that I needed. 
Next I added a black doodle line along the edges and went around the letters of the stencil with an Inktense Pencil. I used a water brush to soften the lines. The letters are more visible now. 
I the stamped the lady using my Tim Holtz stamp platform and clear embossed the image. That finished off this page. 

I used the following materials:

Ranger Crackle Texture Paste
Amsterdam Acrylverf 
Clear Embossing poeder
Archival Inkt, Jet Black
Distress Oxide:
Wilted Violet
Stempels:
Dina Wakley Media
- Splatter girl MDR58410
- Text and Scribbles MDR58427
Stencil:
Dina Wakley Media
I want MDS54436
Tim Holtz Stamp Platform
Inktense Potlood Charcoal Gray 

Thank you so much for stopping by today ! 


Wednesday 22 November 2017

Fly me to the moon

Hello everyone,

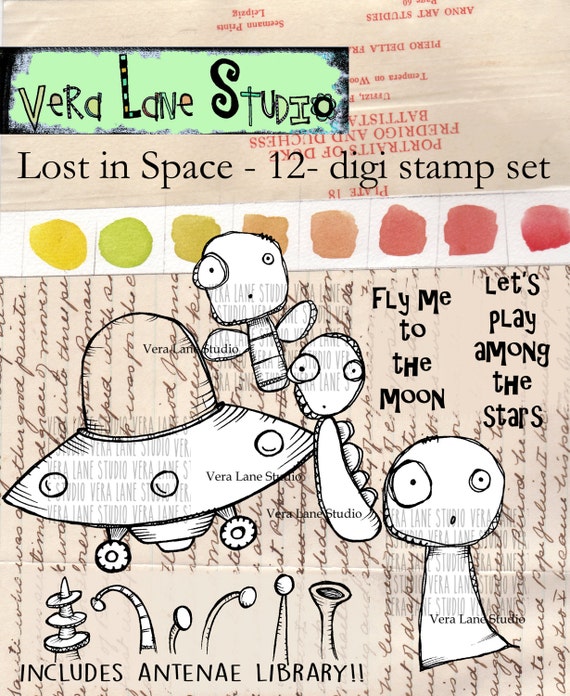
I made this AJ page with one of the fantastic Digital Stamp sets by Vera Lane Studio. They are so much fun to colour and easy to cut out and once you get the hang of it you can combine images on the computer and print them out as one. The little alien in the flying saucer was copied and pasted in there by me. I also added his antennae this way.


I used a gelli print from my stash for this; all I did to it was add some stitching and with a white pen doodled around the circles which, by the way, were made with a Lego block on the gelli plate. The clouds were cut by hand from some pattern paper and doodled around. The flying saucer and the sentiment finished it off... 


Isn't he cute ? 

I used the set called "Lost in space" and you will find it HERE


Thank you so much for stopping by today ! 

Tuesday 21 November 2017

You're how old ?

Hello everyone,

and welcome to the second inspiration post for Country View Challenges for November. Gabrielle chose the theme of "stencilling" and today I decided to make a super quick birthday card using pattern paper and stencilling to make the card look homemade ! So, a bit of cheating really !


If you'd like to know how I made this hop over to my YouTube channel:


We would love you to play along and you can win a GBP 20,-- voucher to spend in the shop. Just make sure to read the rules first ! 


Thank you for stopping by today ! 


Monday 20 November 2017

Keep calm..

Hello everyone,

Just before the weekend I received new stamps from Katzelkraft and of course I had to make something. So I made a Christmas Card, well sort of....


I started with stamping the "Windy day" stamp twice. Once on my card panel and once on a piece of separate card stock. I did take the black spots on the stamp away by masking them off. 
Next I coloured the card panel with grey ink and a blending tool and added the clouds with the same colour. I then put this aside to dry. 
Next I coloured the girl that I had stamped separately and when that was done I cut her out and adhered her and her brolly to the card panel. After it was dry I stamped the 'snow' over the top with VersaMark ink and embossed it with white powder. Now it looks like she is in a snow storm. 
Lastly I added the sentiment and mounted the card panel on a piece of black card stock and then on a white card. 

I have used the following stamps: 

Thank you for stopping by today ! 


Sunday 19 November 2017

We are all mad here

Hello everyone,

and Happy Sunday ! Today I am sharing a mini Art journal spread for Vera Lane Studio.


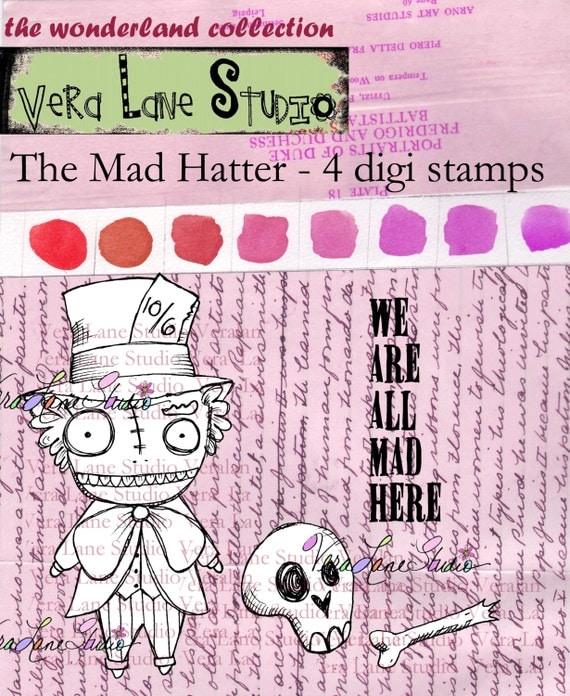
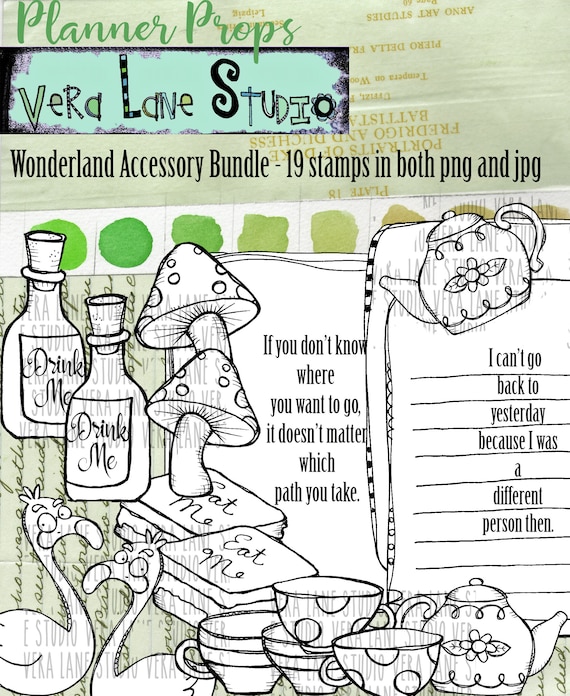
I painted the background with PaperArtsy paint and a blending tool. I then added the stencilling  with a darker green. I added some paper to the bottom and then doodled with a white pen. The mad hatter was coloured, cut out and adhered as were the accessories (cake and bottle). The sentiment was cut into strips and adhered too. Lastly I added shading and doodling around the page. 


You'll find the Hatter here:


and the accessories HERE:


Thank you for stopping by today ! 

Saturday 18 November 2017

Stop thinking, just create

Hello everyone,

and welcome to my blogpost where today I am sharing a card that I made with Dina Wakley's new goodies for Hobbycompleet De Duif.


I started with a panel of watercolour paper and used the method where you smoosh Distress Oxide ink on the craft mat, spritz with water and dunk your card in it. Repeat as many times as you want. I used Twisted Citron and Broken China. 
next I stamped the background using Distress Oxides for the circles and Versamark for the script and little blocks. I then heat embossed the script with white WOW embossing powder and the block with clear WOW embossing powder. 
I distressed the edges of the panel and then stamped the sentiment on a piece of vellum with black Archival Ink. This was then also heat embossed with clear powder and stapled in place. 
The panel was then adhered to a card. 

Thank you so much for stopping by today ! 

Friday 17 November 2017

Believe in yourself

Hello everyone,

Today I have made an artjournal for you. I must say I really love the Um Wow Chipboards because they are so sturdy. They stand up to a lot of abuse....


I have also used some (very old) design paper, a paper doll, some lace, paint and fabric for this page. The chipboard was embellished like this :


First I tool the scissors to it as I didn't like the straight edges so I did some trimming. Once I was happy I pressed my VersaMark ink pad onto the chipboard and sprinkled all three colours of embossing powder onto it and them melted them. 


This is how it came out, quite nice but I decided to sand some of the shine off and get some of the chipboard out again. 


This is the finished result and I really love it.  


A couple of close - ups ...


You can see where the chipboard is peeking through again. 


And this is the finished page ! 


I hope I have inspired you to dust off the chipboards and use them too ! Maybe even to make a card or something ! They are so versatile. 

You will find the Damaged Punchinella background I used HERE


Thank you for stopping by today ! 


Thursday 16 November 2017

What else ?

Hello everyone,

Today I have a card to share for Katzelkraft. I have used the "Les Rats des villes" set again. They are so cute !


I started with a piece of Bristol card stock and stamped the grungy circle on it several times. I used VersaMark ink and then heat embossed with white WOW embossing powder. I used Zig Clean Color Real Brush markers to colour the panel. 
I added a tiny bit of stamping on the green and then stamped the rat, once on the panel, once on watercolour card and also the sentiment; this was only stamped on the panel. 
The rat was coloured with the Zigs too and then cut out and adhered to the one on the panel. 
I added some doodling around the panel and mounted it on a white card. 

I have used the following stamps: 


Food soothes the soul

Hello everyone,

Welcome to my blog where today I am sharing some inspiration for the latest VivaLasVegaStamps! Challenge. This is the mood board:


And this is what I made of it :


This postcard was made with white card stock which I coloured with Distress Inks and a blending tool. I used 'Antique Linen' and 'Vintage Photo'. I dripped some water over it and then stamped the word foodie with the same Antique Linen Distress Ink. 
Next I stamped the onions and made a mask. I masked them off and then stamped the recipe card over the top. Next I coloured in the onions with Copic Markers. The sentiment was stamped separately and cut apart. I adhered it to the card and doodled around the edged. That was it ! 
I used the following stamps:


I hope I gave you some inspiration to play along with us ! 

Thank you so much for stopping by today ! 


Wednesday 15 November 2017

Art is life, love art

Hello everyone,

and welcome to my blogpost for Hobbycompleet de Duif. I have made an art journal page with some of Dina Wakley's new goodies.


On a piece of Mixed Media Paper I painted PaperArtsy Fresco paints. Next I stencilled the word 'love' with white paint and when that was dry I stencilled it again slightly off with Orange Distress Oxide ink. I clear embossed that because it takes an age to dry and keeps reacting with water after drying. This was it is permanent. I then stamped the background with Distress Oxides and heat embossed. Next I stamped the lady on the page and on some book text, I cut out part of the booktext one and glued it onto the one on the page. This way her face is white instead of blue.. The sentiment was stamped on the white edges of the book paper and glued on. Lastly I doodled around the word strips and that finished the page. 

I used the following materials:


Thank you so much for stopping by today ! 

Sunday 12 November 2017

Don't lose your muchness....

Hello everyone,

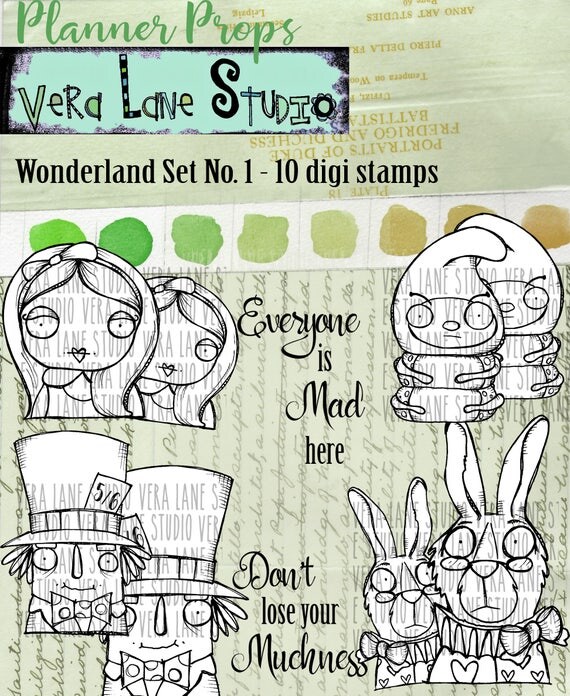
and welcome to another blogpost for Vera Lane Studio. I really love these digital images... they are all fantastic. These new Alice in Wonderland Planner Props are great but as I already said I am so not into planners. So with the help of my teammies I came up with a book mark.


This bookmark is all one layer... I printed the images partly behind each other and then coloured everything, including the background with Copic Markers. I added the sentiment later and doodled around the edged of the word strips. 

Thank you for stopping by today !