Showing posts with label birthday card. Show all posts

Tuesday, 13 August 2024

The best birthday ever

Hello everyone, 

Welcome to my blog where today I am sharing a card I made for AALL & Create. I have used another Memory Dex card, I guess I am addicted. 

Lots of people have asked what to do with these cards so I thought I used it as a card topper and it works well I think. 


Here's how:


I used a sheet of Design Paper and cut out the Memory Dex card. 


I added some heat embossed stamping and...


some normal stamping. 


A few pieces of washi tape..


The main image, coloured with Copic markers. 


The sentiment.


And here it is all put together. I added some white splatters after this stage. 


Preparing the card base. I just added some black and white washi tape but you could use a mat as well. 


This is the end result. I just see the card as an interesting shape as opposed to a Memory Dex card. 


I have used the following AALL & Create products:

Design paper:
#5 - Citrus Rainbow by Autour De Mwa & Co.

Die:
#49 - Spring Sprouts

Stamps:
#443 - Scripted Circles by Bipasha Bk
#630 - Basic Sentiments by Bipasha Bk
#457 - Background Voices by Bipasha Bk
#1140 - Black Forest Hello by Bipasha Bk

Washi tape:
#96 - Sugar Roll by Bipasha Bk
#17 - Mix & Match by Janet Klein 

You'll find more information and a list of international stockists on the AALL & Create Website.


or 


Thank you for stopping by today !  


Friday, 3 March 2023

Happy birthday 2

 Hello everyone, 

I have the second instalment of the 'birthday card for a man' challenge at Country View Challenges.  This time I have also made a video. I have used all Tim Holtz products.


If you would like to see how I made this please hop over to my YouTube channel for the process video HERE.

Thanks for stopping by. 


Wednesday, 1 March 2023

Happy birthday

Hi everyone, 

Welcome to my blog where today I am sharing a birthday card which I made for the March challenge over at Country View Challenges. 

This month I am hosting the challenge and because it is my birthday in March I chose the theme 'birthday card' with the added demand that it has to be a birthday card for a man. Yes, I know, we all struggle with that. For my first project I have used only pattern paper and one stamp. 


Here's how I made this quick and easy card:


This is the paper I chose to make my card. It's by Stamperia. Susan at Country View Crafts has a very good selection of Stamperia products. 


First I used this ink pad to colour the edges of my white card blank. It fits better with the colours I am using. 


I cut out a panel, a piece of paper for the sentiment and a triangle that I thought would look great as a party hat. The man is an ephemera sticker, also from the same collection.


I found these circles also in the ephemera pack and decided to put them onto the panel. 


Next I used this stamp set by AALL & Create for the sentiment. 


Here is the panel all ready to go on the card. 


And here it is all finished. I think it looks great. 


Please come over to Country View Challenges and play along with us. Just make sure to read the RULES before you do. I will be back in a couple of days with another masculine card. I might even do a video! 

Thank you for stopping by today. 


Monday, 9 January 2023

Happy Birthday

 Hello everyone, 

I am back with the second project for the first Challenge over at Country View Challenges for this year. The theme is Time/clocks and was set by Evelyn.


Here's how:


Started with stamping this stamp by Tracy Evans for AALL & Create. (#733 - Temporal)  I stamped the butterfly another time to layer of the top. 


Coloured the butterfly with Distress Ink re inkers and a brush. I then cut it out. 


The background was watercoloured with a mixture of Distress Inks and watercolours. I kept adding layers until I was happy.


I layered the butterfly on top and added shading around it so it looks to stand out. 


I added a sentiment, another set by AALL & Create , this time by Janet Klein. (#666 Every Day Sentiments) 
I matted the panel on some grey card stock and then adhered it to the card. 


We would like it if you played along with us! You could win a £20 voucher for the shop. Just remember to read the RULES before you enter ! 

Thanks for stopping by today ! 


Wednesday, 17 August 2022

Happy birthday

 Hello everyone, 

Today's project is the second inspiration piece for the August Challenge over at Country View Challenges. The theme is 'birthday card/gift' so I made another card. I used Katzelkraft stamps this time. 


Here's how I made it:


First I watercoloured the rabbit.


He is by Katzelkraft. 


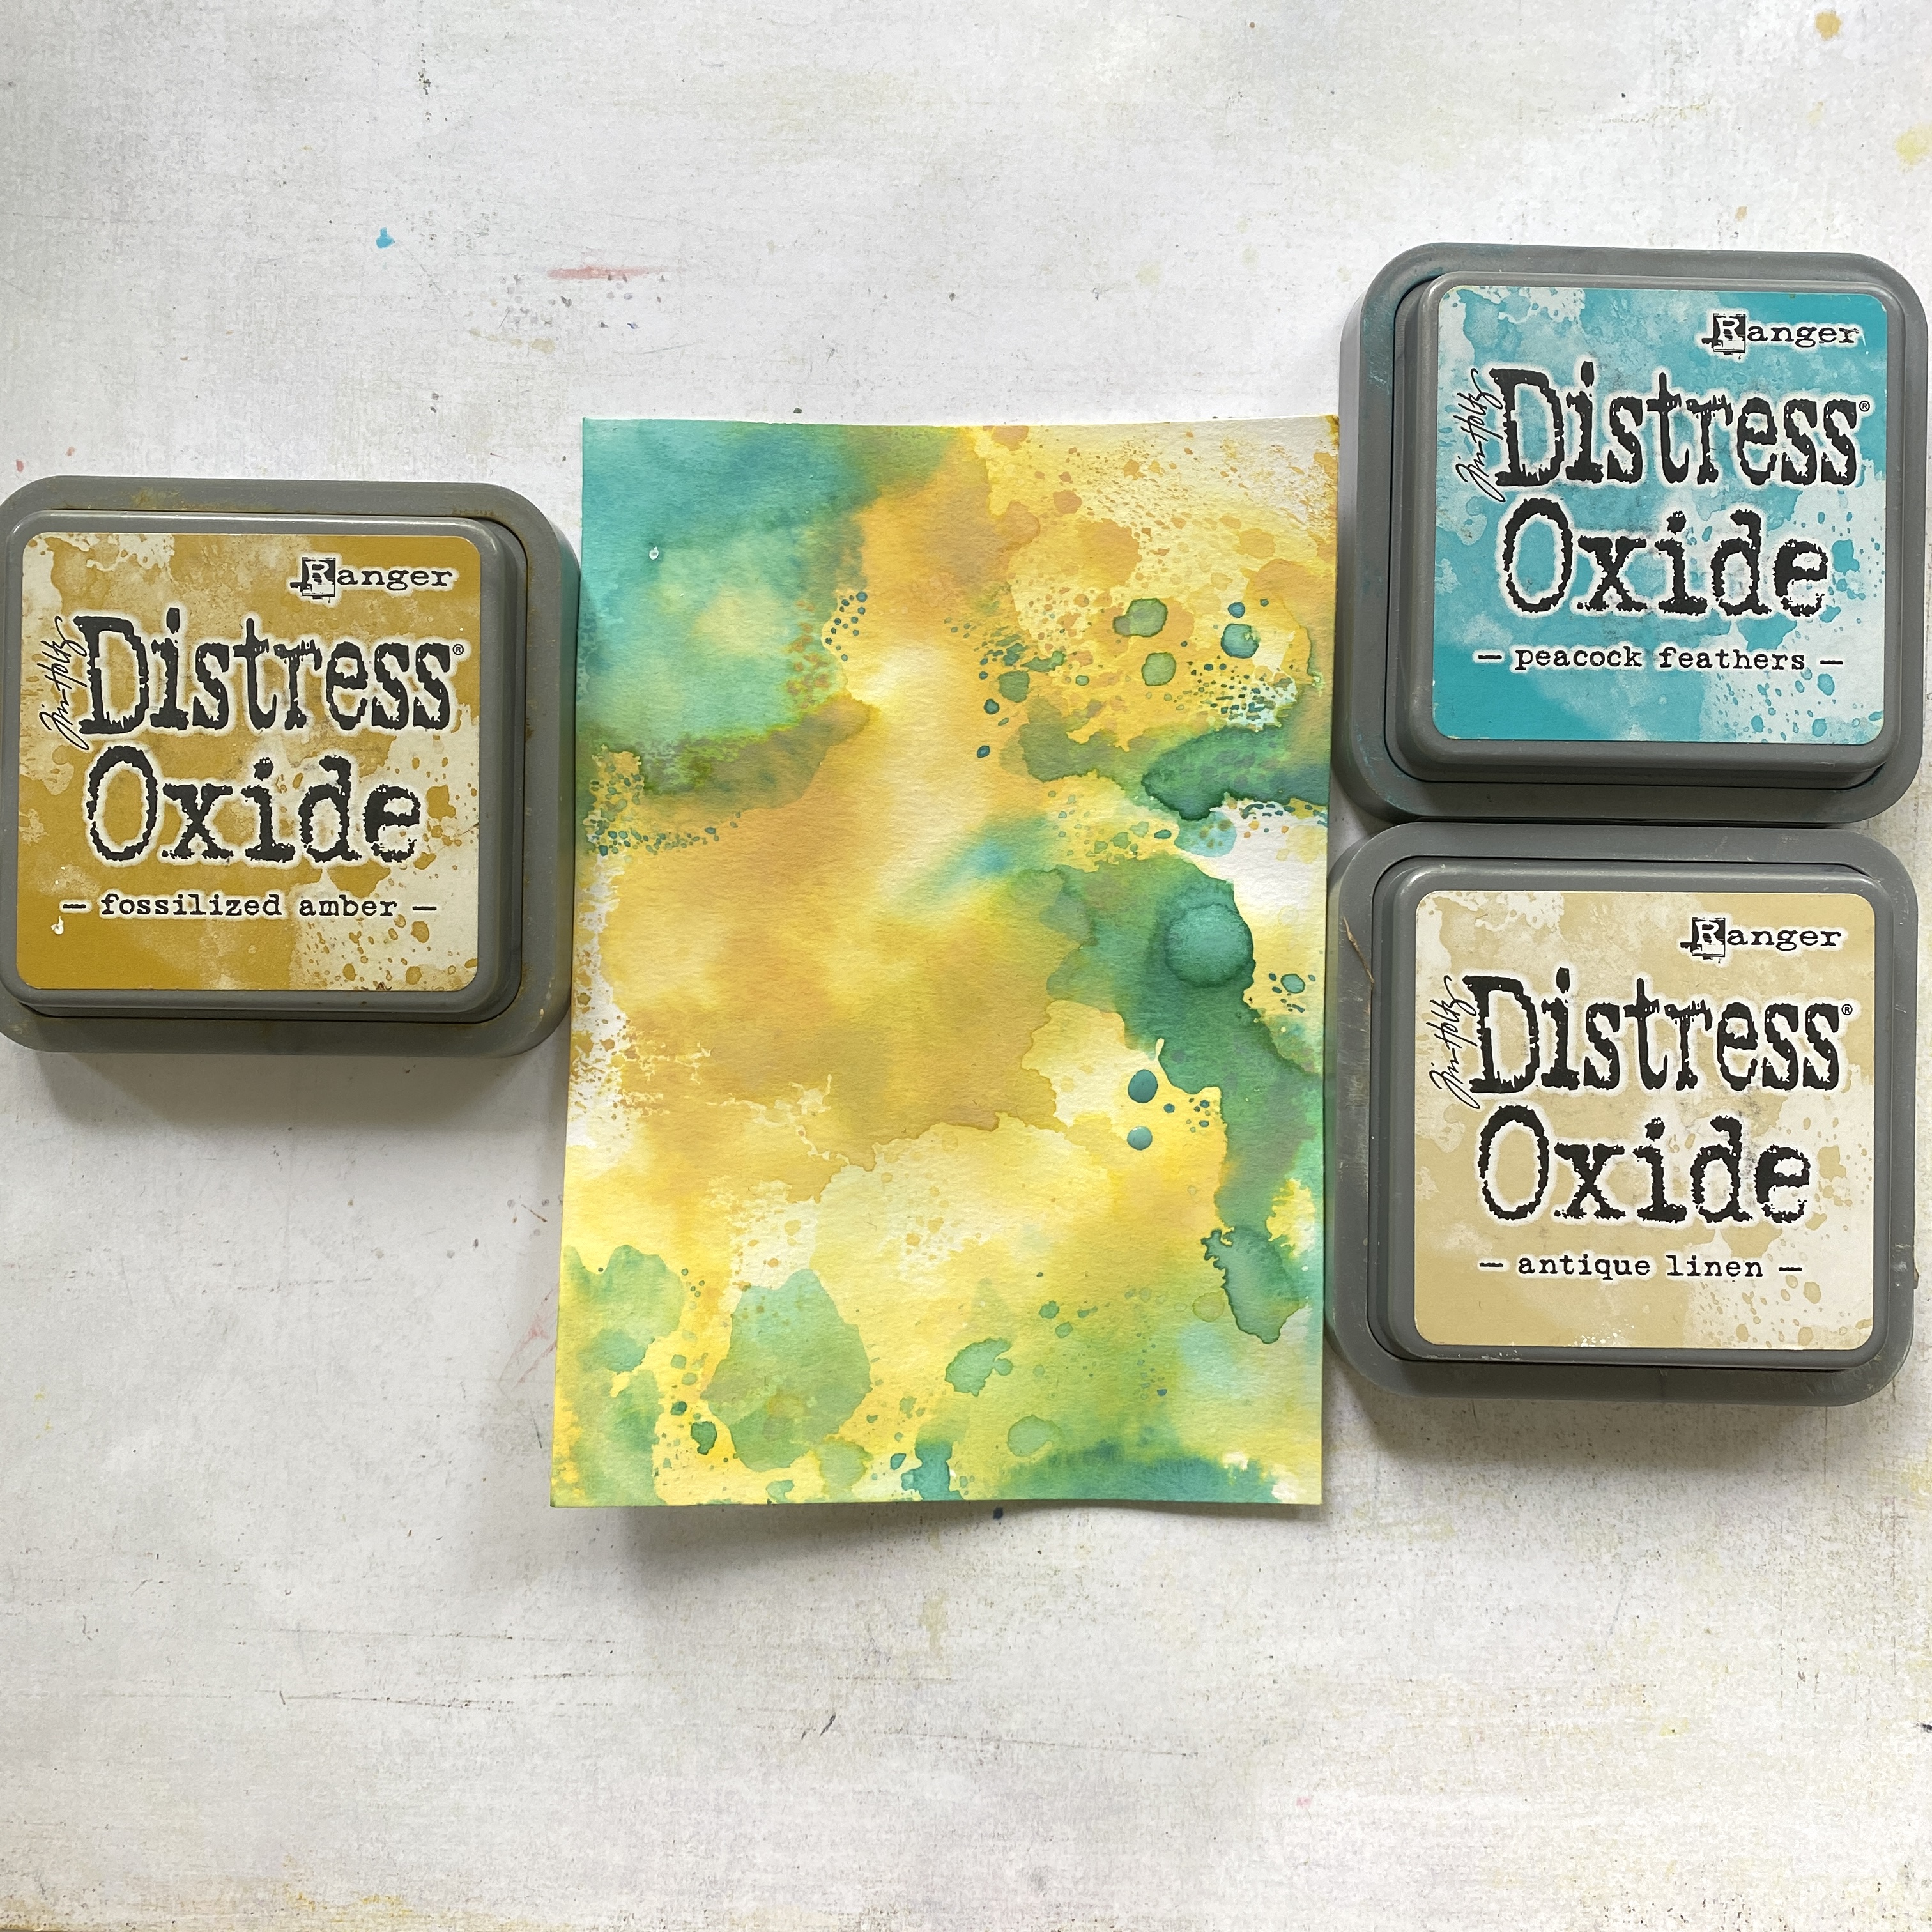
Next I coloured a piece of watercolour paper with Distress Oxides by dunking the card into the ink that I spritzed with water. 


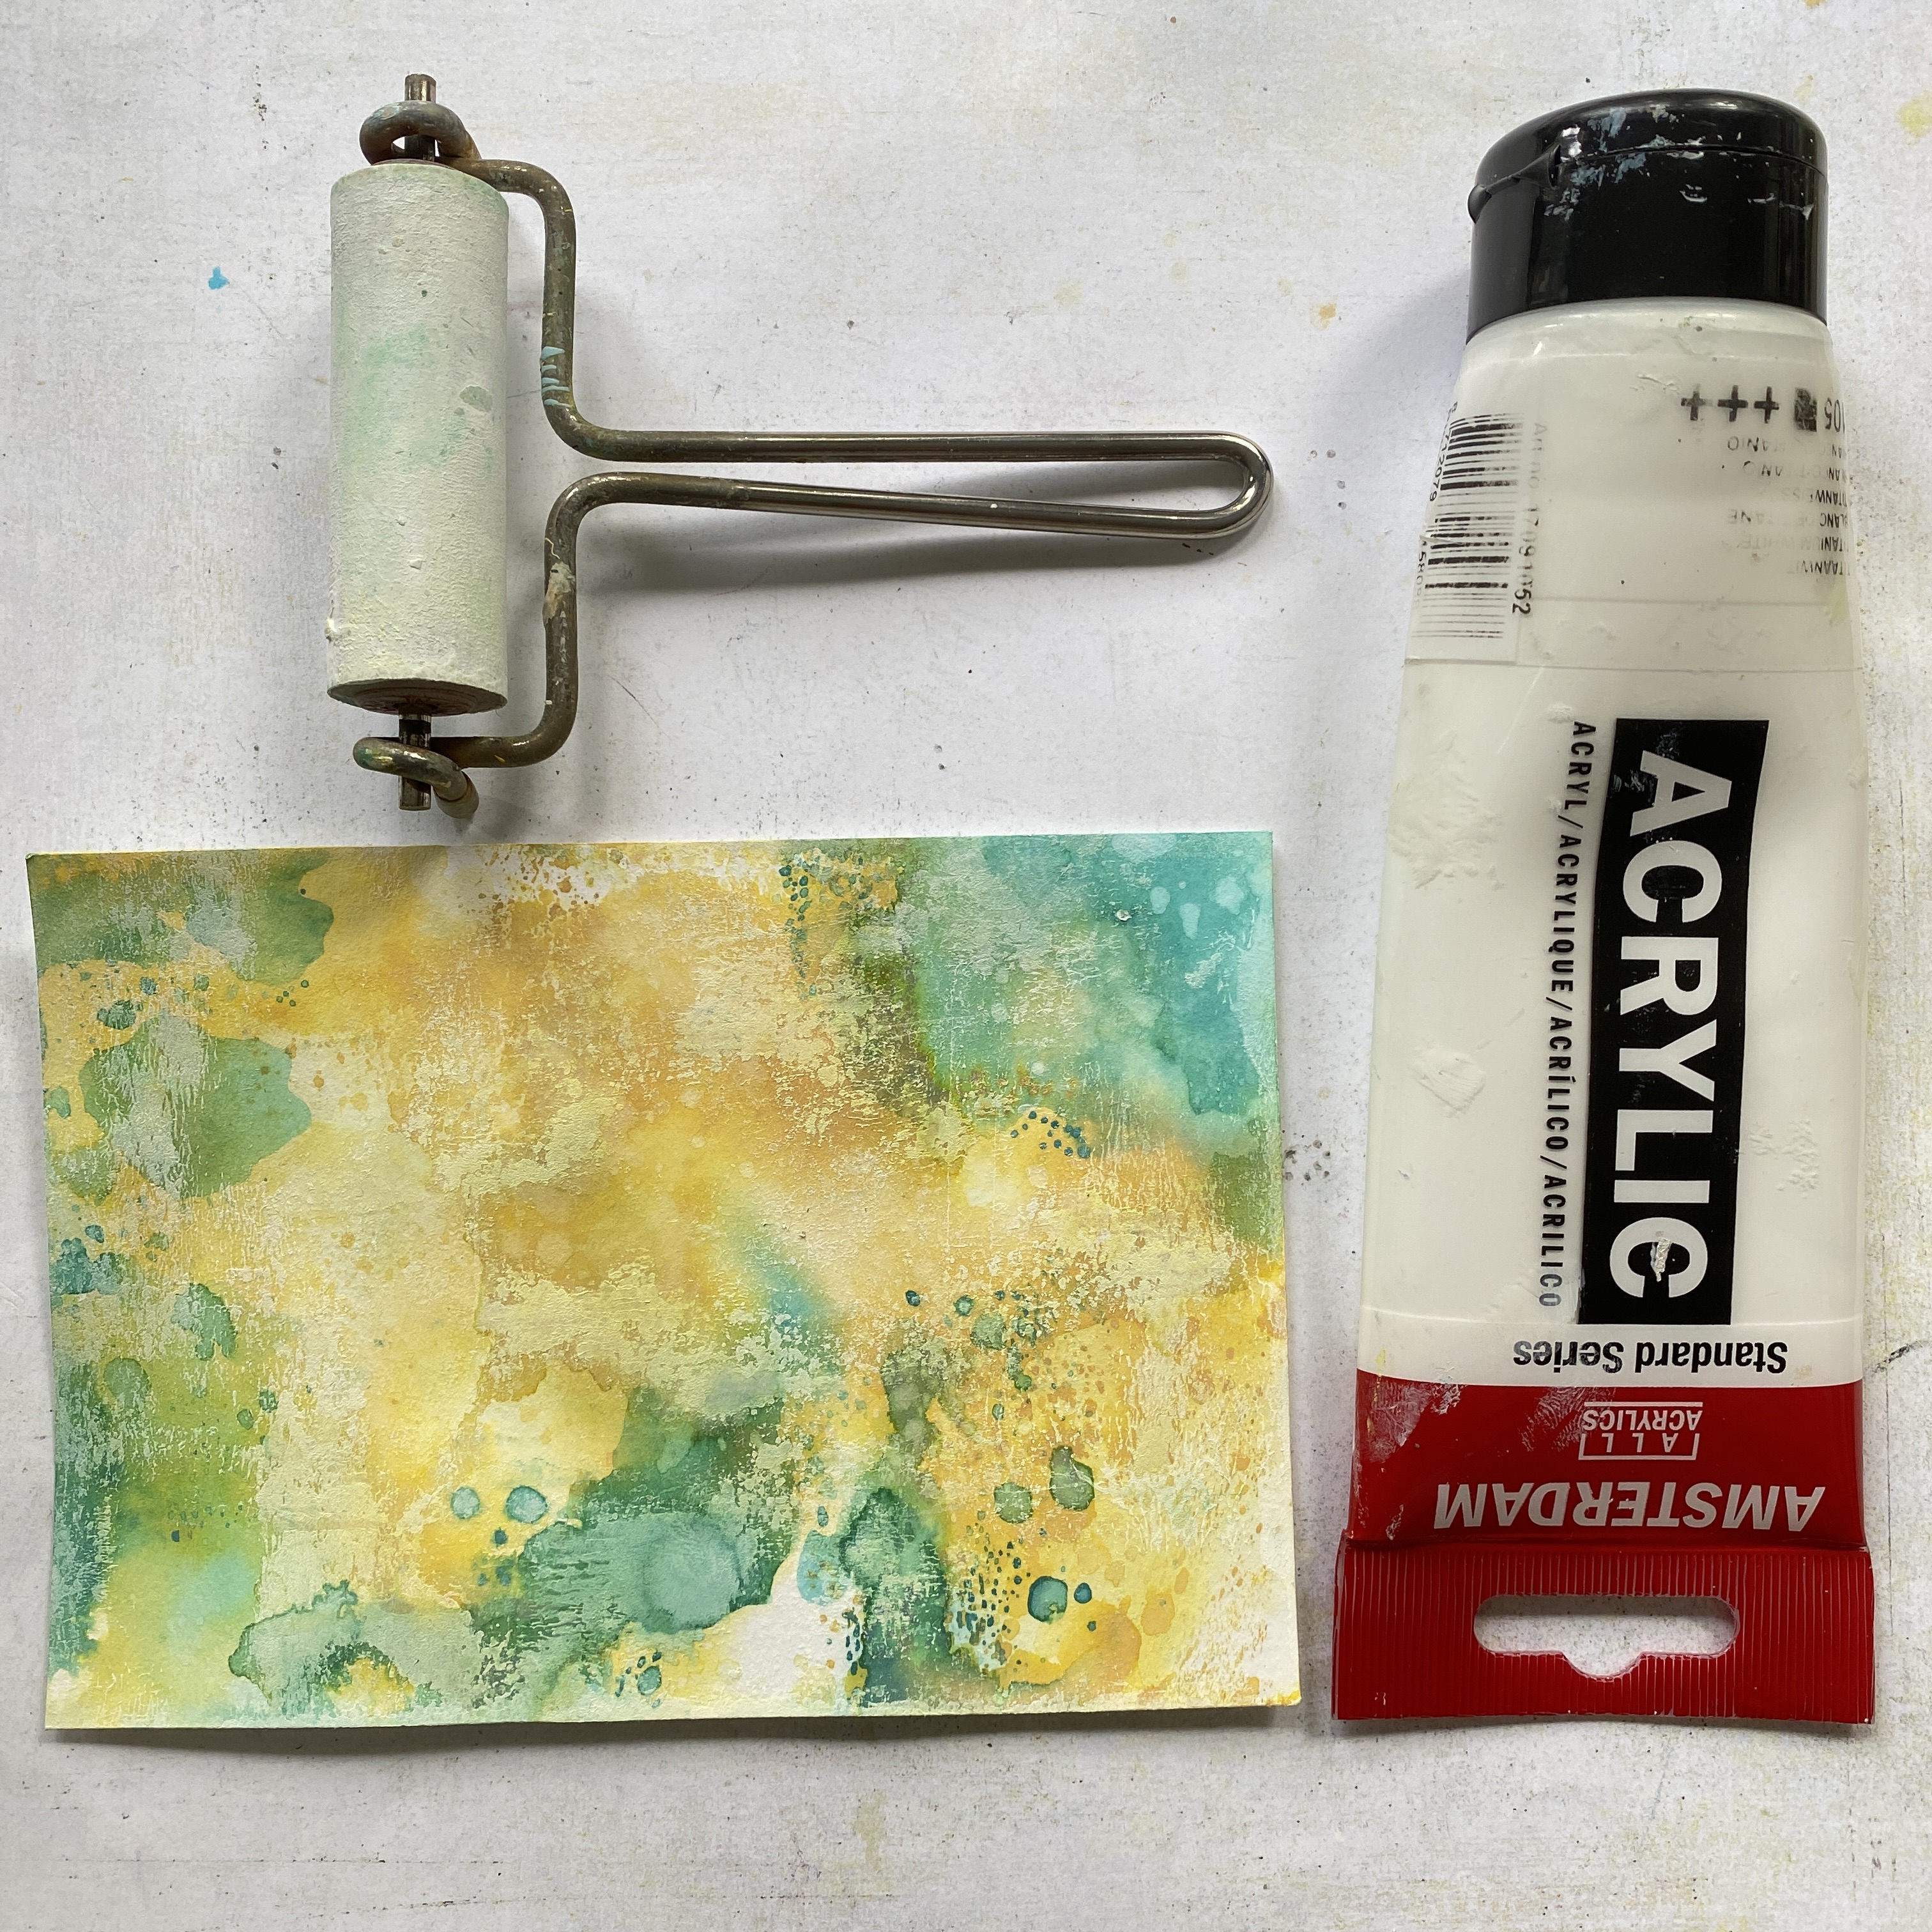
Next I toned it down with white paint and a brayer. 


Stamped the background here and there. I used the same Distress Oxides and a Versafine Clair stamp pad in Nocturne. 


I then stamped the sentiment. I needed to be where the rabbit could 'write it' so I had him on the card before stamping so I could guess where to place the stamp.
I also added a few bits of washi tape for him to stand on. 


And here it is. I added some doodling lines along the edges to finish it of.. 


There is still time to play along with our challenge. Made sure to read the RULES though! 
Thank you for stopping by today. 


Tuesday, 27 April 2021

Birthday wishes

 Hello everyone,

Welcome to my blog where today I am sharing a card that I made with a new stencil by Bipasha Bk for AALL & Create. I wanted this to be the main feature. 


and here is how I made this:


To make a background like this you start with putting your stencil of choice on your gelli plate. A stencil with lots of open spaces works best. 


Take your alcohol ink (or Copic Refills will work too) and add the desired colours to the stencil.  I used green in the leaf areas and two shades of pinks for the flowers. It doesn't have to be too precise. Let this dry. 


When it is dry pull off the stencil. It will look like this. You then use a brayer and put a thin layer of acrylic paint over it. I used white but you can use any light colour. 


You then put your paper on the gelli plate and take a print. 


I really like how this came out. 


I then stamped this butterfly to go on my card. I chose this one because it was the smallest and I wanted the stencil to shine! 


I coloured the butterfly and cut it out. I also stamped a sentiment. 


Before putting the butterfly on the panel I added a little white paint over the area where I wanted it to go so it would stand out a little more. I matted the sentiment on black card and adhered that too. 


I then glued the panel onto a white card base. 


I have used the following AALL & Create products:

Stencil #127 - Bloomed Roses by Bipasha Bk
Stamp set #451 - In the bucket by Tracy Evans
Stamp set #449 - Through the meadows by Tracy Evans

For more information and a list of worldwide stockists, please visit:


Thank you for stopping by today !