Showing posts with label Carabelle Studio. Show all posts

Friday, 13 May 2022

"?$&!*#" - A not so happy doggy!

 Hello everyone, 

For my second project for the Country View Challenge 'Cats & Dogs' challenge I have made a card with a dog! 


I have made a process video for this card. You'll find it on my YouTube Channel 


or go via this picture:


We hope you'll play along with us! Before you do, please read the rules on the Country View Blog, link above. 

Thank you so much for stopping by ! 


Tuesday, 1 March 2022

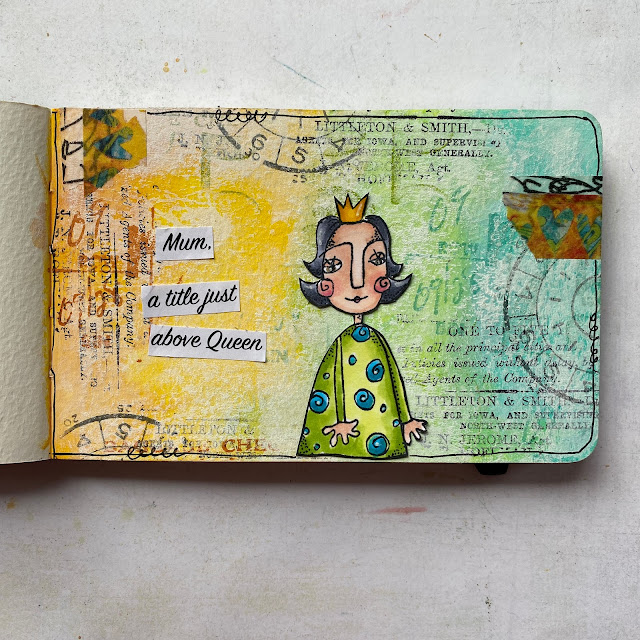
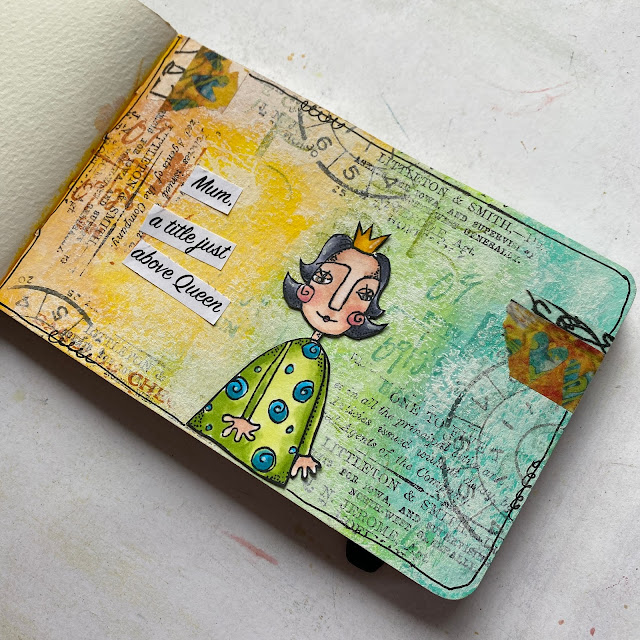
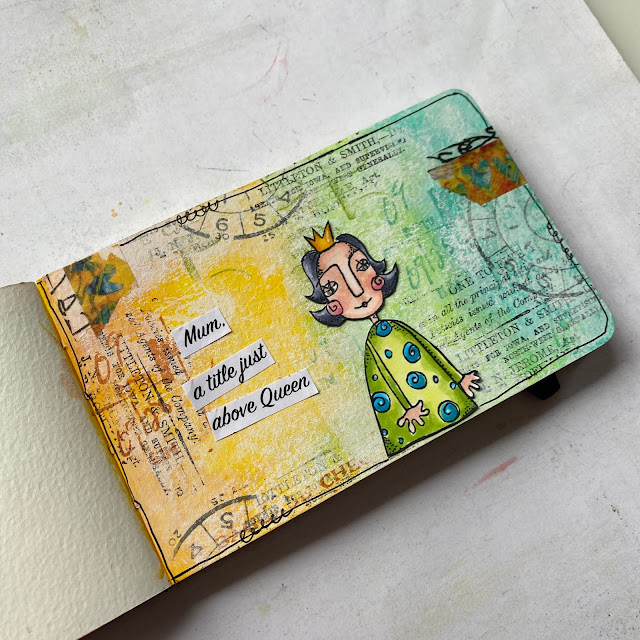
Mum, the queen

 Hello everyone,

Welcome to another challenge over at Country View Challenges where the theme this month is Mother's day. I have made a mini journalpage. We would love it if you played along with us, but please read the rules before taking part ! 


If you would like to see how I made this, please visit my YouTube Channel HERE or click on the picture below:


I will see you soon for more inspiration ! 


Tuesday, 1 September 2020

Colourwheel opposites - a journal spread

Hello everyone,

Welcome to the new September challenge at Country View Challenges which starts today. The theme is opposite colours on the colour wheel and it was chosen by the lovely Evelyn. I chose turquoise and orange.


I have a process video of this for those of you that want to know how I made this. Why not play along with us and win a £20 voucher to spend in the shop. Make sure to read the rules before you take part. 

You can go to the video by clicking HERE.

or click on the picture below and then on 'YouTube' in the bottom right corner. 


I will be back soon with more inspiration in different colours ! :) 

Thank you for stopping by today ! 

Wednesday, 1 April 2020

My mind wanders....

Hello everyone,

There is a new challenge starting today over at Country View Challenges. I am hosting this time and I chose the theme 'Animal Magic'. That means that I want to see an animal, real or fantasy, as a focal point on your project. I hope you will play along. You'll find all the information you need and the rules over at the Country View Challenges page HERE.

I have made an art journal this time..


If you would like to see how I made this then please hop over to my YouTube channel HERE or click on the pic below:


Thank you for stopping by today ! 

Wednesday, 3 January 2018

Live your dream

Hello everyone,
Hallo allemaal,

Today I have made a tag for Hobbycompleet De Duif. I have used the Carabella 'Venus' stamp again because I think it is absolutely lovely !
Vandaag heb ik een label met mijn favoriete Carabelle stempel om te laten zien. De stempel heet 'Venus'. 


It was made by blending three colours of Distress Oxide Inks with a blending tool and then stamping over the top with water; I added some grey ink along the edges too. I also used a stencil and gesso to create some white space.  Venus was stamped on book paper, cut out and adhered. I added some chit chat stickers by Tim Holtz for a sentiment. Lastly I doodled around the edge with a black pen. 

Nadat ik de label uit wit card stock had gesneden heb ik hem gekleurd met 3 kleuren Distress Oxide en een blending tool. De randjes daarna met grijs gesponsd en toen alles droog was heb ik met een stencil en witte gesso wat wit terug gebracht. Venus is op een boek pagina gestempeld, uitgeknipt en opgeplakt en deze tekst vond ik er wel mooi bij passen. Het zijn stickers van Tim Holtz. Als laatste nog een wit lijntje om de tekst getekend en een zwart langs de randjes. 

I used the following materials:
Ik heb de volgende materialen gebruikt


Thank you for stopping by today !
Leuk dat je er was ! 

Thursday, 28 December 2017

All you need is love

Hello everyone, 
Hallo allemaal !

For Hobbycompleet de Duif I have made a trio of ATC's. I have used the fabulous Carabelle Studio Stamps and stencil for these again. 
Vandaag heb ik een drie-luikje gemaakt met ATC's. Ik heb hiervoor uiteraard weer die fantastische stempels en stencil van Carabelle Studio gebruikt. 
   

I cut three ATC's out of white card stock and then coloured them by dunking them in Distress Oxide Inks diluted with a little water. After this had dried I added some transparent texture paste with a stencil. I also stamped the background and used the same ink to age the edges. I then stuck some washi tape on them and wrapped some embroidery thread around them. 
Next I stamped the flying heart, coloured it and heat embossed it with clear powder; after cutting it out I accentuated some bits of it with a black Copic marker. It was then stuck down on the middle ATC. The sentiment I used was typed and cut into strips, matted on paper that I coloured with the same ink and adhered on the ATC's. 
Because they will be displayed in the shop I made a board out of card board and some book pages. I inked the edges again with the same in and mounted my ATC's on that. 
If you scroll down you can see all three of them again but separately. 

Thank you so much for stopping by today ! 
De ATC heb ik zelf gesneden uit wit card stock. Dit heb ik daarna een kleurtje gegeven met Distress Oxide Inkten. Toen dit droog was heb ik er met het stencil en texture paste wat relief op aangebracht. Ik heb ook de achtergrond bestempeld met grijze inkt en de randjes hiermee bewerkt zodat ze een beetje oud lijken.
Vervolgens heb ik het washi tape erop geplakt en hier om heen wat draad gewikkeld. Je kan hiervoor gebruiken wat je wilt; ik heb borduurgaren gebruikt. Vervolgens het gevleugelde hart gestempeld, ook met dezelfde grijze inkt en met embossing poeder bestrooid en verhit. Daarna heb ik het hart zelf ingekleurd met Distress Oxide en een kwastje en opnieuw met embossing poeder bewerkt. Het hart glimt nu mooi. Ik heb ook nog met een zwarte Copic marker het hart geaccentueerd. Daarna het hart opgeplakt en de tekst op mijn oude typemachine gemaakt. De achtergrond is een stukje karton beplakt met boekpapier waarvan ik de randjes met dezelfde inkt heb bewerkt.
Hier zijn ze nog een keer maar dan apart:


Ik heb de volgende materialen gebruikt :
Distress Inkt: Worn Lipstick
Fossilized Amber
Versafine Inkt Smokey Gray 
Stencil : Carabelle Studio  'Accumulation de Ronds' MA40101
Stempels: Carabelle Studio 'Venus' SA60322 en 'Background: Alphabet' SA60324
Tim Holtz Design Tape 'Butterfly'
Ranger Texture paste Transparent Matte
Leuk dat je er was vandaag !

Wednesday, 20 December 2017

Collect beautiful moments


Hello everyone, 

Hallo allemaal, 

I have made a card today and I really love this stampset by Carabelle. It is right up my street ! 

Vandaag heb ik een kaart gemaakt met de "Venus" set van Carabelle; ik vind hem prachtig ! 


First I die cut a card front with the Crealies CLNestXXL 24, I like the stitched edge. I then stamped the winged heart with VersaMark ink and heatembossed with WOW white embossing powder. Next I used a blending tool with Distress Ink in 'Victorian Velvet' to add colour to the panel. I love how the white embossing pops. I made sure to add more ink around the edges and inside the hearts. 
Next I splattered some of the same ink on the panel. 
I then stamped the main image on book paper, coloured her, partly with the same pink ink and partly with coloured pencils. I then cut her out and adhered her on the panel. Lastly I added the sentiment which is a Small  Talk Sticker by Tim Holtz. Of course you could add a stamped sentiment or make one on the computer and print it out. I then mounted the panel on a piece of black card stock and on a white card. 

Eerst heb ik het kaartpaneel gestanst met de Crealies CLNestXXL 24. Ik vind het gestikte randje hiervan zo leuk. Daarna heb ik het gevleugelde hart gestempeld met VersaMark waarna ik het met wit WOW embossing poeder bewerkt heb. Met Distress Inkt in Victorian Velvet daarna met de blending tool kleur aangebracht; een beetje meer langs de rand en in de harten. 
Ik heb ook met een kwastje wat van de met water verdunde inkt op de kaart gespetterd. 
Vervolgens heb ik de dame gestempeld op boekpapier en heb ik haar lichtjes ingekleurd met dezelfde distress inkt en kleurpotloden. Ik heb haar toen uitgeknipt en op het kaart paneel geplakt. Een sticker 'Small Talk' van Tim Holtz maakt het geheel af. Je kunt natuurlijk ook een gestempelde text gebruiken of er een op de computer maken en uitprinten. Als allerlaatste heb ik het paneel op zwart gemat en daarna het geheel op een witte kaart geplakt. 

Materialen:
Wit card stock 
Zwart card stock
Small Talk Sticker 


Thank you for stopping by today ! 

Leuk dat je er was vandaag ! 


Thursday, 14 December 2017

A grateful heart


Hello everyone !

Hallo allemaal !

Today, for my post for Hobbycompleet de Duif, I have a tag to show you ! 

Voor vandaag heb ik een label gemaakt om te laten zien: 


I started with cutting a tag from white card stock. I added the stencilling with Distress Ink in Pumice Stone and I used the same ink to go around the edges. I then stamped the letters with Distress Oxide Ink in Worn Lipstick. 
I used a piece of book text on the tag to place my heart on. I painted it and the area underneath with white paint to make the text a little less obvious and to bring all the colours together. I then stamped, coloured and cut out the heart and adhered it onto the book text. I added the Tim Holtz Small Talk sticker and the ribbon and that was it ! 
Om te beginnen heb ik een label gesneden uit wit card stock. Hierop heb ik met een stencil en Distress Inkt de circles aangebracht. Ik heb ook de randjes van de label be-inkt.
Op een paar plaatsen heb ik met rose Distress Oxide Inkt de letters gestempeld en toen was ik wel tevreden met de achtergrond. Vervolgens heb ik uit een oud boek een pagina gescheurd en een stukje hiervan met witte acrylverf bewerkt. Omdat dit niet zo wit was als de label heb ik op de label zelf ook wat van dezelfde verf aangebracht; daar waar het stukje boek paper is geplakt.
Daarna heb ik het vliegende hart gestempeld en ingekleurd met dezelfde inkten. Ik heb het daarna uitgeknipt en op het boekpapier geplakt. Als laatste heb ik een lintje door het gaatje gehaald en dat was het !

Materials:
Ik heb de volgende materialen gebruikt:

Distress Ink - Pumice Stone
Distress Oxide Ink - Worn Lipstick
Stencil - Carabelle MA40101 "Accumulation de ronds"
Stempel - Carabelle SA60324 "Alphabet"
Stempel - Carabelle SA60322  "Venus"
Tim Holtz Small Talk sticker (je kan natuurlijk ook een stempel gebruiken...)
Stukje lint naar keuze
Dank je wel voor je bezoek vandaag !

Thank you for stopping by today ! 

Wednesday, 6 December 2017

Beauty

Hello everyone,
Hallo allemaal,

Today I have a post for Hobbycompleet de Duif. I got these fab Carabelle Studio goodies to create something with and this is what i made :
Vandaag heb ik een art journal pagina voor Hobbycompleet de Duif. Ik kreeg deze geweldige artikelen van Carabelle Studio toegestuurd en dit is het eerste project wat ik er mee gemaakt heb. 


The base for this page is pattern paper. I have stencilled it with white paint and stamped and heat embossed it too. I added some stitching with my sewing machine around the edges and added some washi tape. I then stamped the lady and the wings, coloured them, cut them out and arranged them on the page. The word 'beauty' finished it off. 

De basis voor deze pagina is patroon/designpapier. Ik heb dit gestempeld en gestencild. De stempelafdrukken zijn met embossing poeder bewerkt. Gebruik hiervoor een kleur die bij je achtergrond past. 
Ik heb de randen met de naaimachine gestikt en hier en daar wat washi tape geplakt. 
Daarna de dame en de vleugels gestempeld, ingekleurd en samengevoegd op de pagina geplakt. Als laatste het woord 'beauty' toegevoegd. 

I have used the following materials :
Ik heb de volgende materialen gebruikt: 

Carabelle Studio:


071 Flesh, 066 Dark Oatmeal, 061 Light Brown, 096 Mid Grey, 050 Yellow, 046 Mid Green, 044 Deep Green, 028 Pale Pink, 026 Light Pink, 043 Olive Green. 


Wednesday, 19 July 2017

A different use of stamps...


Hallo allemaal,

Hello everyone, 
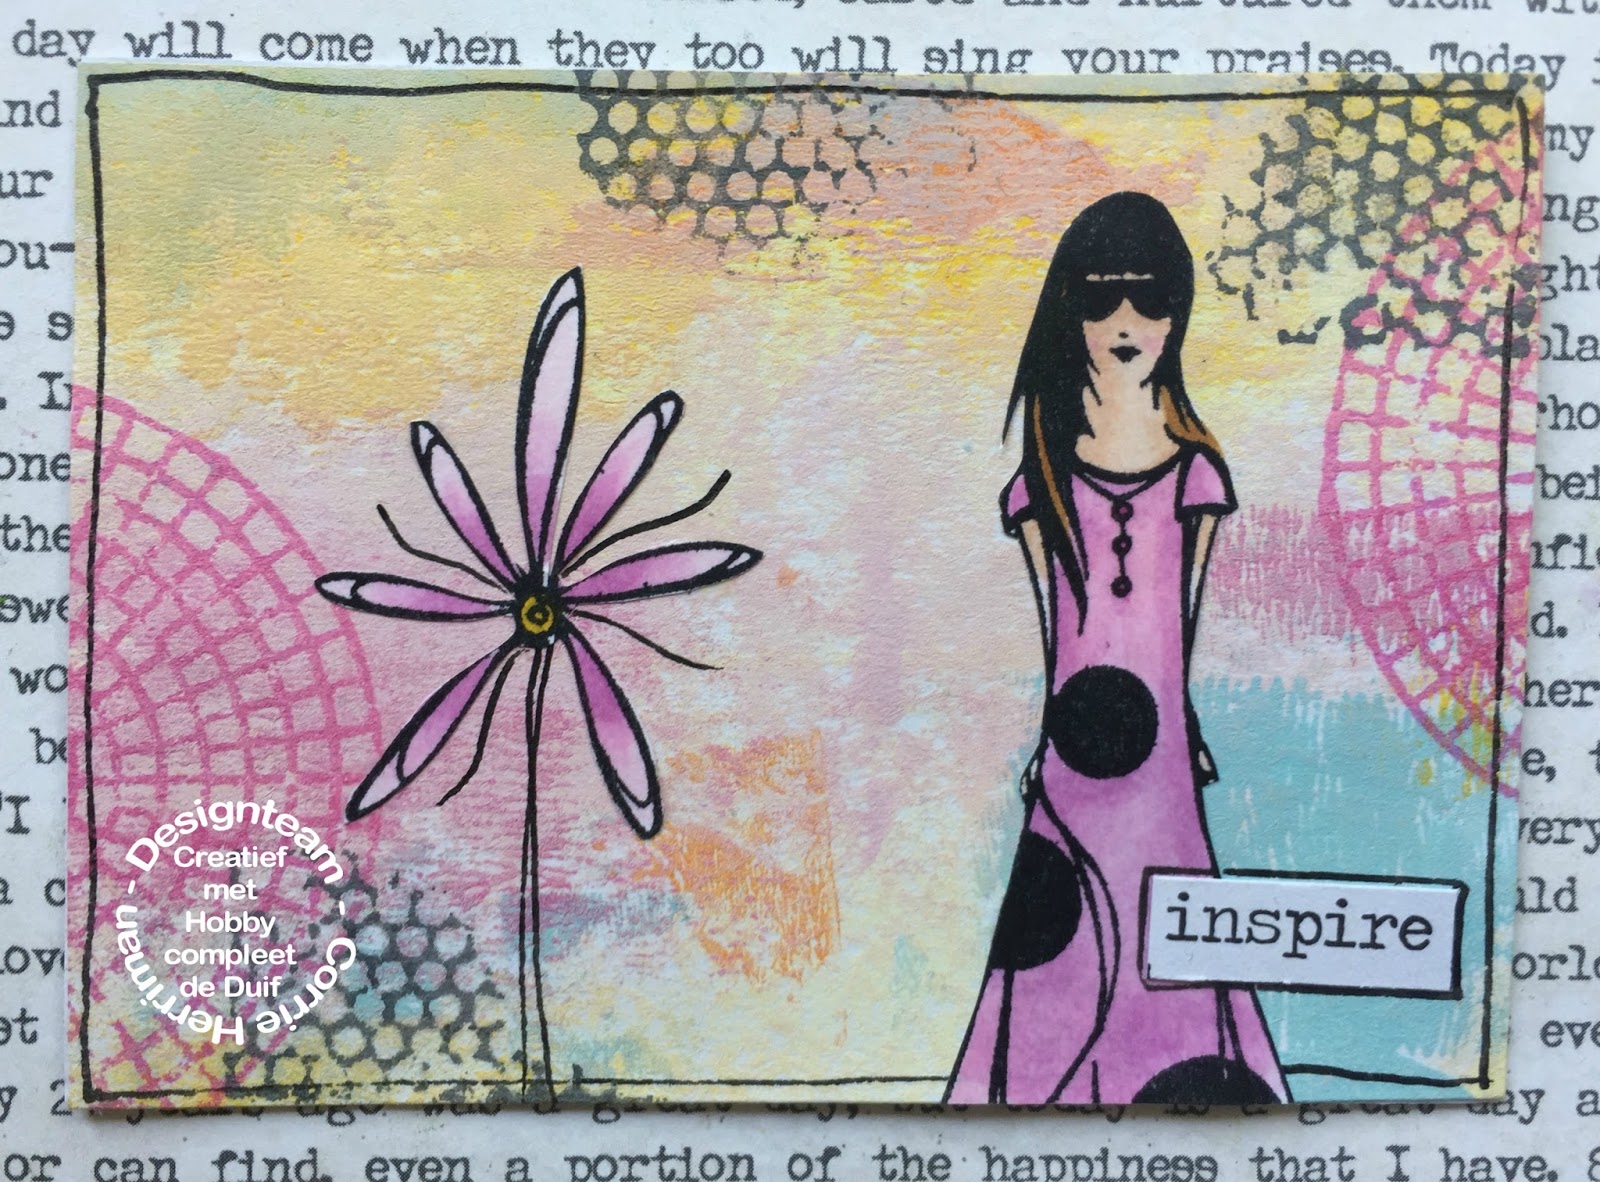
Vandaag heb ik een setje van 3 ATC's om te laten zien. Met deze set wil ik laten zien dat je heel gemakkelijk een stempel kan aanpassen aan een ander formaat, simpelweg door alleen een gedeelte te gebruiken of zelfs een afdruk op maat te knippen.

Today I want to show you how to adapt a stamp to suit your projects simply by cutting or masking bits off. 
Zoals jullie misschien nog weten heb ik vorige maand deze kaart gemaakt:

You might remember this card that I made last month.


Met deze zelfde stempel (deze afdruk is één stempel behalve het woord Daydreams) heb ik nu een setje van 3 ATC's gemaakt. ATC's worden veel geruild en geswapt en hebben een afmeting van 2,5" x 3,5" precies ! In mm is dat 63.5 mm x 88.9 mm.

With this same stamp which is one image (apart from the word Daydreams) I made this set of three ATC's. 


en hier zijn ze afzonderlijk zodat je ze beter kan zien :

Here they are separately so you can see them better:


Op wit card stock heb ik acrylverf gebrayerd. Ik heb eerst geel, oranje, roze en blauw gebruikt en daarna wit eroverheen om het wat af te zwakken. Toen ik tevreden was heb ik het card stock in ATC's gesneden. Daarna heb ik met verschillende kleuren inkt die er mooi bij pasten (roze en grijs in dit geval) de achtergrond hier en daar bestempeld.

I started with brayering acrylic paint onto card; I used yellow, orange, pink and blue. I also used a little white over the top to tone it down a bit. Next I stamped the background with inks that went with the colour scheme. I used pink and grey Archival Inks. 
Op hetzelfde card stock met Memento Inkt de stempel 3 keer afgedrukt, het meisje en de bloemen ingekleurd met Copic Markers en uitgeknipt wat ik dacht leuk was op het ATC en dat opgeplakt. Hier en daar wat gedoedeld en als laatste woordstickers toegevoegd.

I stamped the stamp three times on white card stock and coloured the girl and one of the flowers three times, cut them out and adhered them onto the ATC's. 
Ik hoop dat ik jullie hiermee inspiratie heb gegeven om eens anders naar je stempels te kijken.

I hope I gave you some inspiration to look differently at your stamps. 
Ik heb de volgende materialen gebruikt:

Materials:

Amsterdam Acrylverf
roller
Stempels:
PaperArtsy ELB34
Carabelle 60309 - Une femme parmi des fleurs
Leuk dat je er weer was !

Thank you for stopping by today ! 

Wednesday, 12 July 2017

Happy new home

Hello everyone,
Hallo allemaal,

and welcome to my blog where today I am sharing a card I made for Hobbycompleet de Duif.

en welkom op mijn blog waar ik vandaag een kaart heb om te laten zien. Ik heb deze gemaakt voor het dt van Hobbycompleet de Duif. 


This card was made using different pattern papers from the same pack. I stamped the yellow polka dot piece twice with a Katzelkraft swirl and then on another piece stamped the house, cut it out and adhered it to the panel on some Tim Holtz washi tape. The sentiment was typed on a piece of pattern paper and matted (as was the yellow panel) and adhered on top of the same washitape. 

Deze eenvoudige kaart is gemaakt met patroon papier van een 6 x 6 pack. Het gele polkadot papier is bestempeld met een Katzelkraft swirl en gemat op donker grijs papier. Het huis is op een ander patroontje gestempeld en uitgeknipt. Daarna is het op het paneel geplakt nadat ik een strookje washi tape had aangebracht. Hetzelfde washi tape heb ik ook gebruikt om de tekst op te plakken. Deze heb ik met een oude typemachine getypt op weer een ander papiertje en daarna op hetzelfde grijs gemat. 

The whole thing was then adhered to a white card. 

Het geheel daarna op een witte kaart geplakt. 

I have used the following stamps: 

Ik heb de volgende stempels gebruikt:


Thank you for stopping by today ! 
Leuk dat je er was vandaag ! 

Tuesday, 27 June 2017

Inspire


Hello everyone, 
Hallo allemaal, 

Today I have a square AJ page to share. I made this for my DT Hobbycompleet de Duif
Vandaag heb ik een AJ pagina om te laten zien. Ik heb deze voor Hobbycompleet de Duif gemaakt. 


I started off with a piece of Design paper from 7 Dots studio (6 x 6) and added some stamping with Distress Oxide ink in Iced Spruce. I also inked up the edges with the dame ink. I then stamped the houses on another piece of Design paper from the same series and cut them out. I added a little tiny bit of red to the window frames. I put some Tim Holtz washi tape down and adhered the houses on top. The sentiment was stamped separately and added on one of the houses. Lastly I took my piece to the sewing machine and added some stitching. 

De basis voor deze pagina is een 6 x 6 stuk Design papier van 7 Dots studio maar je kan natuurlijk gebruiken wat je wilt. Ik heb hierop wat gestempeld met Distress Oxide inkt "Iced Spruce" en ik heb deze inkt ook gebruikt om de randjes wat donkerder te maken. De huisjes heb ik ook op DP gestempeld, uitgeknipt en wat kleur toegevoegd aan de kozijnen met een rood kleurpotlood. 
Vervolgens heb ik washi tape van Tim Holtz op geplakt en daar de huisjes op gelijmd. Als laatste heb ik het woord toegevoegd en met de naaimachine rondom de rand gestikt. 


Materials:
Ik heb de volgende materialen gebruikt:

Stempels:
PaperArtsy ELB32 en ETS06   
Distress Oxide Inkt Iced Spruce  
Archival inkt Jet Black  

Thank you so much for stopping by today ! 

Leuk dat je er was ! 


Sunday, 18 June 2017

Home is where the heart is

Hallo allemaal,

Hello everyone, 

Vandaag heb ik een art journal pagina om te laten zien. Art journaling blijft toch wel mijn favoriete bezigheid. Ik denk dat dat is omdat er helemaal geen regels zijn en alles kan en mag.

For my DT over at Hobbycompleet De Duif, I made this AJ page. Artjournaling is still my favourite thing to do as there are no rules. 


Deze pagina is gemaakt met een gelli print als basis. Deze maak ik altijd in grote hoeveelheden zodat ik altijd prints bij de hand heb. Ik gebruik hiervoor Mixed Media papier maar je kan eigenlijk gebruiken wat je wilt, zolang het niet te dun is. Het beste is zo 170 grs. of dikker. De verf die ik gebruik is Amsterdam Acrylverf; en het beste is om eerst een dunne laag in een of twee lichte basis kleuren aan te brengen. Ik heb hier lichtgroen en lichtblauw gebruikt. Daarna print ik er overheen met donkere kleuren; in dit geval paars en donkergroen. Tevens kun je dan in deze lagen structuur aanbrengen met stencils en stempels. Ik heb hier een bloemenstencil gebruikt.  
Ik heb de achtergrond ook bestempeld, niet te veel want hij is al redelijk druk. De huizen heb ik op boekpapier gestempeld en uitgeknipt. Er zitten twee stempels in deze set maar door hier en daar wat weg te knippen (de schoorstenen) krijg je toch drie verschillende afbeeldingen. Ik heb ze na het uitknippen op de achtergrond geplakt. De woorden heb ik met een oude typemachine op de rand van hetzelfde boek papier getypt en het hartje heb ik uit de hand uit hetzelfde papier geknipt. Als laatste dit alles op de achtergrond geplakt en hier en daar wat accenten aangebracht met een zwarte en witte pen. 
Dat was het !

I used a gelli print as base for this page. I added some stamping and then stamped the houses on book paper, cut them out and adhered them onto the page. I did cut off some of the detail from one of the houses so I got three different ones with two stamps. The sentiment was typed and the heart cut out of the same book paper. Lastly I doodled around the page and that finished it off. 


Materialen :
Materials:
Amsterdam Acrylics (kies de kleuren die je mooi vindt)
Archival Inkt - French Ultramarine - Leaf Green - Jet Black
Stempels:

Groetjes en tot de volgende keer !

Thank you for stopping by today ! 

Saturday, 4 February 2017

Beautiful

Hello everyone,

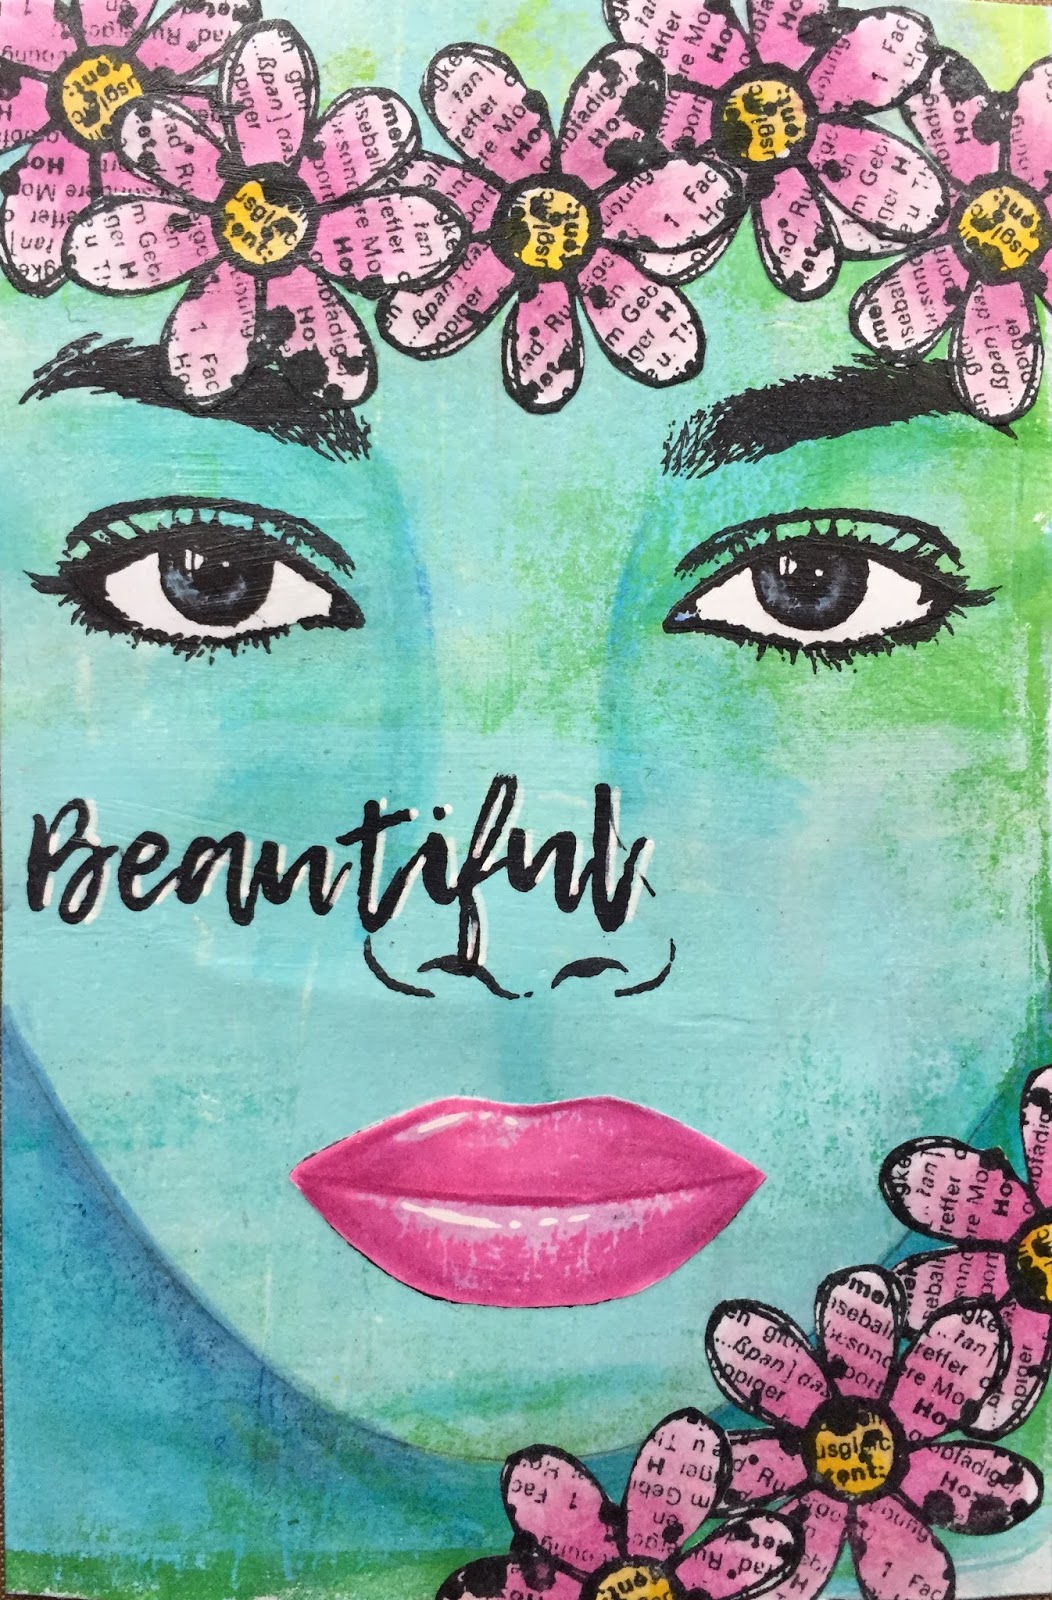
Just a quick post from me today.  I have been doing DT work all day but found time too to make a postcard for the UK Stampers Forum. I have recently become a member of this super friendly supportive group. They organise all sorts of swaps and thing... Check it out ! Anyway here is my postcard:


Isn't she gorgeous! I have used a gelli printed piece of paper that I had lying around and stamped the beautiful face stamps by Visible Image in it. I also added a sentiment from a different set, also from Visible Image. There is also a template for the face which I used at the bottom for the contour of the face. 
I then stamped the mouth, eyes and flowers (by Carabelle Studio) on thin marker paper and coloured them. I cut the all the bits out and adhered everything on the card with gel medium and gave the whole card a coat too so it is nicely protected. 

Thank you for stopping by today ! 


Friday, 5 August 2016

De Craftorij Zomer Challenge - CZC2016 day 56 - 61

Hello everyone,

and welcome to my blog where today I'll share the last 6 cards from the CZC2016; I can't believe it is over already !!! I have so enjoyed it !


Day 56 - Watercolours
Stamped this lovely lady on some Bristol Card Stock, cut slightly smaller that the cards I am using, and coloured her with Zig Clean Color Real Brush Markers. I stamped 'Whatever' next to her and added some washi tape on one of the blank cards. I then glued the panel over the top.


Day 57 - hand(s)
I used one of my gelli printed backgrounds for this. The hand is a stamp and I stamped it with VersaFine Ink and then clear embossed it. It makes it just that little bit blacker... I added some words from the same stamp set and drew some lines around the edges. 


Day 58 - Mirror image
I stamped the bird once as it is and once on a piece of acetate. I then stamped the acetate on paper and hey presto a mirror image. I coloured them both and adhered them to a gelli printed card. I added a Tim Holtz Chit Chat sticker. 


Day 59 - Image transfer

I printed this image of Johnny Depp (swoon, swoon) on a laserprinter and then cut it out. I added gel medium to the image and to a pre painted card. I stuck the image on face down and used an old credit card to scrape over the top. This way you burnish the image and squeeze out all the gel medium that is too much. I then dried it with a heat tool and when dry I wetted it it with water and rubbed off the paper. All that is left is the black ink. I added a sentiment, which is a quote from the film 'the Shining', just for fun! 


Day 60 - Purple 
Another gelli print, yes I know, boring.... I have loved using all these gelli prints, which make for quick projects. I stamped over the top a little, added some white drops of paint and then added a Design paper circle to put my doggie on. He is part of the new stamp set by Tim Holtz, crazy dogs. I coloured him with Copic Markers and glued him on the circle. Lastly I added a sentiment by VivaLasVegaStamps!


Day 61 - Anything goes, 15 minutes
This one was made from bits lying on my desk. A gelli print, an already stamped and coloured image and a few bits of washitape. All I did was stamped the background, added the image and a sentiment and drew a line around the card. 


And here they all are.... 61 cards ! 

I now have to turn them into two books... I'll be back !!! 

Thank you for stopping by today ! 


Monday, 11 July 2016

De Craftorij Zomer Challenge - CZC 2016 day 31 - 35

Hallo everyone,

I am very pleased to have caught up with the 'postcard a day' challenge after my week's holiday... so here is day 31 - 35 !!! I am really enjoying this !


Day 31 - waterdrops, I white embossed the raindops on the card first. Then I used Distress Inks to colour the background. Next I stamped the cat and the sentiment, coloured them and adhered them to the card. 


Day 32 - song lyrics. I painted the card black with gesso and white embossed the Rolling Stones song lyrics on it... 


Day 33 - Emoticons. On a gelli print I stamped this fabulous Visible Image stamp. I re stamped the little face, coloured it and adhered it on top.. 


Day 34 - Anything but black.... On another gelli print I stamped the clocks with VersaMark en white embossed them.. Stamped the background with grey ink.  The lady is by Dina Wakley and she was stamped on tissue paper and cut out. I adhered her to the card. The sentiment is by VivaLasVegaStamps! and is a quote from Alice inWonderland. I thought it fitted perfectly. 
I adhered it and used a red pencil to add some colour to the bottom and right of the strips.


Day 35 - Circles. 
This is another gelli print. I added some stamping and them die cut three circles big enough for these little fairies. I stamped them on white card stock, coloured them, cut them out and adhered them to the circles. The sentiment is by a dutch company called Stampingback. I stamped it, cut it into strips and adhered it to the card. 

Thank you so much for stopping by today !!!