Showing posts with label gesso. Show all posts

Wednesday, 9 September 2020

Sweetie

Hello everyone,

For today's project I have made a mini journal page. These are really just postcard sized pieces of paper that I stick in my journal. I really like how this one came out.


It was made with a piece of watercolour paper. I recently bought some Infusions powders and I had a play with them to create this background. I also used some white gesso to tone it down here and there. Next I added some modelling paste; this is a graphite one and it has little sparkles in it. 
I added a tiny bit of stamping and some black paint around the edges. I stamped the girl and the sentiment, matted them both on black card stock and adhered them to my panel after putting down some washi tape. 


I have used the following stamps:


Thank you for stopping by today ! 


Saturday, 13 June 2020

Little things

Hi everyone,

As you might know there is an AALL & Create One Day Special today on HOCHANDA tv with Bipasha's fabulous designs. I have made lots of samples and this is one of them. It is a Zine book which is made of one approx A4 piece of paper. If you'd like to make one, just put Zine book in the search bar on YouTube and you'll find lots of tutorials.
This is mine. I have no step by step photos but I thought I'd show you all the same. It is amazing what you can do with a piece of paper.

Here are the times of the shows :

Saturday 13th June 8AM, 12 midday and 4PM UK time
Saturday 13th June 9AM, 1PM and 5PM Dutch time


I made the front and the back of the book of Tim Holtz' worn wallpaper. This one is from the Halloween set. I added gesso and stamped the flowers on it and coloured them. 


Page 2 and 3
All pages inside the book have been made in the same way. After folding and gluing the book I added gesso with a pallet knife making sure to leave bits of the pattern paper I used visible. I added stencilling, stamping, washitape and a focal image that was stamped straight on the page and on book paper. Part of it was cut out and glued over the top. I added some Tim Holtz clippings as sentiment on each little spread. Here is the rest:


Page 4 and 5


Page 6 and 7


Page 8 and 9 


The back.. 

Hope you liked it ! 

Thank you for stopping by ! 


Sunday, 3 February 2019

The story teller


Hello everyone, 

I was very happy to be asked by Abs of AALL & Create to make some samples for the Creative World fair in Frankfurt in Germany which took place on 26th - 29th of January. I will share all of them in the near future. I hope you'll like these new released stamps by Olga Heldwein ! I will list all the stamps, old and new, under the photos. 


How fabulous is this pipe smoking cat ! I inked a piece of card stock with Distress Oxides and then didn't like it ! So I added gesso, stencilling with gesso and stencilling with modelling paste. I also added some stamping. The cat was stamped, coloured and cut out and then adhered onto the card on top of some washi tape. Because he reminded me of someone reminiscing about things, I called him the Story Teller. This is a Clippings sticker by Tim Holtz which I also placed on some washi tape. 

I have used the following stamps and stencil:
Stamp set #58 Scribble it
Stamp Set #171 Moody Kittens
Stencil #49 Rota Vitae 

For more information about all the fabulous AALL & Create products and a list of worldwide stockists, please visit the website HERE.

Than you for stopping by today ! 

Thursday, 6 December 2018

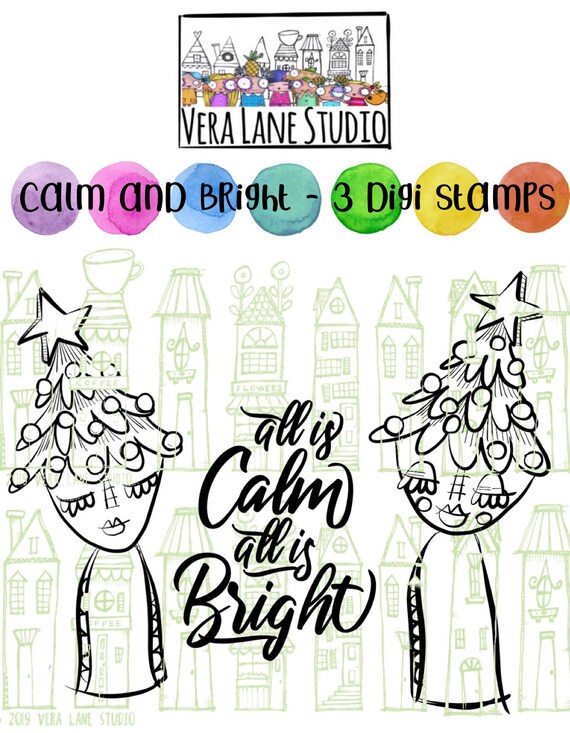
Calm & bright

Hello everyone,

welcome to my 'Happy Thursday' blogpost for Vera Lane Studio. I have made a card and a postcard for today.


I heat embossed the snowflakes and then used Distress Oxide Inks to colour the background. The tree lady was resized, printed and coloured with Copic Markers. I then cut her out and adhered her onto the card. I did make the area behind her a little lighter with white paint so she stands out more. I then matted the sentiment on some black card stock and adhered that too. I also added two staples. 

You'll find Calm & Bright HERE.

image 0


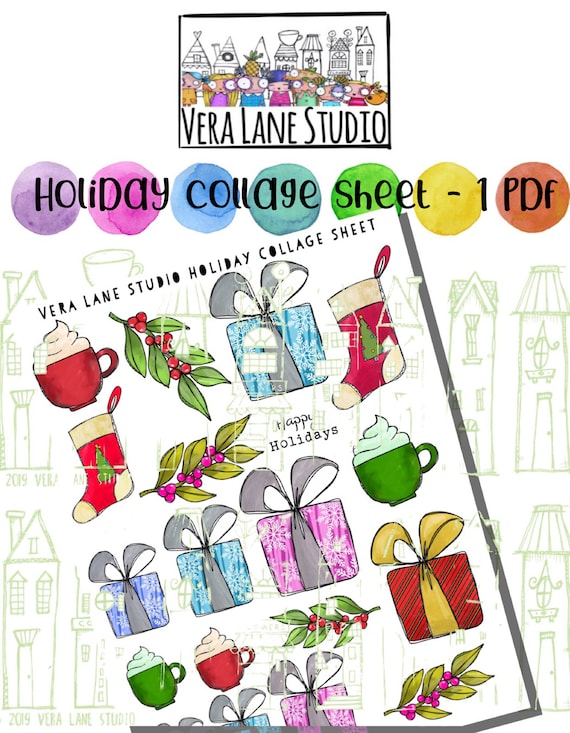
This postcard was made with pattern paper and book pages. I added some gesso in the middle of the paper to make it even lighter and not so busy. I coloured the gift bag and glued one of the holly branches from the Holiday Collage set onto it. The gift is also from the same collage set and comes coloured, just like the holly. I arranged them onto my card and added the sentiment. 

You'll find the collage sheet HERE. 

image 0


You'll find the gift bags HERE.

image 0

Thank you so much for stopping by today ! 

Wednesday, 5 December 2018

Do all things with love

Hello everyone,

Welcome to the VivaLasVegaStamps! blog where today I am sharing an art journal spread. Initially the top of the pages was orange but when I didn't like it, I just changed it into blue ! That is the beauty of acrylic paint !  Anyway, here it is :


So, I started with painting the pages with gesso. I used a silicone brush for that, well actually it is more of a scraper than a brush. I then added the colours, green at the bottom, yellow in the middle and orange at the top. Next I used a stencil and white paint to tone it down. I also use a brayer to add more white over the colours but I still didn't like it. I solved the problem by painting over the orange with white gesso and then adding the blue and repeating the stencilling. I like ! 
Next I used the flower stamp with dark green paint at the bottom; make sure to wash your stamps straight away after using paint because when it dries is it almost impossible to get off. 
Next I stamped the background randomly with inks in similar colours. The plane and the boy in the tub were stamped on book pages as was the sentiment. I coloured the boy and the plane lightly and then cut everything out and adhered it to my page. A little doodling around the words and some shading under the tub finished it off. 


I have used the following stamps:


Thank you so much for stopping by today ! 


Monday, 19 November 2018

More Artist Trading Coins

Hello everyone,

It is time for the second inspiration post for Country View Challenges and we are still making Artist Trading Coins ! Why not play along with us ! You might win a £20 voucher for the shop, just read the rules first ! Here are mine :


There is also a process video on my YouTube Channel HERE or you can click on the pic below.


Thank you for stopping by today ! 

Thursday, 30 August 2018

This week at Vera Lane Studio

Hello everyone,

It is my turn to show you some inspiration with the lovely digital images from Vera Lane Studio. I love the because they are so versatile. I love colouring too and these are great for that.
For today I have made an art journal, an ATC, and an ATC Coin.


This AJ was great fun to make. I put some paper under the pages to protect anything underneath while I painted the pages with gesso. I noticed that the magazine pages I used for this had nice pink stripes so I tore them off and used them for collage! Next I added book text pieces and then knocked it back with more gesso. I then added the stencilling with Distress Oxide Ink and put down some black and white washi tape. I also added some stamping (the little black dots) and a doodle line along the pages. This little Dilly girl was then put on the left page. She was coloured with Copics. Lastly I added the sentiment which is a sticker by Tim Holtz. 

You'll find Dilly HERE


This ATC was made with a piece of pattern paper. I added some more of it down the bottom where I also adhered the sentiment from the set. The little pirate was coloured with Copics and adhered onto the card. 

You'll find the pirates HERE


This little parrot is from the same Pirate set. I coloured him on holiday with watercolours. I added a swirl to put him on. The sentiment is a sentence out of a book. The coin itself was cut out of a gelli print. 

Thank you for stopping by ! 


Wednesday, 15 August 2018

So many reasons to be happy

Hello everyone,

I was really happy when Autour from AALL & Create asked me to stay on for another term ! Yay !
For my first project I have made a garland with 3 flags. I think this would look great in any child's room and the sentiment is one to live by !


And here's how :


started with these ready made flags, I slapped on some gesso. I didn't want it to be very neat. I then put model paste through Stencil #22 by Autour de Mwa. 


After the gesso and model paste had dried I painted yellow and green paint where the gesso was. I mixed some dark green paint with Glazing Liquid and painted it onto the model paste and left it for a little while. I then rubbed it off with a baby wipe. The paint will stay in all the nooks and crannies. Next I added some stencilling with white paint and stencil #11 by Autour de Mwa. 


I then randomly stamped the background using stamp set #68 and #89 both designed by Fiona Paltridge. I used green and black Archival inks. 


It was then time to stamp the main images on the flags. I also stamped them on white card stock to colour and cut out. I used :
#89 Gwendolen 
#91 Asher
#92 Brinley


After colouring I cut them out without the doodle lines and glued them on the top of the stamped images on the flags. This way they look perfect ! 


I hope you enjoyed my tutorial and I thank you for stopping by today. 

If you'd like more information about the AALL & Create products please visit:


Thursday, 29 March 2018

Take a flower in your hand ...

Hello everyone,

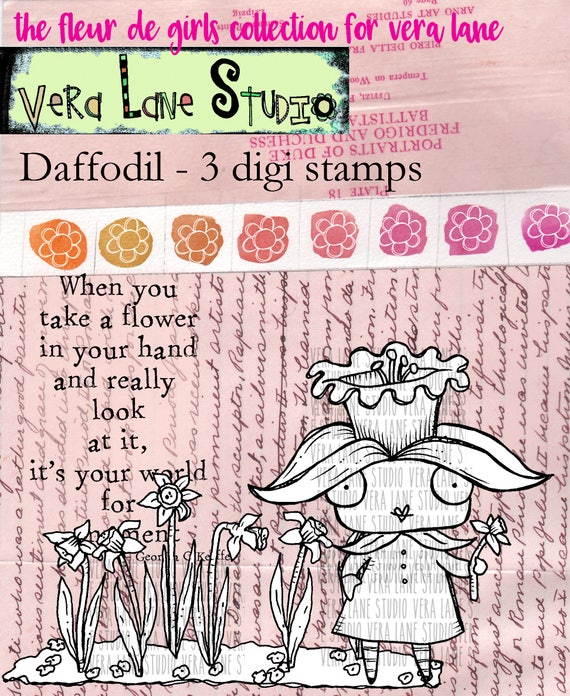
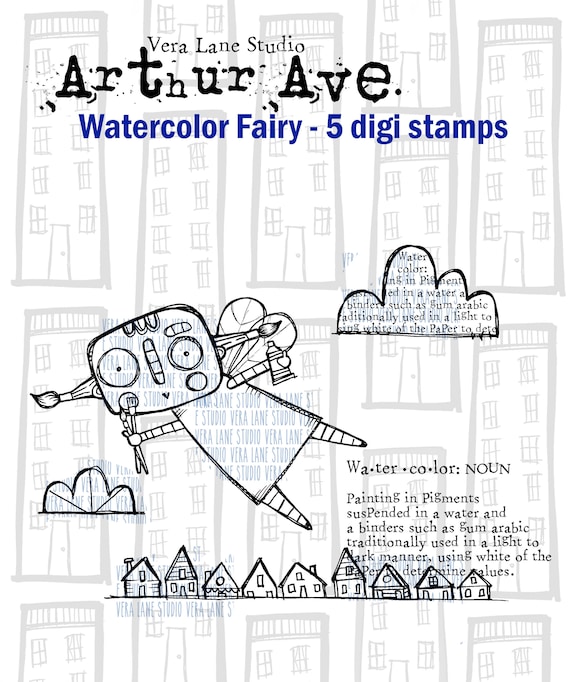
and Happy Thursday to you all ! For Vera Lane Studio I have made two projects this week; a postcard with the lovely Daffodil and an Art Journal page with the new Watercolor Fairy which was designed especially for Stephanie because it is her birthday today ! Happy birthday Steph !


This is Daffodil on a watercolour background. I did add some stencilling with white gesso and some stamping on the background too. 

You'll find her HERE


This is Watercolor Fairy.  She was brought out to celebrate Stephanie's birthday ! The background was made with a gelli plate, Copic Refills and a stencil. 

You'll find her HERE.


Thank you so much for stopping by today ! 


Friday, 16 February 2018

Today is full of possibilities !

Hello everyone,

For my Katzelkraft post for today, I have made an Art Journal page and a Video tutorial to show how I made it.


If you'd like to see the VIDEO click HERE. 


I have used the following stamps: 

KTZ130 - Mini background
KTZ161 - Les Chiens
KTZ179 - Les rats des villes

Thank you for stopping by today ! 


Monday, 22 January 2018

A notebook

Hello everyone,

and welcome to my blogpost for UmWow Studio, where I am sharing a little book with you. I have recently rediscovered my love of making little books and I couldn't resist to make one for today's post.


This little book was made out of 1 sheet of 12' x 12' paper and I glued some fabric on the outside to give it even more interest and also keep it together. 

Here's what I did to the chipboard:


I started with 2 layers of gesso. 


Next I heat embossed the pod-bit of the chipboard. 


Next I am used a Pitt Big Brush Marker by Faber Castell to colour the top and the stem. 


I added some white details too. 

And here is the finished booklet:


I used an Um Wow Studio stencil and some modelling paste for the front of the book. When the paste was still wet I added som embossing powder and then heated it... 


I have used this Chipboard:


It is called Poppy Pod Skellie and you will find it HERE. 

I also used this stencil :


This is called Wheat Stencil and you will find it HERE. 

Thank you for stopping by today !