Showing posts with label Watercolour. Show all posts

Friday, 7 September 2018

What else ?

Hello everyone,

Today, for Katzelkraft, I have a card to show you ! I fancied doing some watercolouring and that is what i did.


This was a really simple card. I stamped the images on watercolour paper and watercoloured them. I then added a little coloured pencil here and there, some background stamping and matted it on a piece of black card stock.  

That was it ! 

I used the following stamps:

Thank you for stopping by today ! 


Thursday, 10 May 2018

Don't forget to play

Hello everyone,

and happy Thursday ! For my inspiration post for Vera Lane Studio I have made 3 small projects; a postcard and 2 ATC's.


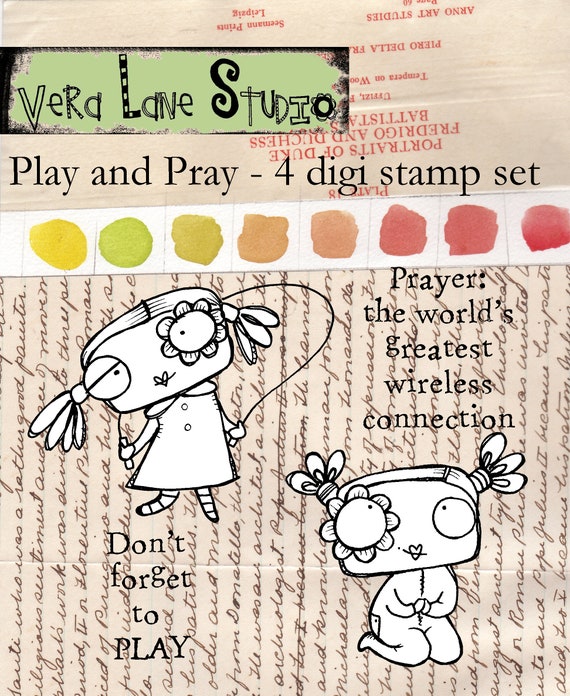
This postcard is made with the latest new set called : Play and Pray. You will find this cutie HERE


This ATC is made with the same set and this is for the 'blessings' swap hosted by Angie this month. 


...and the last project:


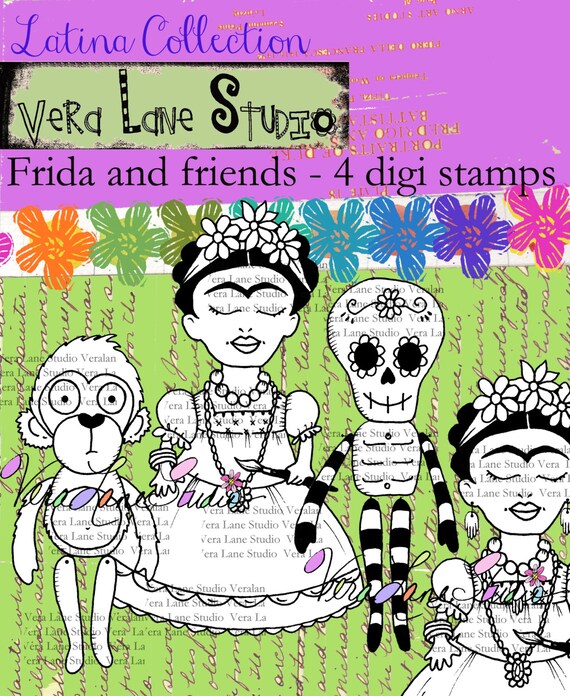
This ATC has a watercolored-over-embossing background. I found this in my stash.. The monkey is from the 'Frida and Friends' set. You will find it HERE.


I hope I have given you some inspiration ! Thank you for stopping by ! 


Thursday, 29 March 2018

Take a flower in your hand ...

Hello everyone,

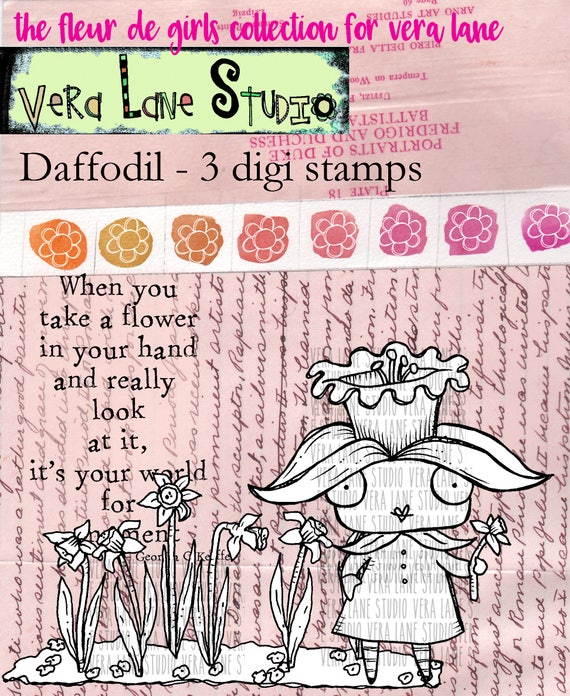
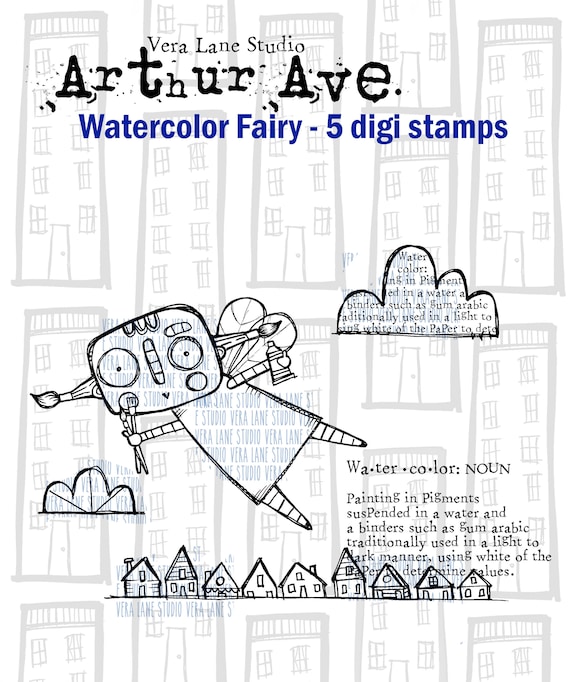
and Happy Thursday to you all ! For Vera Lane Studio I have made two projects this week; a postcard with the lovely Daffodil and an Art Journal page with the new Watercolor Fairy which was designed especially for Stephanie because it is her birthday today ! Happy birthday Steph !


This is Daffodil on a watercolour background. I did add some stencilling with white gesso and some stamping on the background too. 

You'll find her HERE


This is Watercolor Fairy.  She was brought out to celebrate Stephanie's birthday ! The background was made with a gelli plate, Copic Refills and a stencil. 

You'll find her HERE.


Thank you so much for stopping by today ! 


Friday, 7 July 2017

Perfectly flawed


Hallo allemaal,
Hello everyone, 
en welkom op mijn blog waar ik vandaag voor Hobbycompleet de Duif een Art journal pagina laat zien die gemaakt is met aquarel verf en 2 stempels.

Today I have an art journal page made with 2 stamps and some water colour paint. 

Op aquarelpapier heb ik deze mooie dame gestempeld maar wel de haarlok die over haar gezicht hangt gemaskerd omdat ik dat niet mooi vond. Daarna heb ik de afdruk en de ruimte eromheen ingekleurd met aquarelverf. Een enkele tekst stempel maakt het af.

I stamped this lovely lady on water colour paper but did mask off some of her hair that goes across her face. I didn't like that. After stamping I painted the girl and the background with watercolours and when dry added the sentiment. 
Ik heb de volgende materialen gebruikt :
Materials:

Stempels/stamps:
Penny Black - Isabelle 40549
Visible Image - Own it
Aquarel verf
Crafters Companion Aquarel papier
Dat was het voor vandaag ! Leuk dat je er was !

Thank you for stopping by today ! 

Wednesday, 5 April 2017

A little ray of...

Hello everyone,

It is the first Wednesday in April and that means there is a new release at Stampotique. As you might know these days we get 6 new stamps every month and not a huge amount twice a year. This is easier to deal with for everybody.

Also this month we have a collaboration with Lindy's Stampgang ! yay ! I love Lindy's products and use them quite often. For this collaboration we were sent some goodies and I used three of them on my project: A starburst spray, 'Rusty Lantern Lime' for the background, a Magical 'Sidewalk Chalk' and a Magical Shaker 'Black Forest Black' for adding splatters.

It is also the second week of the 'Text Background' challenge and I have made a journal page with some old and some new stamps. Why not play along with us? You might win one of two $30 vouchers at the end of the month. Just make sure to read the rules first !


I started with adding a layer of Gesso on my paper. When is was dry I added the script with VersaMark ink and heat embossed it with WOW white embossing powder. I then sprayed the page with the lime inkspray and when that was dry splattered some white and black on it. 

I stamped the television on the page and on a separate piece of paper. Next I stamped the girl and the sentiment. The TV and the girl were water coloured,  put together and glued to the page. The text was cut apart and adhered to the page. I did add some grey water colour to the edges of the word strips. 

That completed my page. 

I have used the following stamps:
from the March release:

From the April release

Thank you for stopping by today !


Thursday, 5 January 2017

Foodie

Hello everyone,

and welcome to my first blogpost for VivaLasVegaStamps! for 2017 ! I am happy that I am still on the DT team and I look forward to sharing my projects with you !

For today I have made a simple postcard:


I started with a piece of water colour paper sized 6" x 4". I coloured it lightly with watercolours and stamped the macarons on it. I did stamp them separately too on more watercolour paper. 
Underneath the macarons on the card I added some shading with a darker colour. Next I watercolored my macarons. Don't they look tasty ! After colouring and drying I cut them out and adhered them to the card on top of the stamped image. I added the sentiment which I clear embossed because it goes a little blacker then. Lastly I added the dots around the edge of the card. 

I used the following stamps:


Thank you so much for stopping by today ! 

Saturday, 31 December 2016

In your dreams

Hello everyone,

welcome to my blog on this misty and murky New Year's Eve. It is Saturday today and that means it is the weekend. At Stampotique we share some of the wonderful word and quote stamps every weekend and I felt like making something ! Of course it is another art journal ! Anyway, hope you like it and Happy New Year !


This is my mini Moleskine journal. It is tiny at 5,5" x 3,5", a great size for quick journals. I started with gesso and then model paste with a stencil by Andy Skinner for DecoArt. I coloured it with watercolour paint. This was just an experiment as I didn't know how it was going to work. In te end it worked ! I stamped the background and splattered some watercolours on it. Next I stamped Cousin Carmine and coloured him/her?, cut him out and adhered him/her on to the page adding washi tape for him/her to stand on. The sentiment was stamped in white card stock and cut out; I added some really light pink to the edges of the paper. And that was it !

I used the following stamps: 


and the words we want to emphasize:


Thank you so much for stopping by today ! 

Wednesday, 14 December 2016

Happy Holidays

Hello everyone,

and Merry Christmas ! Welcome to our Christmas Challenge over at Stampotique !Yes that's the theme for the rest of this month ! Why not play along with us and you might win one of two $30 vouchers at the end of the month. Just make sure to read the rules on the SDC blog.
Here's my contribution:


This simple card was very easy to make.
I stamped the penguins on a piece of watercolour paper, cut slightly smaller than the card I was going to use. I used my Zig Clean Color watercolour markers and a water brush to colour them in and to add colour underneath them. Next I stamped the stars with Distress ink (Tumbled Glass) and added the sentiment on top. 
The panel was then glued onto a blue card.

I used the following stamps:

Thank you for stopping by today !
Saturday, 19 November 2016

La dolce vita

Hello everyone, 

Over at Stampotique we recently started promoting word stamps/quote stamps and although I don't own very many, I have a few and the one I used here is one of them. 


The background of this journal page is a mop up gelli print. I added some white embossed stamping to lighten it up a little. The Flamingo is one of my more recently acquired stamps and I had to used it! The funny thing is that it is quite an old stamp and I never liked it until I saw it used. 
Anyway, I coloured the bird with watercolours and cut it out. As I thought it didn't stand out enough on this darkish background, I die cut a circle from pattern paper and went around the edges with a light blue marker. I adhered it behind the flamingo. I used the back side of the same paper to stamp the sentiment on; that way it is the same colour. I also went around the words with the same blue marker.  I then thought it needed something else so I stamped the crown and coloured it with Copic Markers, cut it out and adhered it on the head of the bird. 
 A black line around the page finished it off. 

I used the following stamps:
La Dolce Vita (the one I am showcasing here) 

Thank you so much for stopping by ! 


Thursday, 7 July 2016

Prendre le temps

Hello everyone,

For my two weekly post for Katzelkraft I have an art journal page to share...


This page was started with a piece of watercolour paper. I heat embossed parts of a background stamp on it and then coloured it with watercolours. The embossed parts resist the watercolour paints and stay white. Such a cool effect. 
Next I stamped the background a little with black Archival ink and also splattered some white ink onto it. 
Next I stamped the zebra on a piece of watercolour paper, coloured him (Zig Clean Color Real Brush Markers) and cut him out. I added some white accents here and there too, using a white gel pen. 
I adhered him in the bottom left corner so he is looking up to the clock. 
I then stamped the sentiment, cut it out, added some orange watercolour to the edges and adhered it to the page. Last thing I did was doodle two lines around the edges with a black fine liner pen. 

I used the following stamps:


Thank you for stopping by today !


Tuesday, 5 July 2016

Jazz it up

Hello everyone,

and happy Tuesday ! It is time to share another project for Visible Image today and I have made a card.


I love how bright this looks... I started with a piece of Bristol Card Stock and stamped the flower shape repeatedly with VersaMark Ink. I then heat embossed them all with white WOW embossing powder. I recently bought the Zig Clean Color Brush Markers and used them for this card. Aren't those colours yummy ? Anyway I used 2 shades of pink, a yellow and two shades of orange to colour the shapes. I also used a pale blue marker to add some shadows around the flowers. 
I did used a water brush to blend all the colours together. 
The sentiment was stamped on vellum and wrapped around the card panel which was then glued onto a piece of black card stock. The whole thing was then adhered onto a white card. 

I used two stamp sets for this:


Thank you for stopping by today ! 

Social Media, Blog and monthly Challenge details :


Show & Tell Monthly Challenge details: http://visibleimage.co.uk/challenge 


Friday, 1 July 2016

Mustang Sally

Hello everyone,

It is my turn to show you project with some of Roc's lovely stamps. This postcard will also be used in the music themed postcard swap on the Roc Nicholas FB page.


I used a gelli print for the background and Roc's 

and

stamps. I stamped the heart vine direct on the card and coloured it with pencils. Scooter girl was stamped on white card stock and I coloured her with watercolours. I then adhered her to the card.

You can find all Roc's gorgeous stamps HERE.

Thank you for stopping by today ! 


Monday, 22 February 2016

Happy everything

Hello everyone,

For this months DT project for Inkadinkadutchies I have made a simple card. I am quite into simple CAS cards at the moment. They are not too difficult to make and usually look nice.


The stamp I used is called 'Tulip' and is by Carmen's Verandah/Lost Coast Designs. I stamped it on a piece of watercolour paper with Archival ink and watercoulored it with WInsor and Newton watercolour paints. 
I used a sentiment by Lost Coast Designs.


I love the dreamy light background which makes the tulip stand out even more. 

You can get these stamps at Lost Coast Designs if you live outside Europe. If you live in Europe you can get them from Inkadinkadutchies. If they do not have them in stock, they will be able to order them for you. 

Thank you so much for stopping by today !  

Thursday, 18 February 2016

Wonderful world

Hello everyone,

For my DT post for Katzelkraft this time, I have made a CAS card. My projects are usually very labour-intensive and I thought I do something quick and easy this week.


I started with cutting a piece of watercolour paper to size. It is slightly smaller than the card that I am going to use. 
I stamped the cat and the sentiment with black Archival ink. This is waterproof so good to use with watercolours. I used my Derwent INKtense pencils and a water brush to colour this card front. 
It is very easy, you scribble on the colour with the pencil and then the water brush turns it into an ink. Once it dries it is waterproof so quite different to watercolours. 

I used stamps from the following sets:
Press the the links and they will take you straight to the shop! 


Thank you so much for stopping by today ! 


Thursday, 4 February 2016

Can you see anything yet ?

Hello everyone,

It is Katzelkraft Thursday again and I have created an art journal page.


This is a page in a watercolour journal. I started by drawing the rectangle in pencil and painted that and the rest of the page with watercolours; I used yellows, oranges and reds. When it all had dried I drew the rectangle again, now with a black fineliner. I then stamped the background. I used yellow, black and white ink. I heat embossed the white ink as I was too impatient to wait for it to dry. Also it is whiter if you emboss it with white embossing powder over the top. 
Next I stamped the birds, coloured them with Copic Markers and cut them out. I stacked them on top of each other and typed out the text which was cut into strips and adhered to the page. Lastly I used a coloured pencil to add the 'ground' under the bottom bird so he wouldn't appear to be floating. 

I used the following stamps: (Click to go the the shop!)


Thank you so much for stopping by today !