Showing posts with label Prima Marketing. Show all posts

Thursday, 2 March 2017

Another Oxide experiment !

Hello everyone, 

Hallo allemaal ! 

Here's the second part of my Tim Holtz Oxide Ink adventure.. I have made two tags. 

Hier het tweede deel van mijn avontuur met de Oxide Inks van Tim Holtz. Ik heb twee labels gemaakt


I forgotten how many colours I used here, but it was a lot... 
I weet niet meer hoeveel kleuren inkt ik hier gebruikt heb maar het waren er veel... 


I also used a stencil with white Dylusions paint. 

Ik heb ook hier en daar een stencil met witte Dylusions Verf gebruikt. 


The stamps are by Artistic Outpost. 

Stempels zijn van Artistic Outpost. 


This was made with a stencil, 3 colours of ink and a stamp. I used Kraft card stock for this. 

Deze label is gemaakt met een stencil, 3 kleuren inkt en een stempel. Alles op Kraft card stock. 
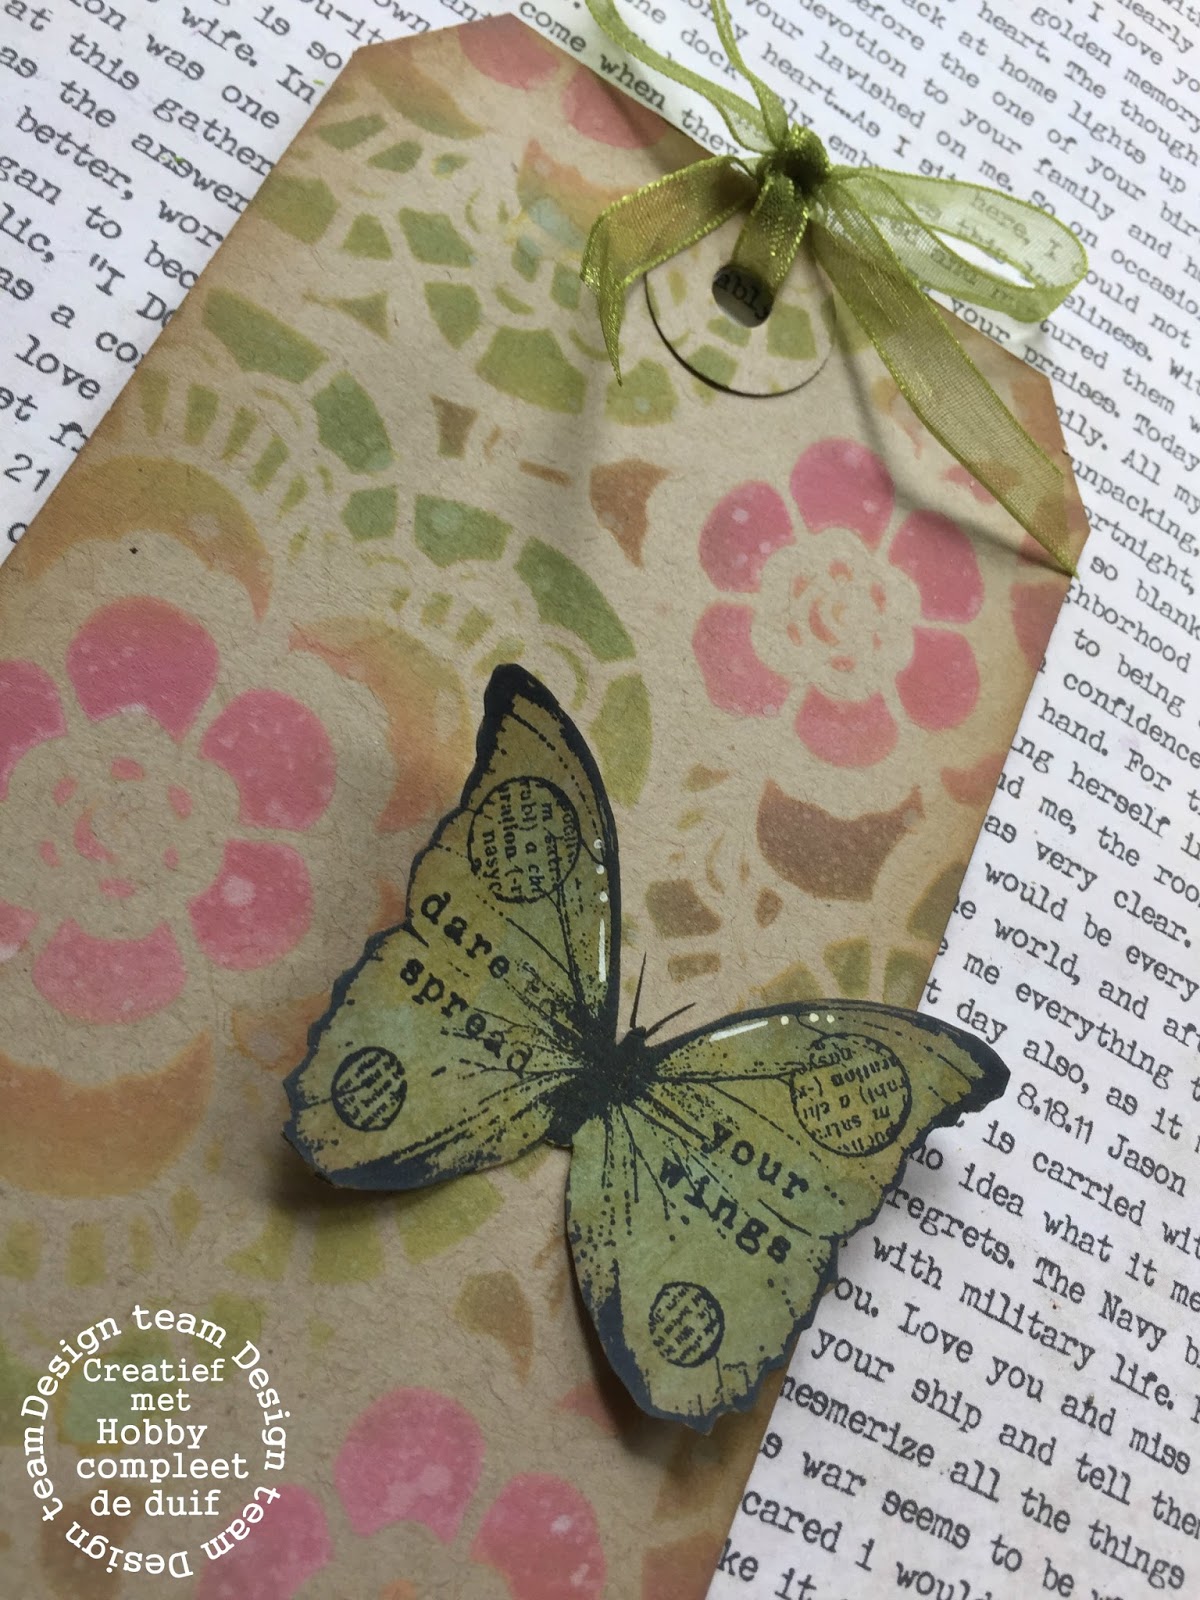


Such a lovely effect ! 

Wat een mooi effect hè..


Materials used : 
gebruikte materialen:


Apart from these materials I used some other stuff from my stash. 

Naast deze materialen heb ik not wat spulletjes van mijn voorraad gebruikt.

Thank you so much for stopping by today ! 

Dank je voor je bezoek ! 


Tuesday, 14 February 2017

Happy where she was

Hello everyone,

It's  my turn on the UmWow Studio blog again today and I have an art journal page to share with you.

I have used the Distressed Harlequin Background pieces that I had left over from my last project.


This page was made with a piece of pattern paper by Prima called 'love letter' from the Pastiche collection. I added some 'Old paper' Distress Ink around the edges and collages pieces of an old envelope on it. I bought this in an antique shop and it has a letter too. For now I just used the envelope with the address on it. Next I added some gesso where the chipboard was going to be and  stamped the background randomly for more interest. I then added the stitch lines around the edges with a black marker. 
I added my altered chipboard ( I have made a YouTube tutorial of how I did this; link below)  and some other bits and pieces like cambric and some lace flowers and stuck my photo on top.  Lastly I added the sentiment. 

Here are some close ups: 


This is the chipboard I used. I had some left over pieces from my last project and decided I might as well use them but then in a different way. 

Here is the link to the video tutorial :


Thank you so much for stopping by today ! 


Wednesday, 11 January 2017

What to do with a Cheese Board ??? A wallhanging for Country View Challenges

Hello everyone,

Today I have a nice little project to share with you. Well I think it is nice.... lol. I got a wooden board with some delicious pieces of cheese on it for Christmas and you know these things always end up cluttering your cupboards when you have finished with the cheese. So I thought I'd turn it into a wallhanging...  I filmed the process and hope you will hop over and have a look. I have to apologise for the shaky footage here and there. It seems my camera cannot deal with me moving and there is no solution for this as far as I know. Hope you don't get seasick !!! lol

I made this as an inspiration piece for the "Anything Goes" Challenge over at Country View Challenges. Why not play along with us and you could win a GBP 20,-- voucher to the shop !


Here is the link to YouTube ! If you like my Videos please SUBSCRIBE to my channel. I really appreciate it ! 


I have used quite a few materials for this :

Clear gesso and model paste both by Prima 
White gesso

PaperArtsy Chalk Acrylic Fresco Paints in the colours:
Teresa Green
Beach hut
Inky Pool
Snowflake

Stencils:
Flourish by Tim Holtz
PS023 by PaperArtsy (Clare Lloyd)

Stamps:
Whimsy girl Three by StarTrish Design 
MN23 Mini by PaperArtsy
SideShow CMS263 Stampers Anonymous

Archival Inks:
Jet Black
Cobalt
Viridean

Zig clean colour Brush Markers

I am entering this project in the CraftStamper TIMI Challenge for January. 


Thank you so much for stopping by today !

Thursday, 5 January 2017

Foodie

Hello everyone,

and welcome to my first blogpost for VivaLasVegaStamps! for 2017 ! I am happy that I am still on the DT team and I look forward to sharing my projects with you !

For today I have made a simple postcard:


I started with a piece of water colour paper sized 6" x 4". I coloured it lightly with watercolours and stamped the macarons on it. I did stamp them separately too on more watercolour paper. 
Underneath the macarons on the card I added some shading with a darker colour. Next I watercolored my macarons. Don't they look tasty ! After colouring and drying I cut them out and adhered them to the card on top of the stamped image. I added the sentiment which I clear embossed because it goes a little blacker then. Lastly I added the dots around the edge of the card. 

I used the following stamps:


Thank you so much for stopping by today ! 

Sunday, 11 September 2016

A painting

Hello everyone,

I've been working on a painting and now it is finished I'd like to share it with you. I've taken some photos along the way to show you how I made it.


First step was putting on the flowers. This is a Donna Downey stencil and I've used it with model paste and a pallet knife... 

Next is a layer of gesso which I didn't photograph because it looks about the same ! lol 


Next the fun starts, painting... 


I used a brush and a palet knife... very much still a work in progress... 


Next is some stamping, stencilling and painting... 


First flower painted but not yet finished...


A close up.. It is a shame that the camera won't pick up the background colour which is turquoise and not blue... 


A little stencilling and stamping... 


And after another few hours of painting, stamping and stencilling... oh and some splattering I declared it finished.... 

Here are some photo's..


Thank you so much for stopping by today ! 


Saturday, 19 December 2015

Mwah!

Hello everyone,

I have made a card today and I would like to share it with you. It is really to show what you can do with a piece of pattern paper.


The base of this card is a piece of patterned paper by Prima Marketing from their Epiphany Collection called 'Divine Exposure'. I sometimes use patterned paper when I don't have much time or when I can't think what to do for a background. 
In this case I had already coloured the horse with coloured pencils and I wanted to make a quick card with it but couldn't find anything in my stash that I thought went with it. So i cut a piece out of a 12 x 12 sheet of patterned paper. It was white to start with but had the text at the bottom and the swirls on the left. I added some acrylic paint with a brayer. I used a light blue craft paint and a Sorbet paint in blue and pink over the top. These paints are by Art Anthology and have a little glitter in them. I also used a pallet knife and scraped some white acrylic paint over the top and along the edges. This whole process took approx. 5 minutes. I then stamped the background and the sentiment and glued the horse into place. The panel was then glued onto a white card. 

I used Stampotique stamps for this:


I hope I have given you some inspiration to use up your stash of patterned paper. I am sure we all have stacks of it.... :o)

Thank you so much for stopping by today !