Showing posts with label Dylusions paints. Show all posts

Wednesday, 18 October 2017

Yeah

Hello everyone, 

Hallo allemaal, 

and welcome to my weekly post for Hobbycompleet De Duif. I have made a small art journal page for today and this is it:

Welcome op mijn blog waar ik vandaag een kleine AJ pagina deel voor Hobbycompleet De Duif. 


I started with a piece of watercolour card and painted it with Dylusions paints. I used two of the new colours and applied them with a blending tool. Next I used the new Dylusions stencil and stamp. First I stencilled the leaves and then stamped the stamp over the top. It doesn't quite line up but I like that. 
Next I added some details with a white pen. 
I then stamped on of the Hipsters from Tim Holtz on watercolour card and coloured him with Zig Clean Color Real Brush Markers. He was then cut out and adhered on a die cut circle of book paper. I doodled around the edge and adhered it to the page. Lastly I splattered some white paint and added the sentiment that came from the same set. 


Op een stuk aquarelpapier heb ik de 2 van de nieuwe kleuren Dylusions verf aangebracht met een blending tool. Daarna heb ik hierop de blaadjes gestencild en gestempeld; deze komen uit een nieuwe set, ook van Dylusions waar je een stencil en stempel in dezelfde set krijgt. Het feit dat het net niet overeenkomt met elkaar vind ik juist leuk. Ik heb daarna met een witte pen wat accenten aangebracht. 
Vervolgens heb ik de aap van de Tim Holtz Hipster stempelset op aquarel papier gestempeld en ingekleurd met Zig Clean Color Real Brush Markers en daarna uitgeknipt. Ik heb hem op een gestanste cirkel van boek papier geplakt en daarna op de AJ gelijmd. Als laatste heb ik met een witte verf marker wat gespetterd and het woord "yeah" uit dezelfde stempelset aangebracht. 

Materials/ materialen:

Thank you for stopping by today ! 

Leuk dat je er was vandaag ! 
 

Thursday, 28 September 2017

Warm wishes (3)

Hello everyone ! 
Hallo allemaal !

Today I have another post for Hobbycompleet De Duif and I have made an art journal page with some of the new stuff from the shop. 
Vandaag weer een blog bericht van mij. Ik heb voor dit project wat nieuwe artikelen gebruikt en het is een art journal pagina geworden.


I started off with a piece of MM paper and painted it with a blending tool with on of the new Dylusions paint by Ranger called Laidback Lilac. I used gesso to blend and make it disappear on the left. Next I stencilled the leaves using one of the new duos of stamp and stencil, also from Dylusions. I then stamped the leaves overtop. They don't line up exactly but I quite like that. Next I stamped the bear and made a mask. I then stamped him 3 times and coloured him with Zig Clean Color Real Brush markers. I was quite surprised at how well this worked on top of the gesso. Of course it will stay reactive with water. Next I stamped the bird and coloured him in the same way. Lastly I stamped the sentiment on white card stock, cut it into strips and adhered it to the page. I also drew some lines around the page. 
That was it ! 

Eerst heb ik de pagina (mixed Media papier) geschilderd met een van de nieuwe Dylusions kleuren nl. Laidback Lilac en witte gesso. Ik wilde dat de kleur van intens rechts naar niets (dus wit) aan de linkerkant vervaagde en dat is gelukt.
Toen heb ik de blaadjes met witte gesso gestencild. Deze komen van een nieuwe Dylusions set die een stempel en een stencil bevat. Toen de gesso droog was heb ik hier overheen de bijpassende stempel gestempeld. De twee wijken iets af en liggen niet precies op elkaar maar dat vind ik nou juist wel leuk ! Met een zwarte fijne pen heb ik vervolgens de lijntjes rondom de pagina getekend.
Het volgende was de beer; ik heb hem gestempeld en er een masker van gemaakt. Daarna 3 keer boven elkaar gestempeld direct op de pagina. Ik heb ze vervolgens ingekleurd met Zig Clean Color Real Brush markers. Ik was eigenlijk verbaasd hoe goed dit werkte boven op de gesso. Uiteraard blijft het reageren met water...
Daarna heb ik het vogeltje op de bovenste beer gestempeld en op dezelfde manier ingekleurd en als laatste heb ik de tekst op een stukje wit card stock gestempeld, in strookjes geknipt en opgeplakt. 

I used the following materials:
Ik heb de volgende materialen gebruikt :
Leuk dat je er was vandaag ! 

Sunday, 26 March 2017

Tag duo with Oxide Inks and Visible Image stamps

Hello everyone,
Hallo allemaal,

and welcome to my blog where for today I have made two tags with Distress Oxide Inks and Visible Image stamps. I love the inks although they take a little bit of getting used to as they are so different to the normal Distress Inks. This was my first play and I think they came out nice. I hope this post will give you some inspiration to get out your inks and stamps and play !

en welkom op mijn blog. Voor vandaag heb ik een setje labels gemaakt met de Distress Oxide Inkt. Fantastisch spul. Dit was mijn eerste poging en ik vind dat ze mooi gelukt zijn. Ik hoop dat ik jullie hiermee een beetje inspiratie geef om ook met inkt en stempels te gaan spelen !!

I cut the tags with a die.

De labels zelf heb ik met de Cuttlebug en een mal gesneden.


For this tag I smooshed the inks on my craft mat and mopped them up, dried the tag and repeated until I was happy with the result. 
To finish I used white and black acrylic paints for splatters and a touch of stencilling and Visible Image stamps. A list of all materials is at the bottom of this post. 

Voor deze label heb ik de inkt op mijn craft mat gesmeerd, natgespoten en de label er in gedoopt, gedroogd en herhaald zo lang tot ik tevreden was. 
Voor de afwerking heb ik stempels van Visible Image met Archival Jet Black Inkt gebruikt. 
Ook heb ik nog een beetje gestencild en spetters aangebracht met zwarte en witte acrylverf. 
Een lijst van gebruikte materialen vindt je onderaan dit bericht. 


The green label was made in the same way.

Deze groene label is op dezelfde manier gemaakt. 


Hier you can see the cool effects of the Oxide Inks. Especially the Cracked Pistachio has at least two green shades and a blue in it. They appear once you spray with water. 
Again I have used a stencil and white acrylic paint and some lovely Visible Image Stamps. 

Hier kun je mooi het Oxide effect van deze inkt zien. Vooral de Cracked Pistachio heeft wel 2 kleuren blauw en groen die tevoorschijn komen als je er water over sproeit. 
Ook hier heb ik nog wat gestencild en de stempels hier zijn eveneens van Visible Image. 


Used materials:
Gebruikte materialen :

Label/ tag mal /die:

Crealies CNLE LT06 

Oxide Ink:

Spiced Marmelade
Worn Lipstick
Broken China
Peeled paint
Fossilized Amber
Cracked Pistachio
Iced Spruce

Visible Image stempels/stamps:

Born to perform
Create it
Face it
Destination unknown

Dylusions verf/paint:

Black Marble
White Linen

Stencil:

Tim Holtz mini layering stencil set 24


Thank you so much for stopping by today ! 
Dank je voor je bezoek vandaag ! 

Thursday, 2 March 2017

Another Oxide experiment !

Hello everyone, 

Hallo allemaal ! 

Here's the second part of my Tim Holtz Oxide Ink adventure.. I have made two tags. 

Hier het tweede deel van mijn avontuur met de Oxide Inks van Tim Holtz. Ik heb twee labels gemaakt


I forgotten how many colours I used here, but it was a lot... 
I weet niet meer hoeveel kleuren inkt ik hier gebruikt heb maar het waren er veel... 


I also used a stencil with white Dylusions paint. 

Ik heb ook hier en daar een stencil met witte Dylusions Verf gebruikt. 


The stamps are by Artistic Outpost. 

Stempels zijn van Artistic Outpost. 


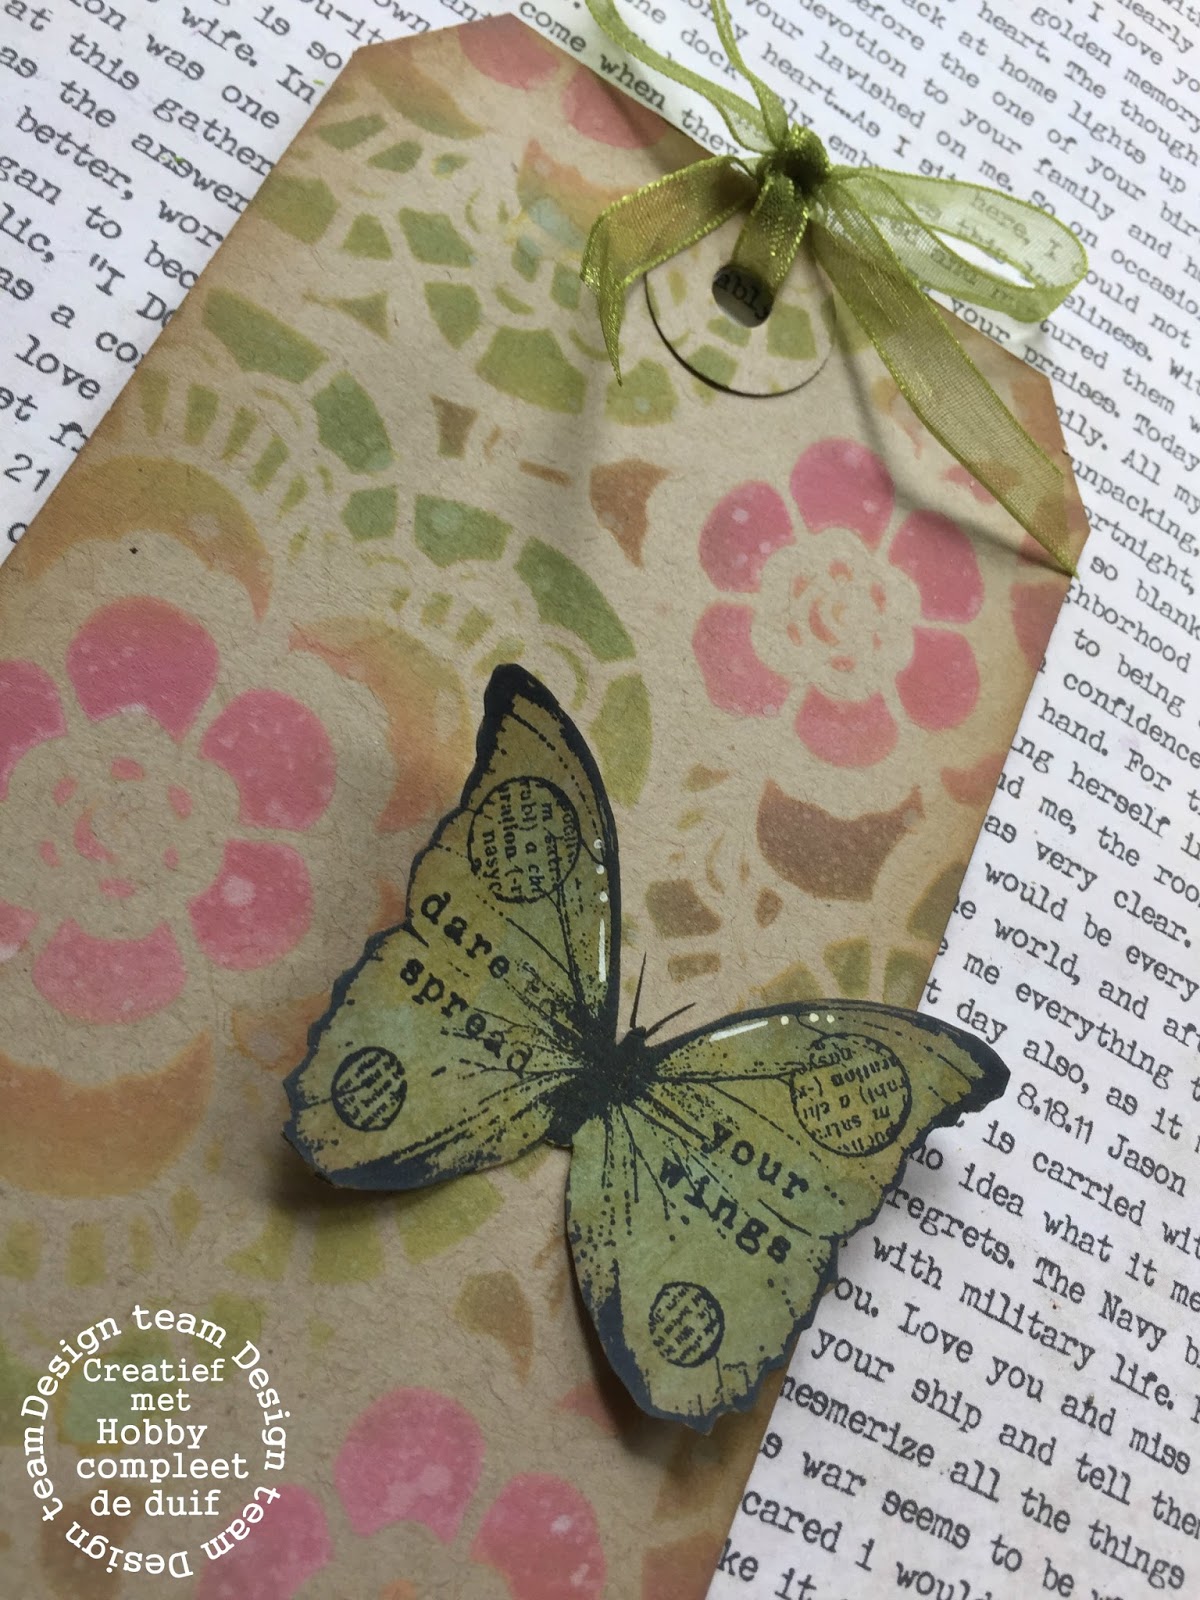
This was made with a stencil, 3 colours of ink and a stamp. I used Kraft card stock for this. 

Deze label is gemaakt met een stencil, 3 kleuren inkt en een stempel. Alles op Kraft card stock. 


Such a lovely effect ! 

Wat een mooi effect hè..


Materials used : 
gebruikte materialen:


Apart from these materials I used some other stuff from my stash. 

Naast deze materialen heb ik not wat spulletjes van mijn voorraad gebruikt.

Thank you so much for stopping by today ! 

Dank je voor je bezoek ! 


Thursday, 23 June 2016

Enjoy the little things

Hello everyone,

and welcome to my blog where today I have the second helping of inspiration for the challenge over at Country View Challenges. The theme is 'crackle' and it was chosen by the lovely Evelyn !
I did a mini art journal spread with a little tutorial and this is the finished project :


And here is how I made it :


I painted the pages with Dylusions paints using a blending tool.


This is what that looked like..


Next, I painted Distress Crackle paint over the dried pages. 


While that was drying I stamped the mouse to add to the page. I had coloured this cat on holiday with my coloured pencils so I coloured the mouse in the same way. I later added the milk bottle...


After the Distress Crackle had dried I painted over it with Paperartsy Crackle Glaze, hoping I would get some big crackles... 


While that dried I stamped the milk bottle and coloured that too. 


Unfortunately the second layer of Crackle didn't work so I went back to the Distress Crackle and put another layer of that over the top and that did seem to work.


I accentuated the crackles with DecoArt antiquing cream.


Next I used a Tim Holtz stamp set (CMS260)  and some brown Archival Ink to add some more interest.


This is how it looked; I also went around the edges with the same ink pad to grunge it up a little more. 


Next, I decided it needed some white so I took this Tim Holtz stencil (Dot Fade) and some Deco Art Crackle paste and added that to both pages. 


It didn't crackle very much but I was happy with how it looked. 


The mouse (by Katzelkraft) and the cat (Crazy Cats by Tim Holtz CMS251) were stamped on the page to get the little details like the whiskers. You can then cut these off the stamped images you have coloured. 


Of course it didn't stamp very well on the white dots but it looks OK in the end. Here I have added some more stamping using the other stamp from the Tim Holtz set (CMS260) and some orange Archival & Distress Inks. 


After adhering the cat, mouse and bottle to the pages I added some shading underneath using a Faber Castell Big Brush marker. 


And this is the finished result ! I added a sentiment from an Eclectica stamp set by Paperartsy (EKD02).

Thank you for stopping by today. I hope you will play along with us this month ! 


Wednesday, 1 June 2016

Star light, star bright !

Hello everyone,

and happy June.. Can't believe it is June already.
For this month's challenge over at Country View Challenges the lovely Evelyn chose the theme of 'Crackle" and I made a little wallhanging out of a paint stirring stick ! haha... so much fun !
Here's how:


First, here's a photo of the finished project. I quite like how it came out !


and here are the steps:


First I had hubby drill a hole in the top so I could hang it up. Also I covered it in Gesso. One layer is enough. 


I used my PaperArtsy paints and also their crackle glaze... So brown first, then crackle glaze, dry and then the Stone colour. 


Here is the stick covered in the brown paint, not very pretty is it ? 


Actually I panicked after applying the paints and crackle glaze as there was hardly any crackle... Maybe my glaze is too old.. Anyway I rubbed some of the light paint away with a baby wipe and some elbow grease... and had a think of how I could get the result I wanted. 
I then remembered I had a pot of Distress Crackle by Ranger (Tim Holtz). So I just painted that all over the stick and what I didn't expect to happen, happened... Some great big crackles developed ! Yay .... very happy with the result. 


Next I used a brayer and Dylusions paints to create some colour to stamp on.


I used this Dina Wakley stamp set. Had it for ages but not used it very much. A great excuse to get it out and use it ! 


Here's the stamping... I changed my mind in the mean time and stamped some more...


When I finished stamping I cut them all out with a little border. I also stamped the sentiment from the same set. 


I adhered the cut out shapes on top of some scrunched up twine onto the stick and I think it looks rather nice... 


Here are some close ups....


I like it !!! I Hope you do too and I've given you some inspiration to play along ! 
Make sure to read the rules first though ! 

Thank you so much for stopping by ! 


Friday, 29 April 2016

Enjoy Spring

Hello everyone !

For my second project for the Country View Crafts Challenge blog, where the theme is Spring, I have made an art journal page.


I started off by cutting out the butterflies and embossing them with the 'Tim Holtz Sizzix Butterfly duo'. This set consists of a die and an embossing folder. Next I sprayed the butterflies with Dylusions Sprays using the colours 'Fresh Lime' and 'Calypso Teal'. I used a blending tool with Distress Ink (Chipped Saphire) to accentuate the edges of the butterflies. For their bodies I used some Tim Holtz Idea-ology arrows which I attached with a brad from the same set. 
Next I stamped the bird (Bird Crazy CMS212) and coloured him with my Copic Markers. I cut him out and set him aside. (I did cut off his hair and tail curl and his legs; I also stamped him on the background and when you combine the two, hey presto a complete bird). The word enjoy was also coloured with Copics. This is a chipboard. 
The background was painted with Dylysions paints in Fresh Lime and Vibrant Turquoise. I toned it down a little by wiping the page with White Linen Dylusions paints and a baby wipe. 
I then used a Tim Holtz stencil (Lattice work) and some Deco Art Crackle Paste. When this was dry I coloured it with the same paints to make it blend into the page a little more. 
Next I used some stamps from a Stampers Anonymous Stamp set called 'Bitty Grunge' to stamp around the edges and also on the page. I used Archival inks around the edge and white paint in the middle of the page. 
The last thing was to adhere the bird, the sentiment and the butterflies to the page. I used Glossy Accents for this. The word spring was made with a Dymo Labelmaker. 

That was it ! I hope you will play along with us. You have until tomorrow to enter... 

Tuesday, 26 April 2016

Inspired by music

Hello everyone,

A little while ago I made a whole batch of samples for Helen & Mark over at Visible Image for their TV appearance on Create & Craft TV on the 16th of April.
Today is the second post where I share some of them; all music inspired.


This first one is a monolith, painted with Dylusions paints. I used some bottle caps to make the rings. I made a new dress for her and added some words to the sentiment that comes with the lady which is "sing". 


This is the back of the monolith.. Same story, just used an additional stamp (all stamps are listed at the bottom of this post) and some model paste through a stencil. 


The background of this card was made with Distress Inks and a blending tool. I added some stencilling and made some lines with a credit card and black paint. The lady and sentiment were stamped over the top. I added some more colour to her dress with a Copic Marker. 


This card was made with pattern paper. I cut a piece to size; slightly smaller than the card. I stamped the lady and the sentiment, doodled around the letters of the sentiment. I did stamp the dress again on some different pattern paper of the same pack to add some interest. The panel was matted on black card stock and adhered to the card. 


This one was made by smoothing the ink over the paper with some acetate. This works by putting your Distress ink pads on your craft sheet (ink down) and spraying with water. Dunk in a piece of acetate and transfer the colour that clings on to the card. I stamped the sentiment 'sing' tone on tone ie. with the same inks and the lady and the other sentiment (from another set) in black Archival ink. I doodled around the panel with a black pen. The panel was then adhered to a card. 


This background had been lying on my desk for ages and I think it was made with Lindy's Stampgang Sprays and Distress Glaze by Tim Holtz. I put the glaze on first through a stencil making these bits waterproof essentially. I then sprayed the ink over top. Where the glaze is the ink doesn't take. 
I used the sound wave stamp that comes with this cool guitar in the same-ish colours as the background. It is very subtle. I used a black pen to go around the circles but didn't like it so repeated the process with a bottle cap and black paint. I also made some lines with a credit card. Lastly I stamped the guitar and used a white pen to colour the letters. The panel was then adhered to a card. 


This one was really quick and easy. I started with a piece of white card stock, used a stencil and Distress ink and a blending tool to do the background. Next I stamped the guitar and coloured the letters with coloured pencils. Lastly I doodled around the panel and adhered it to a card. 


This last one was also made with a stencil and Distress inks and a blending tool. I stamped part of the guitar 3 times at the top and once at the bottom of the card. I coloured the letters with a white pen and doodled faux stitching along the edge. Next I matted the panel on black card stock and adhered it to a card. 

I used the following stamps:


and the fabulous 


Social Media, Blog and monthly Challenge details :

Show & Tell Monthly Challenge details: http://visibleimage.co.uk/challenge