Showing posts with label Sorbet paint. Show all posts

Thursday, 15 February 2018

Arthur Ave

Hello everyone,

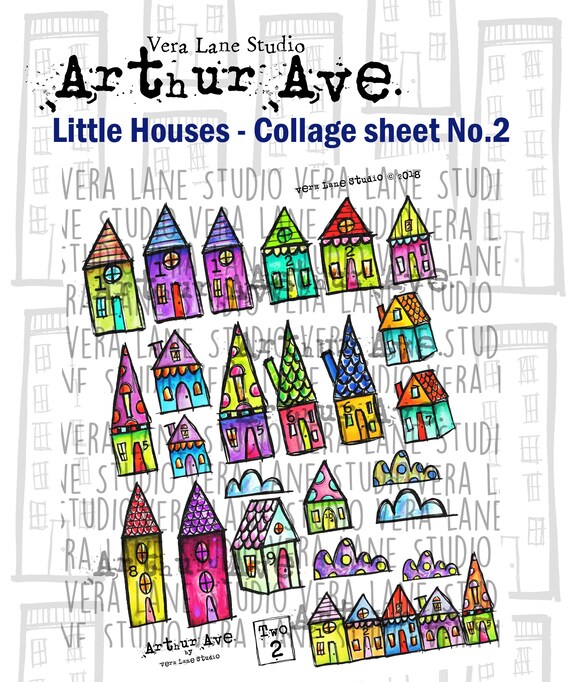
Welcome to my blog where today I am sharing a tag I made for Vera Lane Studio. Recently there are some collage sheets to buy as well and they are fantastic for making quick projects! I used the Houses Collage sheet to make this tag.


I cut a tag from white card stock and painted it with Art Anthology Sorbet paint. I forgot I had this and I have fun using it again. It has little specks of glitter in it. I used a light yellow for the top of the tag and a lime green for the bottom. When it had all dried I applied some of the same paint in black along the edges. I used a text stamp to add some texture and then added some washi tape to put my houses on. These came from the Houses Collage sheet. I used the name of the series of images "Arthur Ave" as the sentiment. 

You will find the collage sheet HERE:


Thank you so much for stopping by today ! 


Tuesday, 9 January 2018

Believe in magic...

Hello everyone,

and welcome to my first post for Um Wow Studio for 2018 ! I have made a tag!


Here are some more photos:


Now if you would like to know how I made this than hop over to my YouTube Channel HERE where you can watch me do it ! 

Or here is the direct link :


I have used these chipboards :


Thank you so much for stopping by today ! 


Thursday, 9 March 2017

Man in the moon

Hello everyone,

and welcome to my blogpost for Um Wow Studio where today I have a tag to share with you :


I have used 7Dots paper from the Writer's block series for this. I glued some pieced to a #10 tag and scraped gesso and Art Anthology Sorbet paints over it. I also added some shading with a distress Crayon. 

Here's how I treated the chipboards.


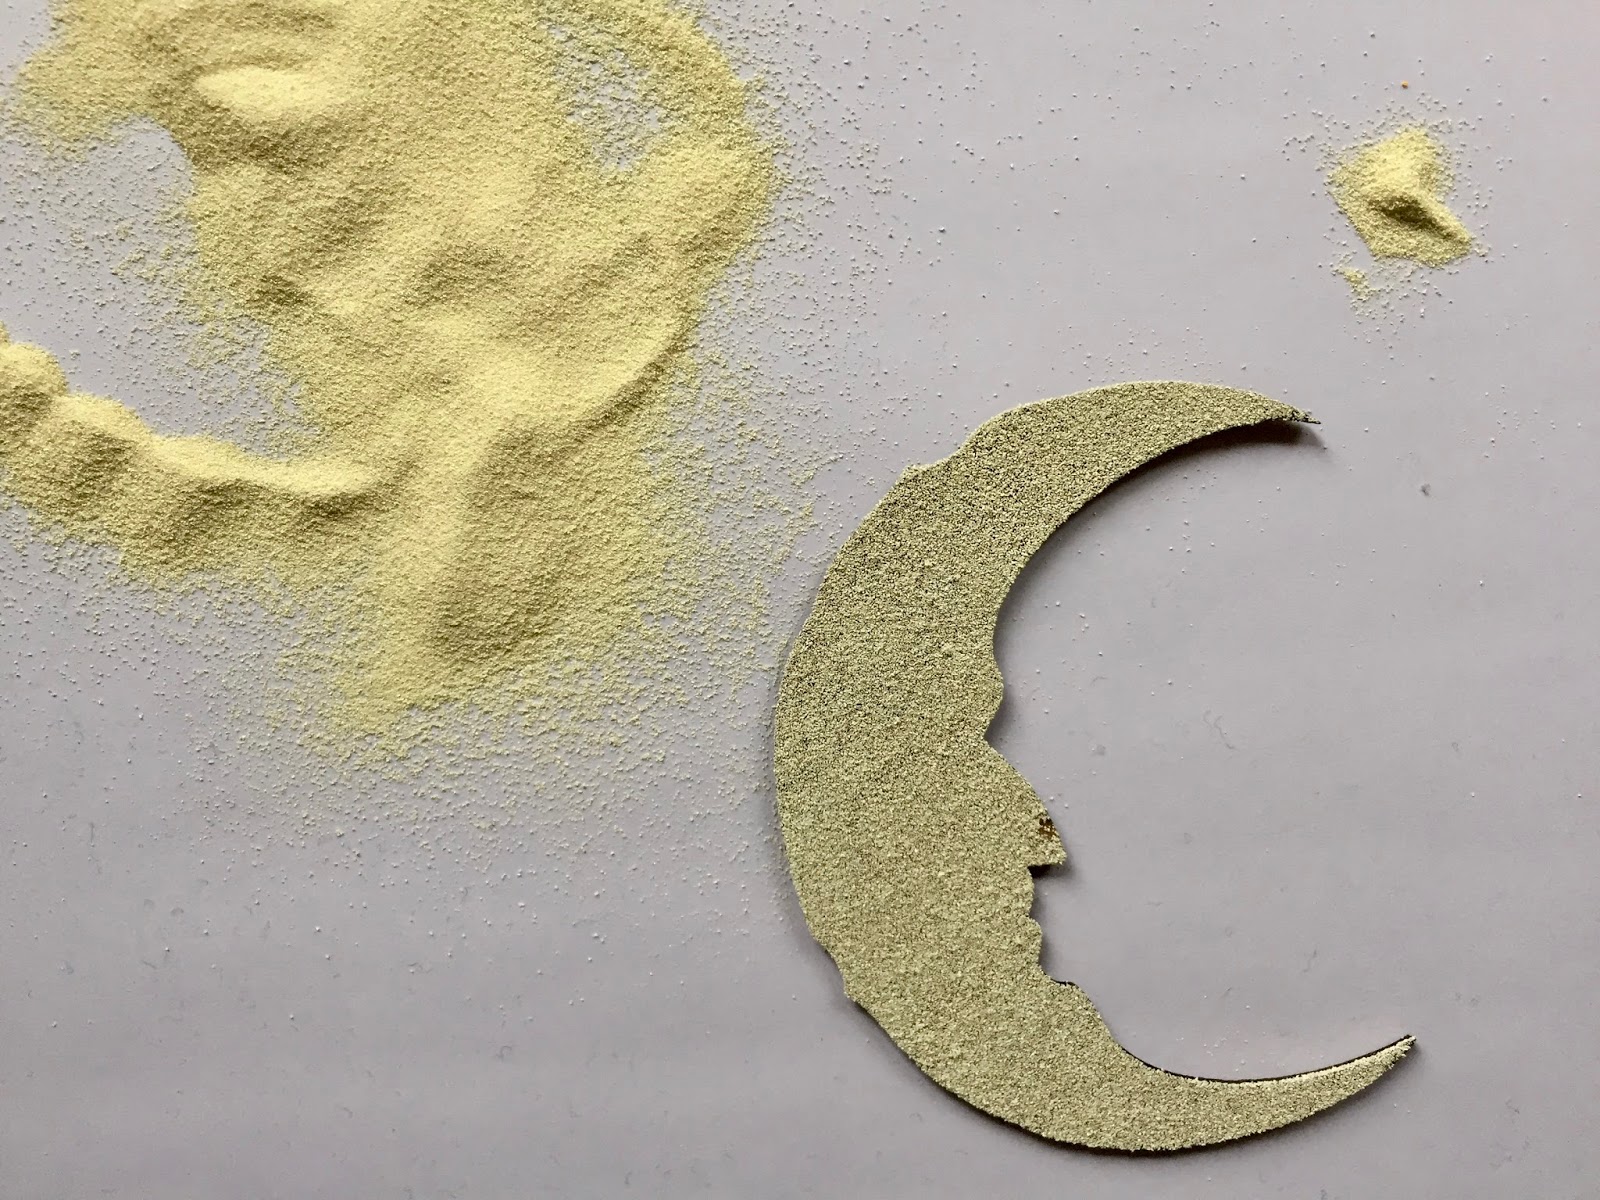
I used the man in the moon for this..


I heat embossed the solid piece with a light yellow embossing powder. I added two layers. 


In the end I thought it was too yellow and I added some shading on top with a Big Brush Marker. 


For the outline I also heat embossed this but used an ochre yellow and then also decided it was not quite right so I added some gold over the top. 


Here you can see them together... 


I had these stars left over from another project. They were gessoed and heat embossed with a holographic embossing powder. They have a lovely glittery finish. I added some brown Big Brush Marker here and there to vary the colour a little. 


And here you can see it all put together... I added some bandage which I stapled on and added some embroidery stitches. I used the same fabric at the top as a ribbon. The sentiment is from an old sticker set from 7Dots Studio called destination unknown. 

I have used these Chipboards:


Thank you so much for stopping by today ! 


Wednesday, 30 March 2016

Approach with caution

Hello everyone,

and happy Wednesday yet again ! Doesn't time fly?

Over on the Stampotique Designers' Challenge blog, the lovely Valerie is hosting and she chose the following theme : "what's old is new again" and this is what she had to say about it :

 "Re-purpose, re-use, recycle, and alter - words that are music to my ears! Is there something destined for the trash heap that you can give a new art-filled life? Or perhaps you're tired of that old wall hanging - can you give it a make-over? My challenge for you this week is to take something old and make it new again!"

So, I have made something a little different and I have a step-by-step for you ! 


A little while ago I saw this, what I believe is a bird's nesting box, the type breeders use, in a 2nd hand shop and I saw the potential ! 


I started with stamping this lovely bird and colouring it with my trusty Copic Markers. I made sure to use a little blue here and there because crows have that, don't they; that lovely blue sheen. 


I also stamped this fruitbat. He is thinking of bananas but I decided to use him without his beloved bananas and he was also coloured with Copic Markers. 


I collected these sticks (don't ask, lol. I am forever collecting things). These come from a lovely walk somewhere in the South Downs in the UK.


Anyway, next I painted the bird box, first gesso, then Art Anthology Sorbet paint in blue and Crackle paint by DecoArt Media over the top. Once it had all dried I rubbed the crackles with Antiquing creme, also by DecoArt. Once that had dried I rubbed most of it off again; it left this lovely finish.


Here is a close up. Doesn't that look yummy ! 


Here is another close up.... 


Next I did some stamping on the box, sorry forgot to take photos but you get the drift.... I used Archival Inks for this. 
I cut out the bird and the bat, added them to the box, created a backdrop with pattern paper and thought that it was finished....


Here is a close up of the bat. He is so cute ! 


And one of the crow... 
He is perched on one of the twigs I found in the UK..


And then, as an afterthought, I thought it needed something on the roof, so I used the rest of the twigs, some twine and an MDF Fleur de Lis for this. The fleur the lis was heat embossed with a turquoise embossing powder to get it to match the rest of the paint I used. 


A sideways glance ! 


And another one ! 

I hope you like my little cage and its contents... 

I have used the following stamps:


We would love it if you played along with us and created something new with something old. You could win one of the two $30 vouchers at the end of the month. It is not allowed to use digi's and you can only enter once for each challenge. Apart from that, just have fun ! 

Thank you so much for stopping by ! 

Monday, 29 February 2016

Welcome to our Leap Day Blog Hop ---- New release by Stampotique !

Hello everyone,


and welcome to the "Leap Day Blog Hop" to celebrate the wonderful new Stamps from Stampotique Originals
There are tons of new images from our favorite stamp designers and we are proud to welcome TWO (yes TWO) new stamp designers, Terri Richardson and also Karen Hayselden  
Both of these ladies are wonderful artists and we think you will really enjoy the new spin they both give to the Stampotique line.  Hopefully you will find some new stamps that you can't live without.
Join us on the blog hop for a first look at the new stamps and for some wonderful inspiration from our design team. 
This is also your chance to win some random goodies-we will be drawing TWO winners from TWO of the designer's blogs for a $30 gift certificate for the Stampotique online store
 You will need to hop all the way through and visit and leave comments on each designer's blog in order to win. 

You should have arrived from Sue Davies and if you didn't, you may want to start the blog hop from the beginning at the Stampotique Blog HERE   

Have fun hopping, we will be pulling the random winners of the Leap Day Blog Hop at the beginning of our next challenge on April 6th, 2016

Here's the full blog hop list ! 


Meet Wally ! Isn't he adorable... 
This postcard is slightly smaller than a normal postcard but that is because I used a piece of paper that  was coloured with pink and blue diluted acrylic paints. I had these left over on my desk and just brushed them onto a piece of card stock that I had lying around. 
I used a brayer and some white paint to tone it down a bit. 
Next I stamped the background with 2 new stamps and one old one. The bright white background stamp was heat embossed with white powder.  A list of all the stamps I used is at the bottom of this post. 
Wally was stamped on the panel and also on some white card stock. I coloured him with Copic markers, cut him out and adhered him onto the card. 
I used an older stamp for the sentiment. It still cracks me up and I thought it went really well with Wally. 

I used the following stamps:
Brick Road (New by France Papillon)
Mash up (New by France Papillon)
Wally (New by fabulous new designer Karen Haselden)

You will find all new images HERE


And this is Pedro. Aw, I love Pedro. This tag was cut from white card stock. I have dies but I never use them. I have one # 8 tag which I keep as an example and use to cut more. Every now and then I make a batch. 
Anyway this one was painted with Art Anthology Sorbet Paints. I scraped them on with a palet knife. I used yellow and green and a touch of turquoise. This paint has a little sparkle in it and looks very pretty. Next I stamped the background; I also stamped Pedro straight on the tag. I used Archival inks for this. Pedro was also stamped on white card stock with Memento Ink as I wanted to colour him with Copic Markers. I cut him out and glued him on top of himself, so to speak after putting down som washi tape to ground him on. I also put some of the same washi tape at the top of the tag. With a white gel pen I doodled in the numbers of the background stamp. I typed the sentiment, which came from my book of sentiments, collected from the internet. I adhered that too and doodled around it with a black pen. 

I used the following stamps:
Pedro (new by Daniel Torrente)
Upholstered (new by France Papillon)
Mash up (new by France Papillon) 

You'll fing all new images HERE


This is Florrie Doodle Dollie and I really love her. She is just too cute. This tag was cut from white card stock. I stamped Florrie on it and coloured her with a mixture of Copic markers and coloured pencils. After that was done I coloured the background with Gelato's and Coloured pencil. I struggled a bit as normally I would cut the stamped image out and glue it on the background. This is a one layer tag. Anyhow, once I was happy with the background I stamped it randomly and added some white paint around the edges. I took a quote from 'My fair lady' and typed it on my old typewriter and glued it on the tag. Lastly I added a ribbon. 

For this tag I used :
Florrie Doodle Dollie (new by Karen Haselden)
Brick Road (new by France Papillon)
Upholstered (new by France Papillon)

You'll find all new images HERE

Thank you so much for hopping to my blog, you should hop over to the lovely                  Gez Butterworth's blog now.. 

Have fun hopping ! 


Saturday, 19 December 2015

Mwah!

Hello everyone,

I have made a card today and I would like to share it with you. It is really to show what you can do with a piece of pattern paper.


The base of this card is a piece of patterned paper by Prima Marketing from their Epiphany Collection called 'Divine Exposure'. I sometimes use patterned paper when I don't have much time or when I can't think what to do for a background. 
In this case I had already coloured the horse with coloured pencils and I wanted to make a quick card with it but couldn't find anything in my stash that I thought went with it. So i cut a piece out of a 12 x 12 sheet of patterned paper. It was white to start with but had the text at the bottom and the swirls on the left. I added some acrylic paint with a brayer. I used a light blue craft paint and a Sorbet paint in blue and pink over the top. These paints are by Art Anthology and have a little glitter in them. I also used a pallet knife and scraped some white acrylic paint over the top and along the edges. This whole process took approx. 5 minutes. I then stamped the background and the sentiment and glued the horse into place. The panel was then glued onto a white card. 

I used Stampotique stamps for this:


I hope I have given you some inspiration to use up your stash of patterned paper. I am sure we all have stacks of it.... :o)

Thank you so much for stopping by today ! 

Wednesday, 21 October 2015

Woof

Hello everyone,

It is Stampotique Wednesday ! Yay... That means another challenge and this week it is the lovely Gez' turn to set the theme. She chose Blue and Brown and this is what she said:

"Blue and brown; One of my favourite colour combo's. I hope you have fun with it too!"

And fun I had making this art journal :


I started by painting this page and didn't like it... Painted it with gesso but still no good. So I glued some pages from an old comic on the pages and started again... 
I painted the pages with gesso to soften the comic as it was very stark. I then used a Lindy's spray to make it blue; the right and left edges were done with a darker Lindy's spray. Next I used a stencil and some Art Anthology Sorbet paint to make the circles. After it dried I doodled around the circles with a black pen. I then started stamping the background. I used 'Heart Vine' around the edges with a light blue ink so it is very subtle and 'Fax to Wolgfang' with dark blue ink. 
The doggies were next; I stamped them onto white card stock, coloured them and cut them out. I also stamped them on the pages to get every little detail of the image as it is sometimes impossible to cut out all the tiny bits. The 'woof' was also stamped on white card stock and cut out. The whole thing was them assembled. 

I used the following stamps:


Thank you for stopping by today ! I hope you will play along with us this week. You might just win one of two $30 vouchers ! Just remember NO Digi's and only one entry per person per challenge.