Friday, 29 June 2018

A day to be happy

Hello everyone,

welcome to my weekly Katzelkraft post. I have made another art journal page; still my favourite thing to do..


I started with painting the background with acrylic paints and a brayer . I used two shades of yellow and an orange. When this had dried I stamped the background using paint also. Just remember to clean your stamps straight away if you use paint. 
Next I stamped the dog and coloured him with Copic Markers, cut him out and adhered him onto the page. I added the sentiment and a little washi tape under the dog and that finished the page. 

I used these stamps:


Thank you for stopping by today ! 


Thursday, 28 June 2018

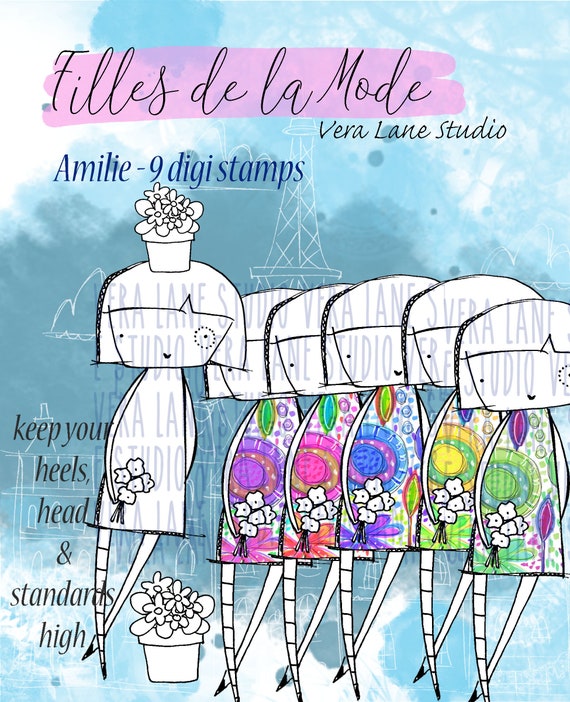
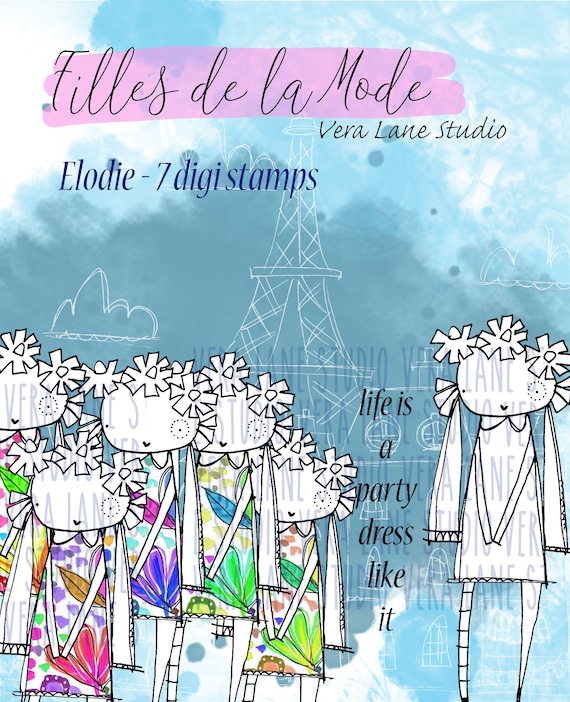
New gals have arrived at Vera Lane Studio !

Hello everyone,

and Happy Thursday to you all.

For today's Vera Lane Studio inspiration post I have made a postcard and a mini journal spread..
We had a new release this week and I really love these girls. They are called Amelie and Elodie and they come in 2 versions; with lovely already coloured in dresses and blank. I have used the blank ones in these projects and coloured them myself but I am sure I will use the coloured ones too some time.


This girl has been resized, printed, coloured with Copic markers and cut out. I placed her on on gelli printed background to which I added some gessoed book paper and some washi tape. I didn't think she needed any more. 


For this mini AJ spread I painted the pages with acrylic paints in yellow and orange and then used a stencil and a babywipe to wipe away some of the paint. I think this is a great effect. I then used a script stamp and some washi tape. I placed the girl, which I coloured the same way as the other one, on the washi tape and added the sentiment on the opposite page. 

You will find Elodie HERE and Amelie HERE


Thank you so much for stopping by today! 


Tuesday, 26 June 2018

If the crown fits..

Hello everyone,

and welcome to my blogpost ! For today's project for AALL & Create I have made a tag..


And here's how I made it:


I started with stamping the crown from set "Juniper" by Fiona, masking it and then stamping "Paloma" by Kassa. 


As always I used my Copics to colour her. 


Next I added some circles to my tag using Stencil #22 by Autour and modelling paste. 


After the modelling paste had dried I painted the page with acrylic paints. Now the fun bit ! Stamping! 


I used the A4 stamp "Vintage Graffiti" by Olga ..


and the "Date it" set by Tracy. 


For the sentiment I used "Zara" by Fiona. 


I also added some book paper and washi tape and a postage stamp. 


I hope you enjoyed the process ! I did...

Here's what I used:

Stencil #22 by Autour de Mwa
Stamp set #107 - Date it by Tracy Evans
Stamp set #97 - Paloma by Kassa Haselden 
Stamp set #85 - Juniper by Fiona Paltridge
Stamp set #86 - Zara by Fiona Paltridge
Stamp #56 - Vintage Graffiti by Olga Heldwein

You will find more information about the products and a list of worldwide stockists at 


Thank you for stopping by today ! 


Monday, 25 June 2018

It's MailArt Monday !

Hello everyone,

and welcome to Mail Art Monday at VivaLasVegaStamps!  I have made and decorated an envelope and have filmed the process too.


...and here is the VIDEO:


I have used the following stamps for this envelope:

19995 - Overlapping circles (Designed by ME !!!)


Thank you for stopping by today !


Friday, 22 June 2018

Be happy

Hello everyone,

For today's project I have made a CaS card for Katzelkraft. I don't make CaS cards very often but I do think the Katzelkraft stamps are very suitable for this ... maybe that is just me, lol...


I stamped the animals and the sentiment on a piece of Bristol Card stock and coloured everything with Zig Clean Color Real Brush Markers. I did add some pencil on the cat because I didn't really like the result of the watercolour markers. 

I used the following sets:


Thank you so much for stopping by today !


Thursday, 21 June 2018

An AJ page for 'the written word' challenge

Hello everyone,

For my second instalment for the lovely Teresa's challenge "the written word" over at Country View Challenges I have made an art journal page.


I brayered paints, then used a babywipe and a stencil to take away some of the paint. Next I did the pink and black stamping and the white splatters. 
After adding the main image and the sentiment I called it done ! 

If you'd like see me make this then hop to YouTube via the link here:


There is still time to take part in the challenge. Just include words in your project ! You could win a £20 voucher for the shop ! How cool is that ! Just make sure to read the RULES first. 

Thank you for stopping by today ! 


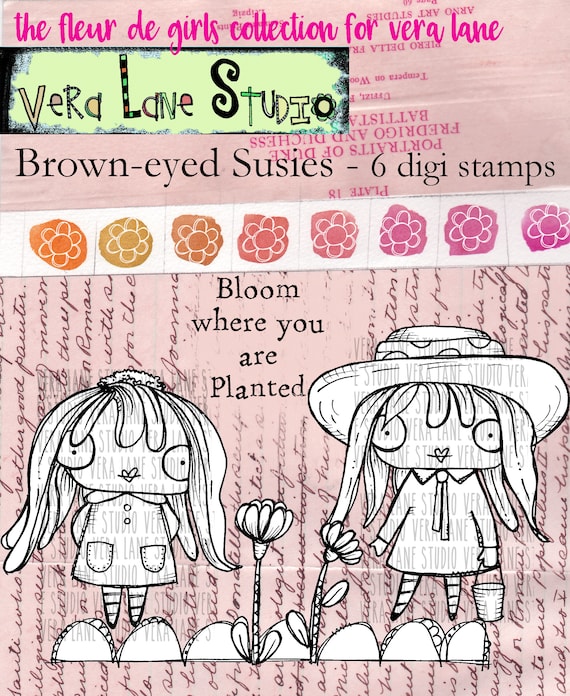
Bloom..

Hello everyone,

and welcome to my blogpost for today. It is Thursday so it's Vera Lane Studio Day !

I have made an artjournal spread in my gelli printed journal and 2 Artist Trading Coins..


Meet brown eyed Susan. She is the latest in the flower girls from Vera Lane Studio. I placed her on my gelli print journal (it is entirely made out of gelli prints) I added the white stencilling and some doodling around the pages. I placed her on a piece of washitape. 

You'll find her HERE


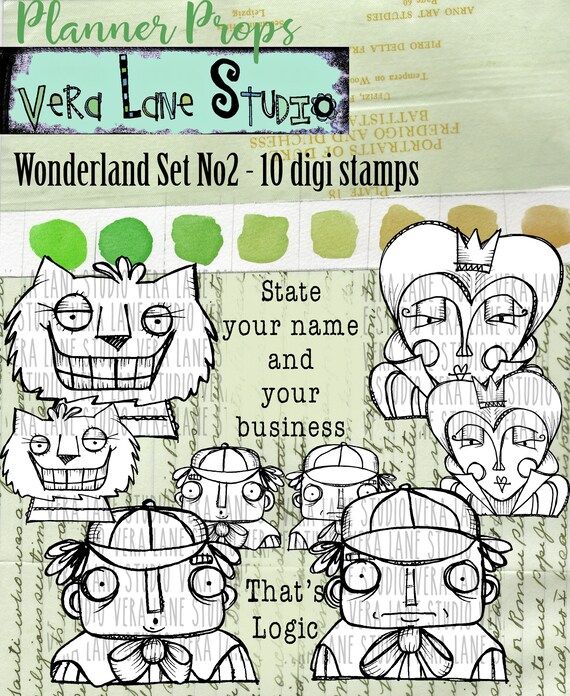
I also made two artist trading coins; they seem all the rage now.... I used the Wonderland set 2 for this. I coloured them, cut them out and glued them on the gelli printed background. I then cut them out with a 2,5" round die. Lastly I added the sentiment in two words... I also doodled around the edges. 

You'll find the Tweedles HERE


Thank you for stopping by today ! 


Tuesday, 19 June 2018

All her dreams

Hello everyone,

Today, for my DT project for AALL & Create I have created a Mixed Media Mini canvas. It was so much fun to make. I used one of Fiona's little people for it and she looks fab !


And here's how:


I had wanted to use some corrugated cardboard on one of my projects for ages and today was the day! I used it to put little Juniper on. She's so cute ! 


First things first though.. I started with model paste and a stencil. This one was designed by Autour de Mwa and it is great. You can use the whole thing or just a little bit like I did. 


When the model paste had dried I coloured the canvas with spray inks. I used Lindys Stampgang sprays because I happed to really like those but you can use other inks too. 
I did mess about with it for a little while after I took this photo because I thought it was too green. 


After I was happy with the colour I splattered white paint on it. Next I painted the piece of cardboard with white gesso and stamped part of stamp #80 on it using Distress Oxide ink 'Peacock Feathers. I also went around the edges of the card board. Later on I added some more stamping with the same stamp and black Archival ink... 


I then coloured little Juniper. She will be wearing a nice turquoise frock and a pink necklace. 


Here she is all dressed and ready to go. 


I glued her onto the card board piece and gave her a bow in her hair made from Sari ribbon. I added atwo text stickers by Tim Holtz. I thought these two went really wel together. And there you have it ! 


If you are interested in any of the products I used then please visit www.aallandcreate.com/boutique where you'll find information and a list of worldwide stockists. 

I have used :
Stamp #85 - Juniper
Stamp #80 - Lined
Stencil #28 

Thank you so much for stopping by today ! 


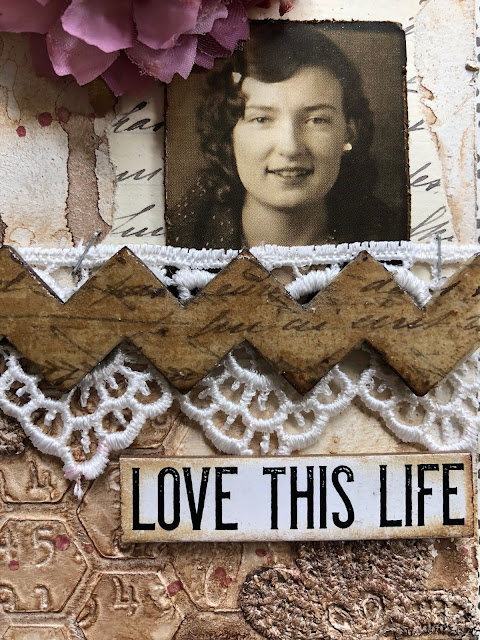
Love this life

Hello everyone,

I hope you are all having a great day !

Welcome to my blogpost ! I have made a tag for today and filmed the process. I enjoyed making this and I hope you like it too. You'll find the link to YouTube at the bottom of this post..


I have used the following chipboard & Stencil :


You'll find this set HERE.


You'll find the Hexagon stencil HERE

And if you want to see how I made the tag then go to YouTube, here is the link:


Thank you so much for stopping by today !


Friday, 15 June 2018

Be Happy

Hello everyone,

and welcome to my blogpost for Katzelkraft today !

Every now and then I like to make a CaS card. I think it is really difficult to not add anything like paints and model paste to my work so making something CaS is a bit of a challenge.


For this clean and simple card I cut a panel a little smaller than the card. I stamped the cow and part of one of the sentiment. I then coloured the cow with Copic markers also adding some shading under it's feet. Next I glued the panel on a white card. 
That was it ! 

I used the following stamps:


Thank you so much for stopping by today !