Showing posts with label Mail art. Show all posts

Saturday, 17 November 2018

A mail art envelope

Hello everyone,

It's my turn again to show you some inspiration with the lovely AALL & Create stamps and stencils. 
I have made a Mail Art envelope for today. 


Here's how:


These are the stamps and stencil I am going to use. 


I started with masking off the place for the address. I then brayered lemon yellow acrylic paint over the envelope, from and back and when it had dried I added turquoise, also with the brayer. Next I took the stencil and a baby wipe and took some of the paint off thought the stencil. Nice effect I think. I did this front and back. 


Next, I stamped one of the borders from this set by Fiona and heat embossed it with white embossing powder. Later one I decided it didn't stand out enough so I filled the little shapes in with a white paint pen. 


I then used this fab new stamp set by Louise to make a kind of bouquet of flowers. I used Distress Oxide inks to stamp and then heat embossed them with clear powder to make them permanent. I also used a marker to colour ing some of the shapes, here and there. After this had all dried I went around some of the shapes with a white pen.


As a border I used Stamp set #118 by Louise Nelson. I didn't take a picture here but you can see the set in the supplies photo up top. Finishing touches are the Dina Wakley washi tape pieces, the doodling around the address part and the postage stamp in similar colours. I used the postcard stamp from set #125 and stamped it over the postage stamp for a bit of fun. 


I added some of the elements to the back of the envelope too, to make it a little more interesting. I hope you enjoyed this mini tut. I will have to take more photos next time. So sorry ! I get carried away while I am crafting and then completely forget about taking pics. 


I have used the following stamps: 
#93 by Fiona Paltridge
#118 by Louise Nelson
#125 by Ada Domisiewicz
#133 by Louise Nelson

Stencil: #11 by Autour de Mwa

For more information about all the AALL & Create products and a list of international stockists please visit: 


Thank you for stopping by today ! 

Monday, 25 June 2018

It's MailArt Monday !

Hello everyone,

and welcome to Mail Art Monday at VivaLasVegaStamps!  I have made and decorated an envelope and have filmed the process too.


...and here is the VIDEO:


I have used the following stamps for this envelope:

19995 - Overlapping circles (Designed by ME !!!)


Thank you for stopping by today !


Monday, 25 September 2017

Mail Art Monday !

Hello everyone,

and welcome to another Mailart Monday at Viva Las VegaStamps!


and here is my envelope :


Front 


and back...

I thought I'd go for a colour I don't use very much: purple ! 
I combined it with blue and white and painted front and back of the envelope masking off the area for the address... (all acrylic paints) 
Next I stamped the background using paint, ink and embossing. 
I used an acrylic paint marker to draw a line along the edge on the front and lastly added my main image which is a banksy stamp.  

I used a whole lot of stamps for this envelope:


Thank you so much for stopping by today ! 


Monday, 10 July 2017

It's Mail Art Monday

Hello everyone,

and welcome to my blog where today I am sharing a mail art envelope for VivaLasVegaStamps!


So here's my envelope:


I used my gelli plate to paint it pink... or should I say 'print it pink'... 
I used a lot of different VLVS! Stamps to embellish it and you will find a list at the bottom of this post. The circles were stamped on a separate gelli print and cut out. I then adhered them to the envelope and doodled around them. 


This is the back... 

I used the following stamps:


Thank you for stopping by today ! 


Monday, 15 May 2017

Mail art Monday with a YouTube Tutorial


Hello everyone, 

and welcome to my blog where today it is Mail Art Monday and I have an envelope to share !

I made this project for VivaLasVegaStamps! 


I really like how it turned out... 

If you would like to see how I made this then click the link below ! 


I have used the following stamps for my envelope:


Thank you so much for stopping by ! 

my

Monday, 14 November 2016

Mailart Monday with VivaLasVegaStamps!

Hello everyone,

and welcome to Mail Art Monday for VivaLasVegaStamps! I have painted and stamped an envelope.


This is the front. 


Back of the envelope. 

I used acrylic paints to colour the envelop (which is a ready made envelope). I used light yellow, green and light blue Amsterdam Paints. I then stamped all over it using a variety of VLVS! stamps and different colours of Archival Ink. Some of the stamps were coloured or doodled for which I used my Big Brush Markers and a white paint pen. 

I have used the following stamps: 


Thank you so much for stopping by today ! 


Monday, 26 September 2016

It's mailart Monday !!!

Hello everyone,

and welcome to Mailart Monday !


For this post for VivaLasVegaStamps! I have made an envelope. I also took some photos along the way to show you how to make this:


I used the gelli plate and some of the techniques I learned in Birgit Koopsen's workshop. 

Here's how:


First, mask off the bit where the address has to go. I used some all over sticky post-it note for this. It did come off every time I printed but I just stuck it back on. 


Next, paint.. not too much and 2 or 3 colours. I used 2 yellows and an orange..


Roll them out with a brayer..


And print your envelope. This is the first layer.


I used the leftovers on the plate to do the back of the envelope. 


Next more paint, in darker or contrasting colours. Add texture with stamps, bottle caps etc.. 


I printed this on the right hand side of the envelope.. I continued doing this with different colours all over the envelope until I was happy.. 
Make sure, when using stamps to wash them straight after use as you don't want dried paint on them. 


This is the envelope after I finished printing.. (front)


And here is the back. 


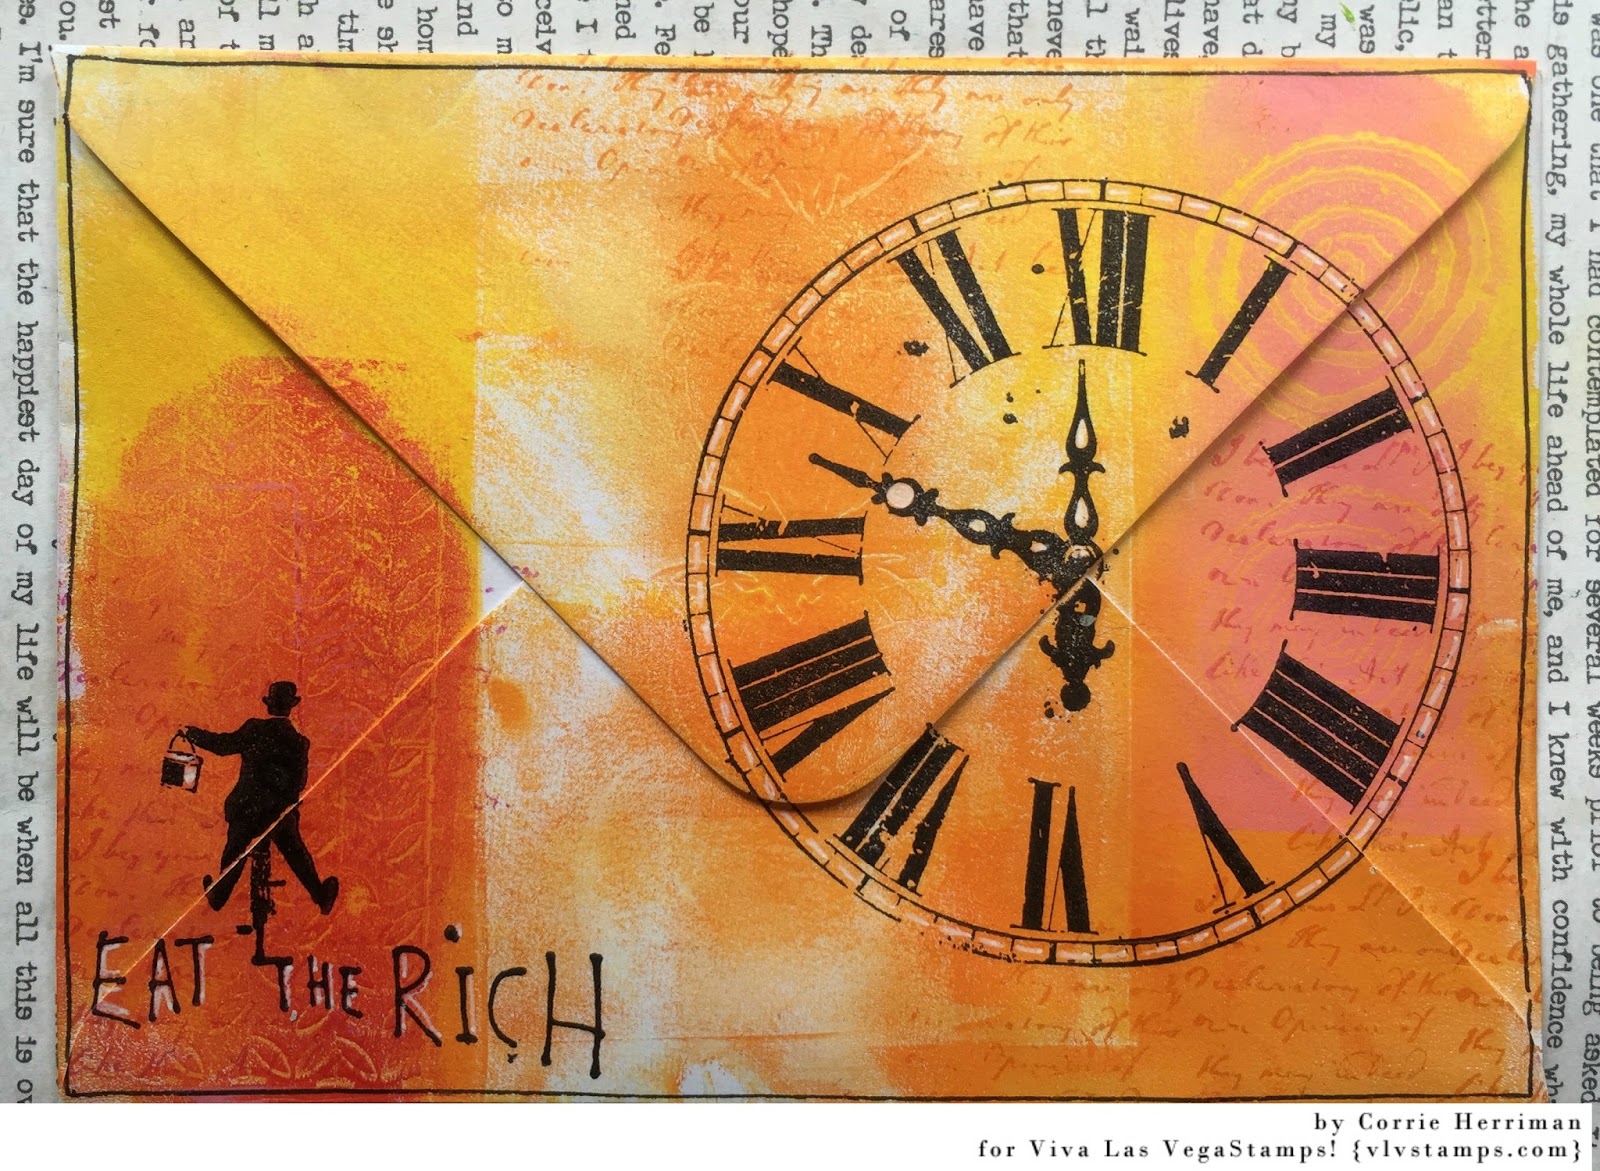
Now for the stamping. The world is your oyster really, use what you like, where you like. I chose some Banksy inspired stamps. 


As you can see Salvador Dali did't stamp very well but this is easily rectified with a black marker. I used a Faber Castell Pitt artist pen, big brush.. 


et voila ! fixed ! 


Next I did some doodling with black and white pens and also some more stamping which I forgot to photograph but I am sure you got the idea ! 

And here is the finished envelope again front and back.


I hope you enjoyed my tutorial. I have compiled a list of all the stamps I have used for this:


Thank you so much for stopping by today ! 


Wednesday, 31 August 2016

Happy mail

Hello everyone,

and welcome to the first week of the new challenge over at Stampotique Designers' Challenge.
The theme for the coming fortnight will be 'Mail Art', which can be a postcard, an envelope, a pocket letter etc. Let your imagination run wild ! I hope you will play along; you might win a $30 voucher for the shop at the end of the month. Just make sure you read the rules on the blog before entering.

I have decorated a plain white envelope:


I started off making a mask for the address bit. I then used Distress Inks and a blending tool to colour the envelope. I also stamped with them. Twinkie and the flags were stamped with black Archival ink straight on the envelop. I the stamped Twinkie again on marker paper. I coloured him with Copic Markers and cut him out. I adhered him over top of the one I already stamped on the envelope. 
I also used a bottle cap and white paint to add some rings and some stickers to spell the word 'mail'; the word happy is from a happy birthday stamp. 

I have used the following stamps:


Thank you for stopping by today !! 

Monday, 9 May 2016

Mailart Monday !

Hello everyone,

It's my turn to show you some mailart for VivaLasVegaStamps! I have altered a boring white envelope today. I hope you like it and maybe do some yourself to brighten up the mail !

Here is the front...


And this is the back ...


This envelope was quite easy to make. I started with the front. First I masked off the address part.  I then used a mini gelli plate, acrylic paint by PaperArtsy and a stencil. Unfortunately I put so much over the top that you can't really see the pattern anymore.... 
I then used a load of different stamps to add more interest. I used the same paints and also some archival inks in similar colours and Jet Black. 
When I was happy with how it looked, I drew a black line around the address area and stamped the Queen of Hearts on separate card stock and coloured her with Copic Markers. I cut her out and adhered her to the front of the envelope. 
The back was even easier; I just brayered the paint on, did the stamping in the same way as on the front and that was that ! 

I used a whole bunch of stamps :


Thanks so much for stopping by today ! 


Tuesday, 5 January 2016

More mail art....

Hello everyone,

and happy New Year to you !

Over at VivaLasVegaStamps! we are totally smitten with mail art. So I thought I'd share this envelope with you. I made this for a swap with a friend. I hope she has got it by now and this doesn't spoil the surprise !


Here's the front and the back.

I coloured the envelope by brayering it with blue, green and white acrylic paint until I was happy with the result. I then stamped it with a great variety of VLVS! Stamps using different colours (similar to the paint colours and grey and black) of Archival Ink. And that was it, really. 

I used the following stamps: 


Thank you for stopping by today !