Showing posts with label Brusho. Show all posts

Thursday, 12 December 2019

This week at Vera Lane Studio

Hello everyone,

and Happy Thursday! For today's post I have made 2 postcards. I love making postcards but I do wonder what I am going to do with them all. Maybe make them into a book? What do you all do with your postcards?


This first card was made with a piece of pattern paper on which I brayered some white paint to make her stand out more. She is new and is called "Sassy". I coloured her with my Copic Markers, cut her out and then placed her on the card. The sentiment is from the same set but I only used a few words of it. 
You'll find 'Sassy' HERE


This card was made with a background that had been in my stash for literally years... and I think I have another one like it. It was made with Brushos. I have since got rid of the Brushos as I really didn't like them. Too unpredictable for me. Anyway, I coloured the bird with Copics and cut it out. I then placed it on the card on top of some washi tape and a strip of design paper. The sentiment is from the same set. 
You'll find the "little birds' HERE

Thank you for stopping by today ! 

Friday, 1 February 2019

Why fit in..

Hello everyone,

It's Friday again and that means another project for Katzelkraft. I have made a mini journal page but it could easily have been the front of a card too ! That is the beauty of this hobby, it can be what you want it to be!


The background was made with Brusho powders and a stencil. 
Next I stamped over the top with the script in similar colours. I then stamped the sentiment straight on the card and coloured the little heart. Next I stamped the animals on book pages and cute them out. I adhered them onto the card and cut off the excess. Lastly I added the border with a black pen. 

I have used the following stamps:


Thank you for stopping by today ! 

Thursday, 13 December 2018

The most wonderful time

Hello everyone,

For today's Vera Lane Studio inspiration I have made an AJ spread and an ATC.


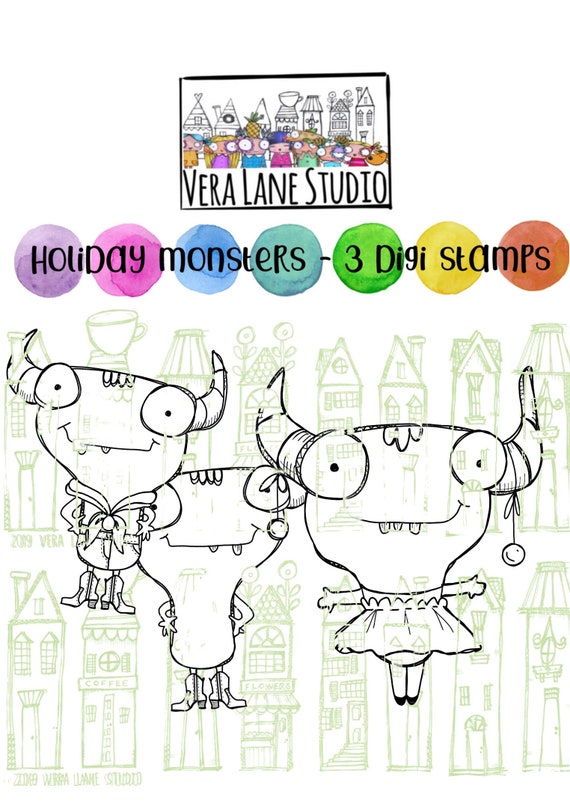
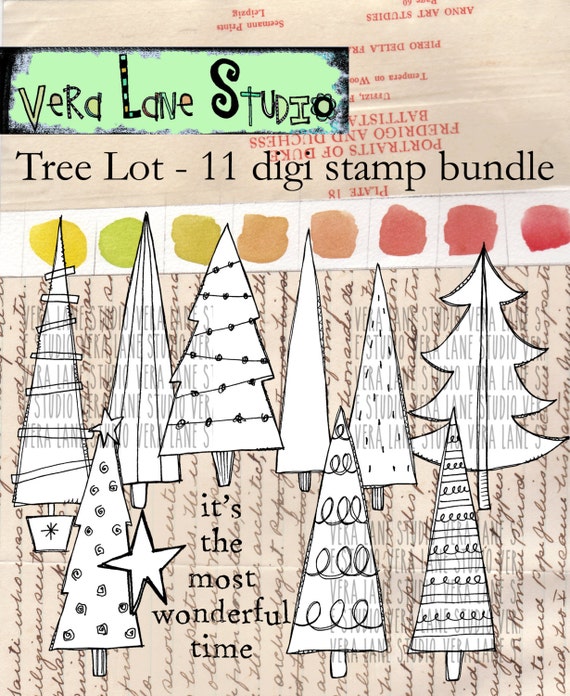
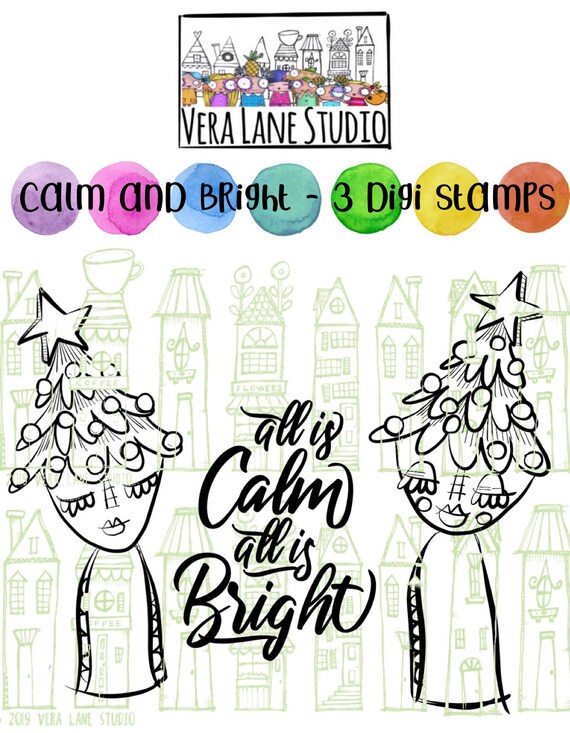
The pages in this book were coloured with Distress Crayons. I hardly ever use these anymore so I thought to get them out today. I like the result. I also added a tiny bit of stamping around the edges and drew some lines. With a stencil and Distress Oxide Ink I added the stars. Next I printed the Holiday Monster girl and the Calm and bright girl. I coloured the monster and the tree of the Calm and bright girl, cut them both out and adhered them onto the page after adding some washi tape for her to stand on. Isn't she cute ! The sentiment I have used is from the set "trees'. 

You'll find the Holiday Monsters HERE
image 0
You'll find the Calm and Bright set HERE.

image 0
You'll find the Trees HERE


image 0


This ATC was made with a background I had already lying around. It was made with Brusho powders and a rubber stamp. I printed this monster, coloured him and cut him out. The blending is a little iffy as one of my markers went all sticky. They do that sometimes and you have to clean the tip; if that doesn't work you'll have to replace it. 
Anyway, I adhered him to the atc on top of some washi tape and added a Tim Holtz snarky sticker. 

You'll find him with his sister in a bundle, link up top... 

Thank you for stopping by today ! 


Tuesday, 1 August 2017

Stand out

Hello everyone,

and welcome to August ! I have a few posts to share to today and this is one of them. It is my project for Visible Image. I have made a card.


On a piece of white card stock I sprinkled Brusho's. I then used my finger to rub them into the paper. Once that was done I used the sentiment stamp from the set and water to stamp onto the card. This is like magic !!! When I had finished stamping the whole card panel I lightly misted it with water. Not too much because everything will blend into one. I think this is a really cool effect and also the only way I can use Brusho's because, control freak that I am, I hate using stuff that behaves unpredictably... lol 
Anyway, I then stamped the legs on the card together with the sentiment. On a separate piece of paper  I stamped the shoe part again, this time with green ink and when this had dried I added some shading with a coloured pencil. I then cut the shoes out and adhered them on top of the ones on the card. A few white accents finished the panel off. I adhered the panel onto a white card. 

I have used the stamp set 'Teenage Kicks' and you'll find it HERE.


Thank you for stopping by today ! 


Social Media links..
Shop where you will find all our awesome stamps!
Blog see all our latest posts here!
Facebook group join in with the banter and enter our ‘Show & Tell’ Monthly Challenge!
Facebook PAGE …give us a like and enter our weekly giveaways!


You can also follow us on:

Saturday, 1 April 2017

I am happiest...

Hello everyone,

For today's post for Roc Nicholas' Rubber Stamps I have made a postcard:


This card was made by rubbing dry Brush powders into a piece of card stock and then stamping over the top with water. It leaves a faint impression of the stamp. I then spray a tiny bit more water over the top and this is the result. To be honest, this is the only way I can deal with Brushos as used otherwise they are too uncontrollable for me and freak me out... 
next I stamped heart vine and white embossed it along the left side of the card. I cut a circle of pattern paper and then stamped Birdlady and Vic the dog on white Bristol card stock. I coloured them with Zig watercolour markers and cut them out. The whole think was then assembled and a Tim Holtz small talk sticker added. That finished it off nicely I thought ! 

I have used these stamps :


You will find all Roc's fantastic stamps HERE and her blog HERE

Thank you for stopping by today ! 
Thursday, 18 August 2016

The rest of your life..

Hello everyone,

Today for my DT post for Katzelkraft I have made a postcard.


The background was made with Brusho's. I used white embossing powder to get the big background stamp to stand out... I stamped the bird, coloured him with watercolour markers and cut him out. I adhered him on top of the clock face. The sentiment was stamped and cut into strips and also adhered to the card. I used a blue watercolour marker to add some colour here and there. 
A black line around the card finished it off. 

I used the following stamps: 


Thank you so much for stopping by today ! 


Saturday, 9 July 2016

De Craftorij Zomerchallenge CZC 2016 - day 26 - 30

Hello everyone,

I am still trying to catch up with the challenge after my holiday. Had a good day today and made some more cards. Here they are:

Day 26 - Draw a letter and doodle in it.. Doodling is not my strongest point so I am not too keen on this one... 


Day 27 - Black and white. Just a couple of stamps and some doodled lines... 


Day 28 - Travel. 
Background was made by rubbing Brusho's into the paper and then stamping it with water. I also sprayed a little water over the top to activate the colour a little more. I then stamped the Eiffeltower and the sentiment. As an afterthought I used a background stamp with similar colours of ink. 


Day 29 - Palindrome. (A word or phrase you can read backwards too)
On a gelli print I did a little bit of background stamping. The rat was stamped on white card stock, coloured and cut out.  He was then adhered onto the card. I added a little shadow under him and typed the palindrome. This was then adhered to the card. 


Day 30 - Finger painting. 
I glued some pieces of book paper on a card and then painted it with my fingers. I stamped the background a little, splattered some white paint and added some lines. Next I stamped the lady, coloured her, cut her out and glued her to the card. Lastly I stamped the sentiment. 

That was it for today. I will be back with 5 more soon !! 

Thank you so much for stopping by ! 


Friday, 6 May 2016

Diamonds are a girl's best friend.

Hello everyone,

I regularly take part in swaps. Like this one where the theme was 'Diamonds are forever'.

This is what I made :


Really simple ATC's. Base is a gelli print, stamp by Dina Wakley over top and added some bling and a sentiment. Done ! 


I also made two cards to go with the ATC's. I used the same stamp on a pre-made background (brush, rubbed dry into the paper then stamped with water), this time without bling, added a sentiment & voila! 

Thanks for stopping by today ! 


Saturday, 30 April 2016

Happy cat !

Hello everyone,

It is my turn on Roc's blog today but I am a day early because tomorrow (1st of May) there is something exciting happening ! Watch this space !
Anyway, I have a postcard to share,  I hope you like it !


This background was lying around. I love making backgrounds and I collect them all in a little file for when I have not much time of don't feel like getting the paints and inks out... 
This one was made with Brusho's. I came out quite nice I think. I used a flower stencil and sprayed water through it and then mopped up the water with some kitchen paper. Isn't this effect cool? I think Dyan Reavely calls it ghosting and she does it with her Dylusions inks. 
I didn't do much more to the background as I liked it like this. I did add some paper (a page out of a book that I coloured with a copic marker) at the bottom and some washitape over that paper and in the top left corner. White paint splatters and a white line around the card finished off the background. 
I then stamped the cat and the bird, coloured them with Copic markers, cut them out and adhered to the postcard. For the sentiment I stamped 'i'm a happy camper' partly ie.  happy and from the word 'camper' just the first two letters, I then drew the 't' myself to spell 'Happy Cat'. 

I used three of Roc's fabulous stamps:


You can buy Roc's stamps HERE

Thank you for stopping by today and I would love to see you back tomorrow ! 


Monday, 4 January 2016

Friends

Hello everyone,

I have an art journal to share today. It is made with the lovely Lost Coast Designs/Carmen's Veranda Stamps. A lot of these stamps are available in the Netherlands at Inkadinkadutchies. You'll find the online store HERE.

Here's my journal :


This is done on a piece of watercolour paper. I started with stamping the 'Grunge Black Swirl' background stamp twice with grey Archival ink. I then rubbed yellow, orange and red Brusho's into the paper and stamped with two shapes of the 'Shadow Frames Set' and water into the Brusho's. I didn't think it was bright enough though, so I spritzed some water over it and after it dried I used the same stamps and Distress Inks to accentuate the circles... I liked that better. I then used white acrylic paint and the 'Love' stamp from the 'Dream, Magic, Love' set. Next I stamped the 'Cat & Bird' on the page and on white paper. I coloured them with pencils and cut them out. Before I adhered them I did some collaging with music paper and an old comic which was coloured with the same Distress ink colours. I also doodled and splattered with a white paint pen. 
Lastly I adhered 'Cat & Bird' and used some chit chat stickers by Tim Holtz for the sentiment. 


Thank you so much for stopping by today ! 

Thursday, 17 December 2015

Destination unknown ....

Hello everyone,

For my DT post on the VLVS! blog today, I have a little tutorial for you. This technique is not mine; I saw somebody do this on YouTube. It is a technique using Brusho. I really didn't like my Brusho's and so regretted buying them until I saw this technique. I suppose you could do this with Bistre and Colour bursts too. Anyway, first the finished article, which is a postcard by the way :


And here's how to make it :


First, stamp your image on your postcard. Use a waterproof ink as you are going in with water later. 


When it is dry.....


Sprinkle Brusho powders on your card, avoiding the stamped image as much as possible. I used Yellow, Orange and Crimson.


You the, rub the powder into the card using your fingers, and this is what that looks like.


Next, take a stamp, spray with water and stamp.....


This is what that looks like... Continue to do this until you have done the whole card, again avoiding the stamped image. I suppose you could mask it if you wanted to.


After you finished stamping, mist a little water over the card so the colours get even more vivid. Not too much though, as it will all run and become a solid coloured card. That is exactly what I don't like about Brusho's when you use them in the traditional way. Far too messy for me... lol 


After everything is dry, take some coloured pencils or markers and colour the image. I used pencils..


Here she is in all her glory !


I then took some background stamps, and stamped the background lightly.. (a list of all stamps used is at the bottom of this post).


I also used a black marker and doodled a line around the card. 


I think this just finishes it off nicely; I still wasn't happy with the background though and decided to do a little more stamping 


This time I used black ink...


Here is the result, much better I think.... 
Lastly I chose a sentiment and stamped it in the top portion of the card... and that was that. 

Here is the finished card again :


I used the following stamps :


Thank you so much for stopping by today ! 


Monday, 14 December 2015

ATC trio

Hello everyone,

It is my turn on the Inkadinkadutchies DT today and I have made a little set of three ATC's.


Aren't they cute ?  haha... 
First, stamp the images on the cards. Make masks and cover up. Then rub dry Brusho Powders into the paper with your fingers. Wet your favourite background stamp and stamp the cards. Mist a little more water over the paper to make the colours even more vivid. Not too much or it will change into one coloured mess. 
I used coloured pencils to colour the figures after the cards dried and the masks were off. I also lightly stamped the background and doodled a one around the edges.  

That was it ! 

I used the following stamps:


You can buy these stamps at www.lost-coast-designs.com or if you live in Europe at www.Inkadinkadutchies.nl

Thank you so much for stopping by today !