Thursday, 31 January 2019

This week at Vera Lane Studio

Hello everyone,

and Happy Thursday to you. It is already the last Thursday of this month; time really flies !
For today's post I have made a postcard and an Artjournal page.


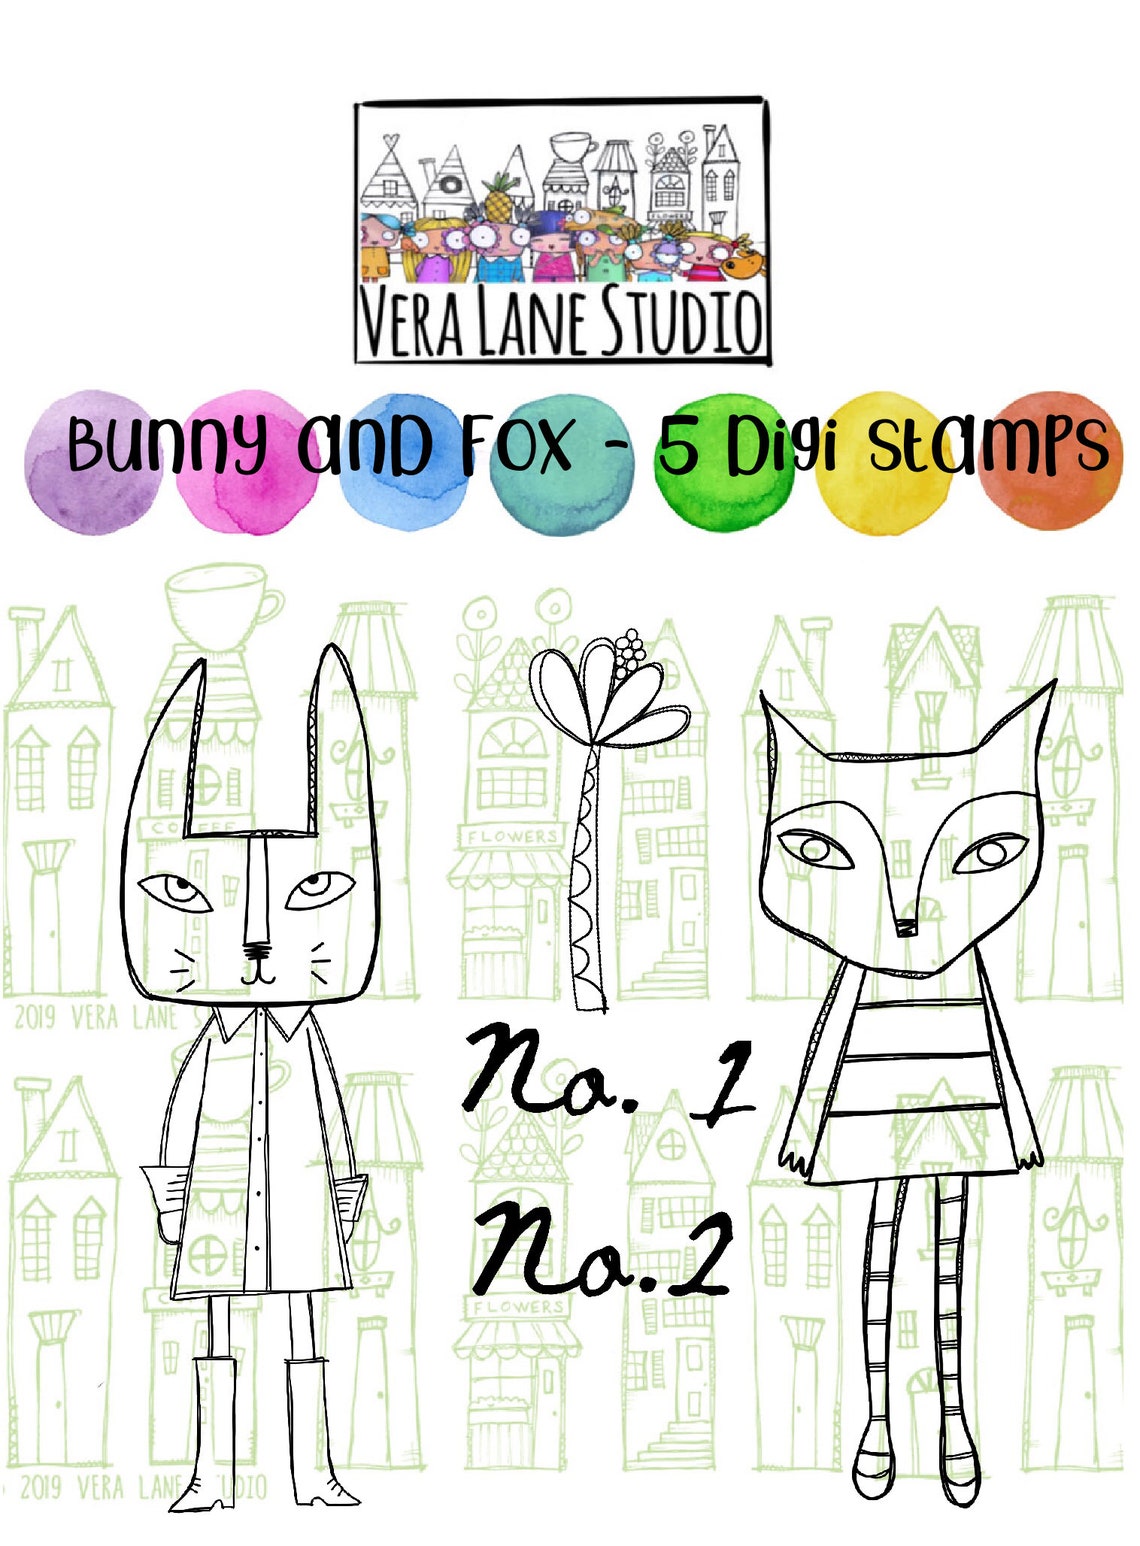
Isn't this fox cute ! I printed and coloured him, then cut him out. I placed him on some book paper on which I stuck some washi tape. I then glued the whole piece onto a piece of gelli printed paper. This was made with a stencil and Copic Refills. Lastly I added a Clippings sticker by Tim Holtz. 

You'll find this lovely fox together with his friend the bunny HERE


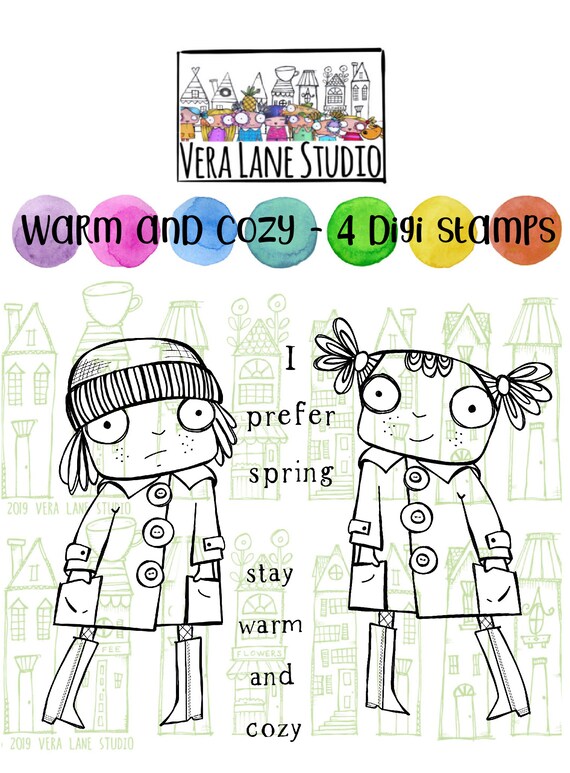
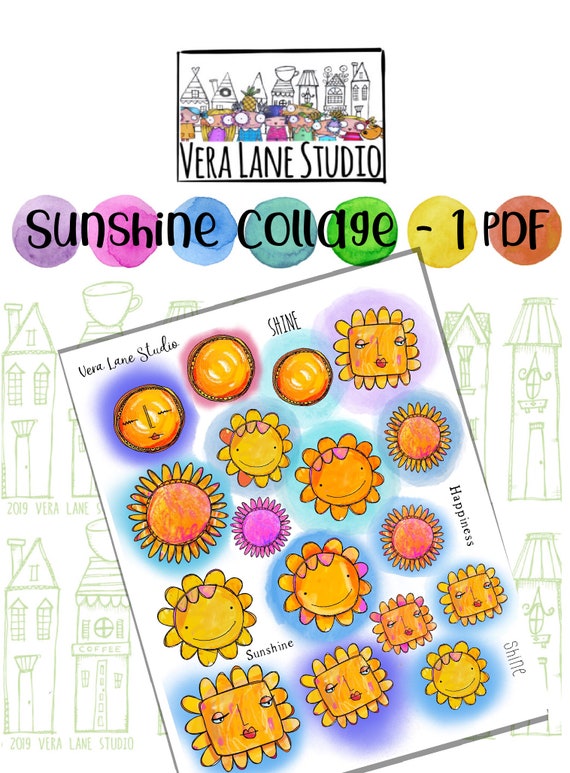
This little girl is not liking the cold... she is a bit like me ! I heat embossed the paper with white embossing powder and then added blue Distress Oxide ink. The girl was printed, coloured and cut out. I adhered her onto the page on top of some washi tape to ground her. I added a sun from the "Sunshine" set and the sentiment which if from the same set as the girl called "Warm and cosy". 

You'll find the girl and her friend HERE


image 0


You'll find the Sun HERE

image 0

Wednesday, 30 January 2019

Don't even ask

Hello everyone, 

I was very happy to be asked by Abs of AALL & Create to make some samples for the Creative World fair in Frankfurt in Germany which took place on 26th - 29th of January. I will share all of them in the near future. I hope you'll like these new released stamps by Olga Heldwein ! I will list all the stamps, old and new, under the photos. 


For this postcard I finger-painted a piece of 6 x 4 card stock with light blue and pink paints. I added white to make everything lighter. I then used a stencil as a stamp by rubbing a Distress Oxide pad over it, spraying it with water and pressing it onto the card. I love this effect. I also stamped the background and some of the stamping was heat embossed. Once I was happy I scraped black paint along the edges to frame the card. I also added white splatters. The dog was stamped, coloured and cut out; I placed him on the card on top of some washitape to ground him. The sentiment was stamped, cut apart and also adhered. 

I have used the following stamps and stencil:

Stamp set #170 Dog Attitude
Stamp set #58 Scribble it
Stamp set #158 Freestyle Flowers
Stencil #59 Weathered tiles

Thank you for stopping by today ! 

Friday, 25 January 2019

Before I had my coffee..

Hello everyone,

For today's Katzelkraft post I have made an AJ page. I have used the Meerkat stamps today; they are so cute !


For the background I used some pattern paper. I stamped and coloured the images and then cut them out and  placed them onto the paper. I did add a strip of washi tape to ground them. 
The sentiment  is a snarky sticker by Tim Holtz. 

I have used the following stamps:

Thank you for stopping by today ! 


Thursday, 24 January 2019

I've got a good heart, but....

Hello everyone,

happy Thursday ! Today I have a postcard and an ATC for Vera Lane Studio to show you. These are both new releases this week.


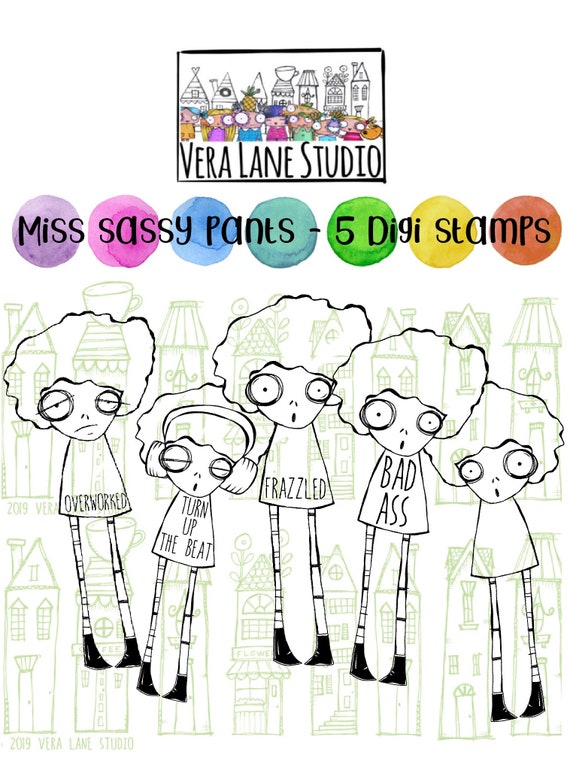
This young lady is from the set 'Lil Miss Sassy Pants and she comes in different moods, so fun ! I coloured a piece of water colour card stock with Distress Oxides and then stamped over the top with the same colours. I added plenty of water to get the 'oxidised' look. I printed Miss Sassy Pants and coloured her with my Copics, cut her out and adhered her on top of some washi tape. The sentiment is a snarky sticker by Tim Holtz. 

You'll find Lil Miss Sassy Pants HERE
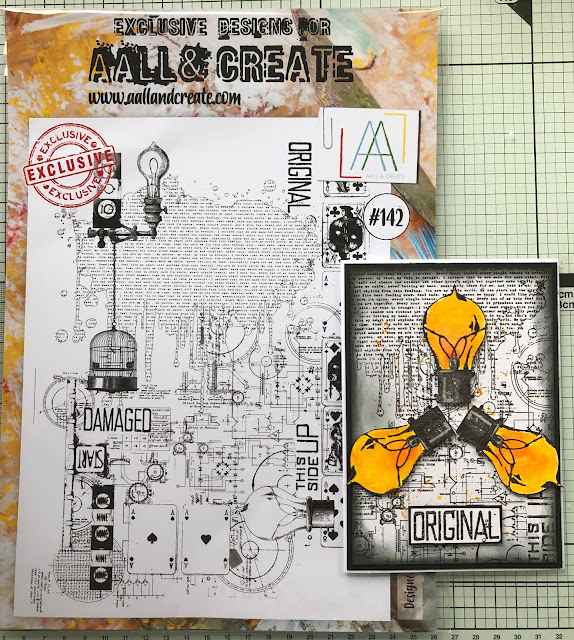
image 0


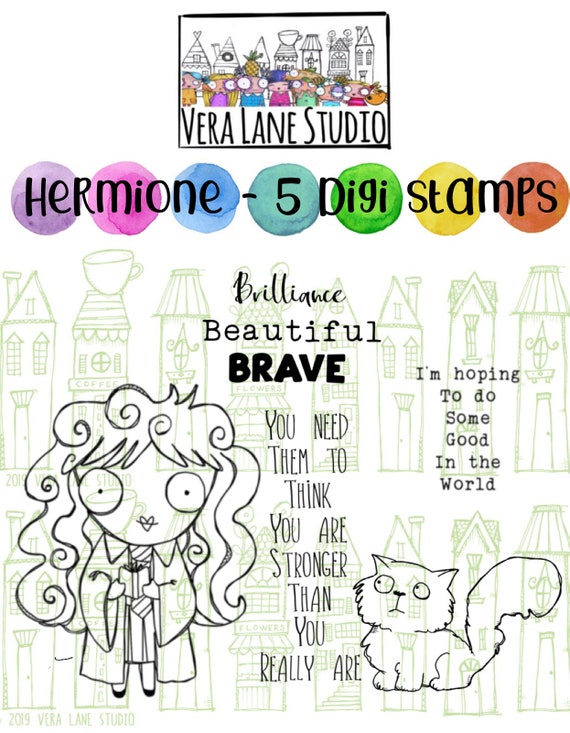
This ATC was made with a piece of gelli printed paper from my stash, I added washi tape at the bottom. I printed and coloured the cat which is from this week's new release "Hermoine". She is of course Crookshanks, Hermoine's cat. After colouring I cut her out and adhered her on the ATC. The words are from the same set. 

You'll find Hermoine HERE

image 0


Thank you for stopping by today ! 

Wednesday, 23 January 2019

Viewer discretion

Hello everyone,

For today's VivaLasVegaStamps! inspiration I have done an art journal. I don't know about you, but I love art journaling although some would say it wasn't journaling as I don't actually journal usually. For me playing with inks and paints and other mediums is enough. So this is what I came up with:


This was great fun to make. I started with painting the pages with gesso. Next I thought about paint but decided to colour my pages with Distress Oxide Inks. I forgot how well this works. 
I started with rubbing the ink pads over the page; fossilised Amber in the middle, Carved Pumpkins next and some Picked Raspberry along the edge. I used a brush and some water to blend it. After drying I went back in with a blending tool and the same inks to make them a little brighter here and there. 
I also used a stencil and some more of the Carved Pumpkin ink to get some interests on the pages. 


Next I did some stamping using the same inks, adding Broken China for more contrast. I also used some Archival and StaZon. 


When I was happy with the how it looked a added splatters with paint pens and stamped my focal image and the sentiment. I coloured the mermaid and cut her out. I cut the sentiment in strips and adhered both to the pages. I did add some shading with a coloured pencil under the mermaid and around the words. 

I have used the following stamps:

20163 - Typeset scallop
20170 - Rows of Numbers
20162 - Carved Xs
20165 - Crossmarks background 
20150 - String of tassels
20152 - Fancy Mermaid
20100 - Some viewers 

Other supplies: 
Distress Oxide inks in 
Fossilized Amber
Picked Raspberry
Carved Pumpkin
Broken China
UmWow Studio stencil "Dahlia"
Ranger Archival Ink "Jet Black"
StaZon ink "Dove Gray"
Memento "Tuxedo Black"
Posca Paintpens in white and pink
Copic Markers

Thank you so much for looking today ! 


Monday, 21 January 2019

the Universe ! Art Journal spread

Hello everyone,

Last week I was on the France Papillon FB page, sharing my layers for the ALAD (a layer a day) challenge. I was my turn to lead and I chose the subject of the Universe. You can read about it on France's blog


I will show you how this came together:


First I stuck masking tape on the pages randomly and painted over everything with DecoArt Media white Gesso. 


Next, I did something very out of character to me : journaling... I normally don't do this but eh, you have to try everything once ! lol 


I then painted over the lot with a mix of Deco Art Media Tinting base, Fluid Acrylic in Phthalo blue and Carbon Black. I love how you can see the edges of the tape. 


Next I created my Milky Way by splattering white paint all over the pages. I used a Molotow paint pen for this. 


Next I used Colbalt Archival ink with a stamp from set London-New York by France. I also stamped part of the World stamp from set 1800, also by France, with Tinting Base. I had too much on my craft mat so I decided not to let it go to waste and scraped it along the edges of the tape. Looks fab I think. 


Next I added the Planets in my Universe with DecoArt Modelling paste and the 'Driving me circles' stencil.


The last layer was the sentiment cluster which I made from bits lying on my desk, a piece of Tengucho paper and a Butterfly Whispers sticker from sheet MMS1. I then took another of the stickers and applied them on my page too. 
Lastly I doodles around the pages with a white paint pen to frame the spread. 

I hope you enjoyed my process and hope you'll play along with us sometime ! 

Thank you so much for stopping by today ! 


Friday, 18 January 2019

Hold on tight

Hello everyone,

It is Friday again and that means Katzelkraft day ! I have another art journal page to share :


These little guys are so cute, I can't get enough of them... lol


I painted a piece of paper with turquoise paint and dried it. I then painted over it with white paint and used a stencil and a baby wipe to remove most of it. I also rubbed over a little when the stencil was off so it looks nice and old and worn. I then stamped my little person and the balloons, coloured them with Copic and cut them out. I arranged and glued them onto the page and drew the lines of the balloons. Lastly I used a Tim Holtz sticker and changed the word 'dreams' into 'balloons'. 

I used the following stamps:


Thank you for stopping by today !


Thursday, 17 January 2019

Today at Vera Lane Studio

Hello everyone,

For today's Vera Lane Studio Inspiration Post I have made a postcard and a journal page.


This cutie is from the newly released "Love is" set. You'll find it HERE
I printed and coloured here, then cut her out. I adhered her on a piece of design paper. 

image 0


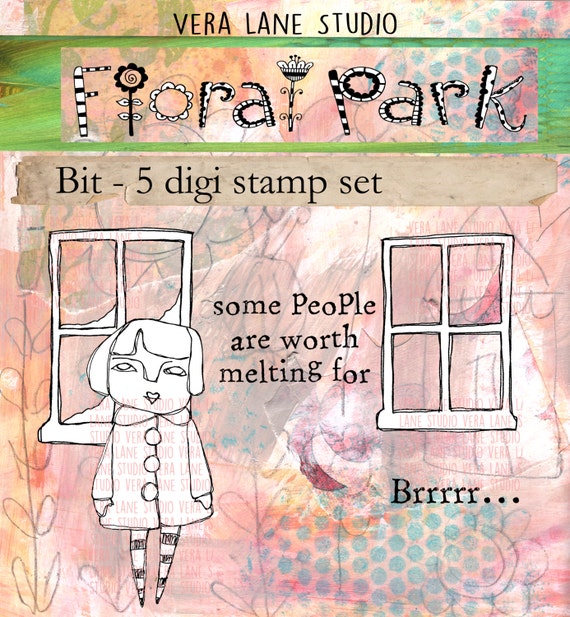
This journal page was made by painting the paper white and stencilling the flowers on it; I also added a little script stamping and doodled around the page. The girl is from the set "Bit" and I coloured her with Copic, cut her out and adhered her onto the page. Lastly I added a sticker. 

You'll find Bit HERE

image 0

Thank you for stopping by today. 

Saturday, 12 January 2019

Original

Hello everyone,

I have another project for AALL & Create  and I have made a card. I thought it might be useful to show that the big A4 stamps are suitable for all crafters, from card makers to Mixed Media Artists. I love to use parts of them for my MM projects but here I made a card with it.


And here's how:


I cut a panel out of white card stock and stamped part of the stamp on it. I just chose the part in the middle.


I also stamped the light bulb three times, this time on watercolour paper. 


I painted the bulbs with watercolours and used the same colours to splatter onto the stamped panel. I also inked up the edges. 


Next I cut out the light bulbs. 


I placed them on the panel and glued them down with dimensional adhesive to make them stand out more. Lastly I stamped the sentiment and layered it and the card panel on black card stock. I then glued the whole panel on a white card. 


Here's the result... 

I have only used one stamp: #142 - Edison Game by Olga Heldwein

For more information about the fabulous AALL & Create products please visit :


Thank you for stopping by today ! 


Friday, 11 January 2019

Bad bear !

Hello everyone,

I have made a new project for AALL & Create. As some of you might know, my hubby and I went to London and had a spontaneous meet with Abs ! It was great fun, we had a laugh... and he brought me some new stamps ! Thanks Abs ! I have used the bear set by Louise Nelson this time and combined it with a new stencil by Abs.


I was looking through my stash for something and then came across this mousetrap. I thought it would make a great little project for one of the Bad Bears ! So that is what I did. 
And here is how:


I removed all the metal bits and painted the wood with Acrylic Paints. 


 I then added the stencilling using the new 'Weathered tiles' stencil by Autour de Mwa and Archival Ink. I also inked up the edges and stamped the word Bad from the 'Bad Bears' stamp in the set. 


I stamped one of the bears and coloured him with my favourite medium: Copic Markers.


After putting all the metal back I adhered the bear with dimensional tape to the trap, added the saying (I took of the 's' of the words bears) and put a bow on the top hook. 


And here is the finished project again. 

I have used :
Stamp set #157 - Bad Bears by Louise Nelson
Stencil #59 - Weathered Tiles by Autour de Maw

For more information about the AALL & Create products and a list of stockists please visit :


Thank you so much for stopping by today ! 


Carpe diem

Hello everyone,

For today's Katzelkraft post I have made an AJ page.


The background was made with Distress Oxide inks over gesso. I then added stencilling with white paint. Next I stamped the background along the sides and added splatters and the lines along the edges. I stamped the donkey and the cake on white card stock and coloured them with Copic markers and then cut them out. I did cut off the legs and tail of the donkey. To get him on the page with his legs I simply stamped him again on the page and glued the body and head on top. I added some washi tape and a Chit Chat sticker by Tim Holtz. The last thing I did was heat emboss the "carpe diem" with white embossing powder. 

I have used the following stamps:


Thank you so much for stopping by today ! 


Thursday, 10 January 2019

Bad Bears

Hello everyone,

I'll start with wishing you all a Happy New Year ! I hope it will bring you everything you hope for and more !

For the first AALL & Create project of the year I have decorate a small canvas board (8" x 8").


And here is how:


I started with painting my canvas board. I used two shades of yellow by PaperArtsy. I used my fingers to paint, so liberating ! lol


I marked out where the paint brush was going to go and added some orange paint drips and splatters. I also used this fab stamp by Olga Heldwein to add some interest to the canvas. I used different coloured Archival Inks for this. 


I also used blue Distress Oxide Ink with the same stamp. Next I used this stencil, which is based on the stamp I used, with modelling paste, just using one of the circles to mimic the circles from the stamp. 


Time for the bears to come out, I used the 'Bad Bears' stamp as a background stamp and stamped it randomly around the canvas with black Archival Ink. 


These were coloured with Copic, easily my favourite colouring medium.


And here is the finished canvas with the products I have used. I added some glossy accents to the orange paint on the brush and the canvas to make it look like wet paint ! 


I hope you'll try to make something too ! This would look great in a children's bedroom or something. I have used :

Stamp set #56 - Vintage Graffiti by Olga Heldwein
Stencil #47 - Circle of life by Olga Heldwein (based on the #56 stamp)
and of course:
Stamp set #157 - Bad Bears by Louise Nelson

For more information about the products and a list of stockists, please visit:


Thank you for stopping by today !