Tuesday, 8 September 2020

Go where your heart takes you.. a small tag album

Hello everyone,

and welcome to my blog where today I am sharing another project for AALL & Create and today it is a little tag album. It could also be used for photos of anything else. I didn't even measure it but eyeballed it.


and here is how:


First I used this die to cut some white card stock out. I just did the bottom and the top as I didn't want to used the whole die cut. I then glued them onto my cover which is a piece of card stock that I scored so I got three panels. 


I painted the whole thing in two shades of green and then added pigment powders to the die cut areas. I used greens and blues. (Infusions and Nuvo). I spritzed them with water and let them do their thing. I like how grungy that looks. 


Next I added stamping, using green, turquoise and black inks.


The inside was treated in the same way minus the die cuts but I did add some black lines to the edges. I added a little pocket for stuff to sit in. 


Next I worked on my little bonus tag to go inside. I stamped the Wellington boot and the bear and coloured them with Copic Markers, then cut them out. 


The tag was also treated the same way; paint, stamping and I added some washi tape. I placed the bear into the boot and glued the whole thing onto the tag. Lastly I added another sentiment. 
All the words are from Tim Holtz chat stickers. 


Here is the tag, placed into the pocket.


The back of the book, I did cut two slits in the middle panel for a piece of ribbon so I could close the album. 


Close up of the front. 


Close up of the middle and back panel.
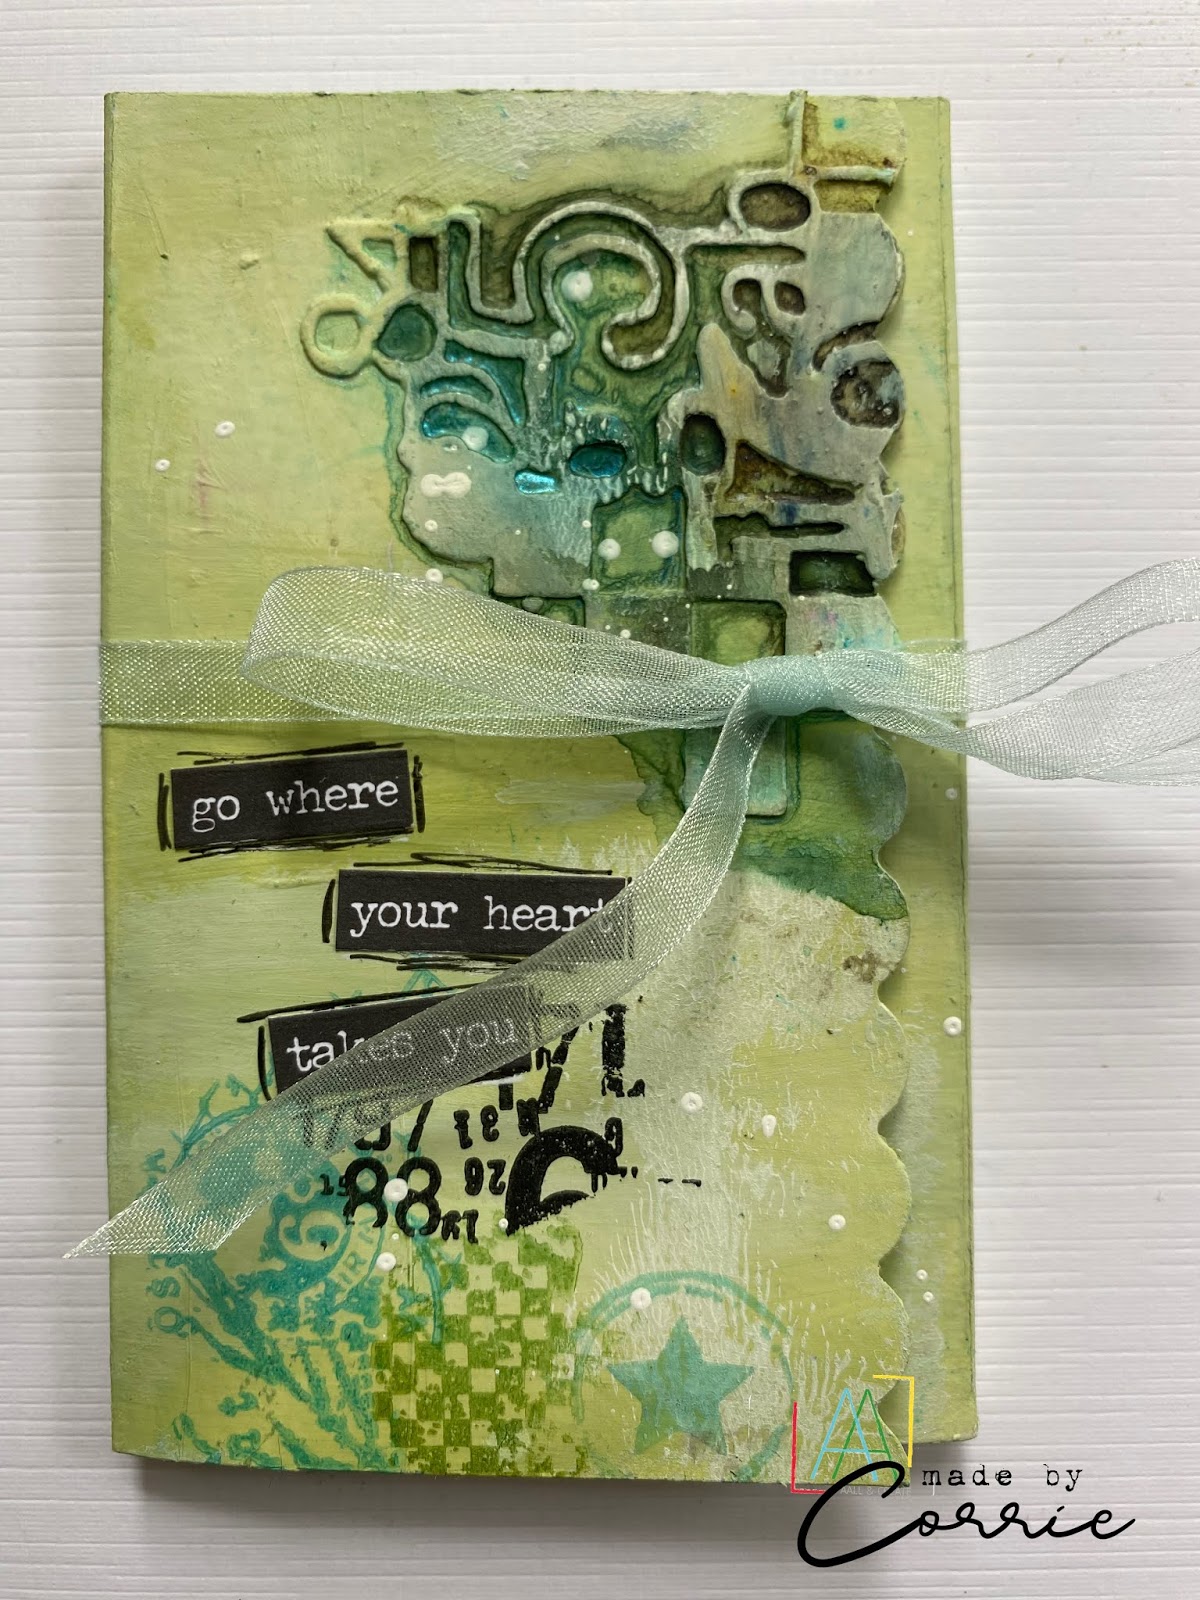

This is what it looks like when it is closed. 


And the back. 

I have used the following products: 

Die:
#22 - Checkered Figures by Bipasha BK
Stamps:
#372 - Textural elements by Tracy Evans
#370 - The great Outdoors by Tracy Evans
#344 - Puppy Toys by Janet Klein


For more information about all the fabulous AALL & Create products, please visit:


Thank you for stopping by today ! 

Thursday, 3 September 2020

This week at Vera Lane Studio

Hello everyone,

Happy Thursday again! Don't the weeks just fly by!
For today's project I have made a mini journal page and a postcard.


This postcard was made with the 'Rainbow Bridge' set that was released this week. I decided to make a simple postcard by printing the rainbow and the dog on a postcard sized piece of paper and colour them. I did add the sentiment in strips because that is what I like doing. To finish the card I drew some lines along two of the corners. 
You will find 'Rainbow Bridge' HERE


This mini journal page came about because I bought some PaperArtsy Infusions and had to experiment. These are watercolour powders mixed with Bister, which is made from walnuts so it is brown. You sprinkle it onto paper and spritz with water. If you leave it longer it will be more brown, if you dry immediately it will be more the colour of the coloured powder. This is because the bister takes longer to dissolve. Anyway because this card came out with earthy colours I thought it would be a perfect background for this cute shepherd. I printed him and the sheep and coloured with Copics then cut the image out. I added some stamping with Janet's 'Background Noise' set and glued the shepherd down. I found some clippings to add as a sentiment. 
He is from an older set and you find him, his friends and sheep HERE


Thank you for stopping by today ! 

Tuesday, 1 September 2020

Find beauty in the simple things - card

Hello everyone,

For this week's AALL & Create project I have made a card. It has turned out a little grungy but I like grungy ! lol I hope you do too.


Here's how:


First I used this stencil with modelling paste on water colour paper. After it dried I put on a layer of clear gesso. No reason other than just trying out how this would work. 


Next I used a mixture of Lindy's Stamp gang spray and PaperArtsy Infusions to add colour. I kept adding more, drying between every layer, until I was happy. Also found that the gesso works great as it gives the chance to work the colours for longer. 


Next I stamped the background.


Because the background was so busy already I thought I'd keep the main image white-ish by stamping it onto book pages. To give it a little more interest I stamped the solid petals again with a mix of pink and red inks to get the same colour approx as the background. I then cut everything out. 


Before adding the main image and the sentiment I splattered some white on the panel with a paint pen and used a brayer and white paint to give it some more interest and texture. I then glued the flower in place and placed the sentiment. Lastly I went around the flower with black watercolour to make it stand out more. 


This is the finished card. I used a blank card and glued the panel on it. 


I have used the following AALL & Create products:

Stamps:
#366 - Roundly by Autour de Mwa
#372 - Textural Elements by Olga Heldwein
#370 - The great outdoors by Tracy Evans
Stencil:
#39 - Lotza Dotz by Autour de Mwa

For more information about all the AALL & Create products and a list of worldwide stockists, please visit: 


Thank you for stopping by today ! 


Colourwheel opposites - a journal spread

Hello everyone,

Welcome to the new September challenge at Country View Challenges which starts today. The theme is opposite colours on the colour wheel and it was chosen by the lovely Evelyn. I chose turquoise and orange.


I have a process video of this for those of you that want to know how I made this. Why not play along with us and win a £20 voucher to spend in the shop. Make sure to read the rules before you take part. 

You can go to the video by clicking HERE.

or click on the picture below and then on 'YouTube' in the bottom right corner. 


I will be back soon with more inspiration in different colours ! :) 

Thank you for stopping by today ! 

Thursday, 27 August 2020

This week at Vera Lane Studio

Hello everyone,

Happy Thursday !

For my DT post for Vera Lane Studio today, I have made two postcards, both with older images.


This lovely angel is from the 'Fireflies'. I printed her and coloured her and cut her out. The background was made with 'normal' Distress Inks. I used Picked Raspberry and Salty Ocean, putting it onto my craft sheet, spritzing it with water and dunking my card into it. I did this several times, drying in between. I added some white heat embossing and some black stamping (Janet's stamp set 'Background Noise' via AALL & Create) before adding the modelling paste through a stencil (Janet's stencil 'Sunrise', also via AALL & Create. 
Lastly I added my angel and a sticker by Tim Holtz. 


This is Tinker, isn't she sweet in a weird kind of way ! lol 
After I printed, coloured and cut out the image I made a vintage background for her.
I started with modelling paste through Janet's stencil 'Sunrise'. I then covered everything in clear gesso. Next I used Distress Oxide Sprays (Speckled egg, Frayed Burlap and Vintage photo) to add colour. I added some stamping with Janet's set 'Background Noise' and then adhered Tinker and the sentiment from the same set. 

These images are older and probably not in the shop anymore but will be available on request. Just let Janet know via the FB page and she'll put them in the shop. 

Thank you for stopping by today ! 

Wednesday, 26 August 2020

We are the weirdos

Hello everyone,

I don't know about you but this strange world we live in at the moment made me want to do a different, for me, weird project, so I have made a postcard with a Halloween theme for VivaLasVegaStamps!.. :o)


Here's how I made it:


I heat embossed a text stamped and the spiderweb on a piece of Mixed Media card stock, using white for the text and silver for the web. 


Next I dunked the card into these colours Distress Oxide inks, drying in between. 


Here is a detail of how it looks. 


Next I added a little black stamping and inked the edges of the card with a blending tool and the brown Distress Oxide. I then stamped the raven and the sentiment on a piece of paper. I coloured the white bits of the bird with pencils. 


And here it is all put together. I matted the sentiment onto black card stock before adhering it and also added some doodle lines along some of the edges. 


I have used the following stamps:


Other materials:
MM card stock 
scrap of black card stock
WOW embossing powder in white and silver
Distress Oxide inks in Ground Espresso, Peeled Paint and Spiced Marmelade
Versafine Clair Ink - Nocturne
Prisma colour pencils

Thank you for stopping by today ! 


Tuesday, 25 August 2020

Dogs, dogs and more dogs !

Hello everyone,

For today's project for AALL & Create I have made a mini book with a single sheet of 12"x12" paper. I have some step-by-step photos, just in case you want to have a go too. There are also numerous tutorials on YouTube, just search for 'book from 12"x12" paper.


This is the front, the back isn't very interesting so I didn't take a picture of that. 

Here is how I made it:


One sheet of 12 x 12 pattern paper. I folded in half and then in half again from both sides. So you get 4 squares horizontally and 4 squares vertically. 


Next, cut into the left fold up 3 squares, do the same on the right. Then turn the paper over and do the same in the middle but from the other side. You can see what I mean in the picture above.


Now you need to decide which side of the paper you want to be showing. Start folding up and down from the left bottom corner and go around until it looks like this. You can always turn the folds the other way if you want to other side of the paper. It will also make a difference to the amount of double pages you get. I got 8 in the end. 


Here is my folded and glued book. You do have to glue some parts together to get a working book. But this is clear when you have folded it. 
I decided in the end to cut a bit of the end (after folding and gluing) because I had 5 dogs so I wanted 5 double pages. 


After giving every page a rough 2 layers of white gesso I started decorating, I used this fab stencil and the gorgeous flower stamps by Bipasha alternatively. 


A little more stamping with black for contrast. 


Stamping out the stars of the show ready for colouring. 


For the outside of the book I used a piece of fabric, added some gesso and used the same stencil as in the book. I added some stamping and the sentiment.

Here are the finished pages:


I added some washi tape here and there and some pencil doodles. I added some clipping stickers as sentiments as well as using the sentiments from the set. 

I have used the following AALL & Create products:

Stamp sets:
#373 - Rescue Puppies by Janet Klein
#338 - Background Noise by Janet Klein
#324 - Blooming Beauty by Bipasha Bk

Stencil:
#85 - Abundance by Olga Heldwein

For more information about all the AALL & Create products and a list of worldwide stockists please visit:


Thank you so much for stopping by today !