Sunday, 31 December 2017

Happy New Year !

Hello everyone,

and Happy Sunday to you !
From next year (tomorrow) my weekly posting for Vera Lane Studio will be on Thursdays instead of Sundays. This is because the DT is changing a little.

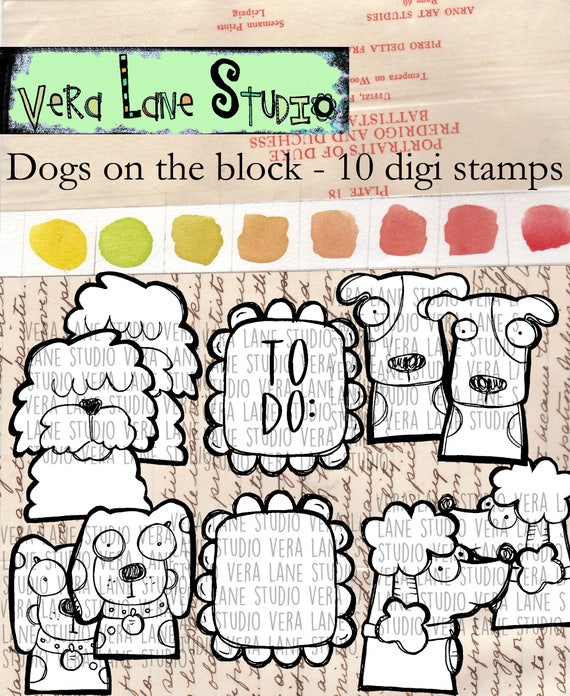
Anyway I hope you had a great Christmas and for this last day of December I have made a trio of ATC's with those adorable doggies!


These are one layer cards except for the words which were made with sticky letters on a piece of white card stock. 
I resized and printed the images and then cut them into ATC's. I coloured the dogs with Copic Markers and the background with Faber Castell Big Brush Markers. Lastly I added a little stencilling with white paint and a doodle line around the cards. 

You will find this adorable set HERE.

Thank you for stopping by today ! 


Friday, 29 December 2017

Be Brave - Fly

Hello everyone,

and welcome to my blogpost for Um Wow Studio today. The year is almost over and I am happy to share one more post for 2017. I have made a tag:


This is what I did to the chipboard:


I love these chipboards because they are really sturdy and you can abuse them all you want ! 


I decided to go easy today and heat emboss it with 4 colours of embossing powders.


Here's what that looks like.


A little sparkle too ! 


The base of this tag is some pattern paper on which I glued some text paper and then inked the edges all around. I also did a little bit of rubber stamping, only around the edges. 


The child is a paper doll by Tim Holtz and I gave him a tiny little bit of colour. I also gave him butterfly wings. These are also from a set by Tim Holtz. Lastly I added some of the glittery Yellow embossing powder along some of the edges and then called the tag done ! 


I hope you got some inspiration from my post ! 


You'll find the 'Fly' chipboard HERE

Thank you for stopping by today and Happy new Year ! 


Thursday, 28 December 2017

All you need is love

Hello everyone, 
Hallo allemaal !

For Hobbycompleet de Duif I have made a trio of ATC's. I have used the fabulous Carabelle Studio Stamps and stencil for these again. 
Vandaag heb ik een drie-luikje gemaakt met ATC's. Ik heb hiervoor uiteraard weer die fantastische stempels en stencil van Carabelle Studio gebruikt. 
   

I cut three ATC's out of white card stock and then coloured them by dunking them in Distress Oxide Inks diluted with a little water. After this had dried I added some transparent texture paste with a stencil. I also stamped the background and used the same ink to age the edges. I then stuck some washi tape on them and wrapped some embroidery thread around them. 
Next I stamped the flying heart, coloured it and heat embossed it with clear powder; after cutting it out I accentuated some bits of it with a black Copic marker. It was then stuck down on the middle ATC. The sentiment I used was typed and cut into strips, matted on paper that I coloured with the same ink and adhered on the ATC's. 
Because they will be displayed in the shop I made a board out of card board and some book pages. I inked the edges again with the same in and mounted my ATC's on that. 
If you scroll down you can see all three of them again but separately. 

Thank you so much for stopping by today ! 
De ATC heb ik zelf gesneden uit wit card stock. Dit heb ik daarna een kleurtje gegeven met Distress Oxide Inkten. Toen dit droog was heb ik er met het stencil en texture paste wat relief op aangebracht. Ik heb ook de achtergrond bestempeld met grijze inkt en de randjes hiermee bewerkt zodat ze een beetje oud lijken.
Vervolgens heb ik het washi tape erop geplakt en hier om heen wat draad gewikkeld. Je kan hiervoor gebruiken wat je wilt; ik heb borduurgaren gebruikt. Vervolgens het gevleugelde hart gestempeld, ook met dezelfde grijze inkt en met embossing poeder bestrooid en verhit. Daarna heb ik het hart zelf ingekleurd met Distress Oxide en een kwastje en opnieuw met embossing poeder bewerkt. Het hart glimt nu mooi. Ik heb ook nog met een zwarte Copic marker het hart geaccentueerd. Daarna het hart opgeplakt en de tekst op mijn oude typemachine gemaakt. De achtergrond is een stukje karton beplakt met boekpapier waarvan ik de randjes met dezelfde inkt heb bewerkt.
Hier zijn ze nog een keer maar dan apart:


Ik heb de volgende materialen gebruikt :
Distress Inkt: Worn Lipstick
Fossilized Amber
Versafine Inkt Smokey Gray 
Stencil : Carabelle Studio  'Accumulation de Ronds' MA40101
Stempels: Carabelle Studio 'Venus' SA60322 en 'Background: Alphabet' SA60324
Tim Holtz Design Tape 'Butterfly'
Ranger Texture paste Transparent Matte
Leuk dat je er was vandaag !

Happy New Year

Hello everyone,

and welcome to the last blogpost for Katzelkraft for 2017 and what better way to close the year with a New Years card for you !


This postcard was made by stamping the large background stamp on a piece of 6 x 4 paper and heat embossing it with white WOW embossing powder. I then used a blending tool and green and blue Distress Oxides to put the colour on. I then used a piece of kitchen paper to clean off the ink of the stamp. Next I stamped the cat, once on the card and once on a piece of separate card stock. The hat was stamped again with green ink because I wanted it to be green and not black. 
I coloured the cat and the hat and cut them out after which I adhered him on the one on the card. This way you get a pretty perfect image even if you can't cut out every little detail. 
Lastly I added the sentiment and some doodling with a black pen. 

I used the following stamps: 


Thank you for stopping by today and HAPPY NEW YEAR ! 


Monday, 25 December 2017

Keep calm...

Hello everyone,

and Merry Christmas !! It is time for my second project for the Country View Challenge "Christmas with optional reds, greens and rust".  I am not a very traditional person so I have made a tag.. There is still time to play along ! Just make sure to read the rules HERE. 


I think he is hilarious ! 

Here's how I made it :


First I die cut a tag and made masks of the cat and the hat. I don't usually make one-layer cards but I thought it would be good to try ..


I put the masks on the tag to see where I had to stamp...


I put the tag in my stamp positioner and stamped the hat first..


Then masked it off and stamped the cat....


Here is the result... 


I then masked everything off again to ink blend the background.. 


This is how that looked. 


Next I took off the masks and coloured the cat. 


He does make me laugh.. he looks so grumpy ! 


I used this 'water-wall' stamp to create snow.


I heat embossed it with white embossing powder. 


And here is the finished tag ! 

Thank you so much for stopping by.. 


Sunday, 24 December 2017

Peace is always beautiful

Hello everyone,

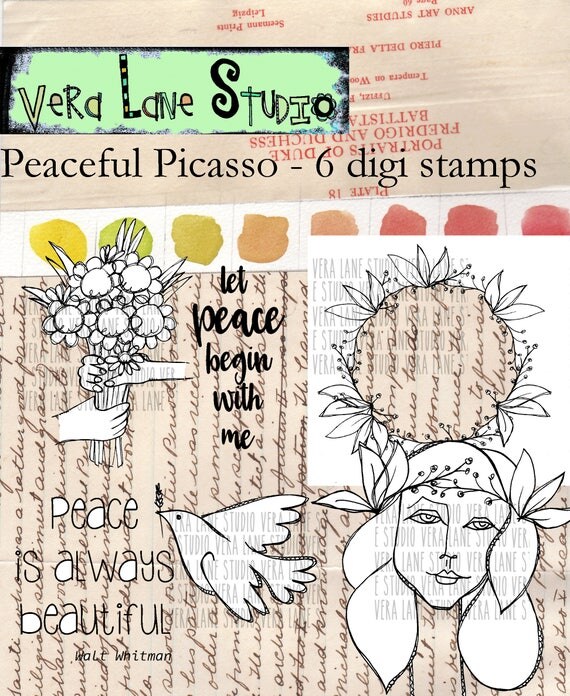
and happy Sunday ! In this last post before Christmas I have a tag to share. I have used the beautiful Peaceful Picasso set by Vera Lane Studio for this.


Isn't she beautiful ! 

You'll find her HERE.


Thank you for stopping by today and Merry Christmas ! 


Friday, 22 December 2017

Merry Christmas

Hello everyone,

Today I have a quick Christmas card for VivaLasVegaStamps! to share. I filmed to process so you can see how I made this. It is very simple but not simple enough for me to stamp the sentiment straight ! LOL... Hope you can forgive me !


I have used the following stamps :


Here is the link for the tutorial:


Thanks for stopping by today ! 


Wednesday, 20 December 2017

Collect beautiful moments


Hello everyone, 

Hallo allemaal, 

I have made a card today and I really love this stampset by Carabelle. It is right up my street ! 

Vandaag heb ik een kaart gemaakt met de "Venus" set van Carabelle; ik vind hem prachtig ! 


First I die cut a card front with the Crealies CLNestXXL 24, I like the stitched edge. I then stamped the winged heart with VersaMark ink and heatembossed with WOW white embossing powder. Next I used a blending tool with Distress Ink in 'Victorian Velvet' to add colour to the panel. I love how the white embossing pops. I made sure to add more ink around the edges and inside the hearts. 
Next I splattered some of the same ink on the panel. 
I then stamped the main image on book paper, coloured her, partly with the same pink ink and partly with coloured pencils. I then cut her out and adhered her on the panel. Lastly I added the sentiment which is a Small  Talk Sticker by Tim Holtz. Of course you could add a stamped sentiment or make one on the computer and print it out. I then mounted the panel on a piece of black card stock and on a white card. 

Eerst heb ik het kaartpaneel gestanst met de Crealies CLNestXXL 24. Ik vind het gestikte randje hiervan zo leuk. Daarna heb ik het gevleugelde hart gestempeld met VersaMark waarna ik het met wit WOW embossing poeder bewerkt heb. Met Distress Inkt in Victorian Velvet daarna met de blending tool kleur aangebracht; een beetje meer langs de rand en in de harten. 
Ik heb ook met een kwastje wat van de met water verdunde inkt op de kaart gespetterd. 
Vervolgens heb ik de dame gestempeld op boekpapier en heb ik haar lichtjes ingekleurd met dezelfde distress inkt en kleurpotloden. Ik heb haar toen uitgeknipt en op het kaart paneel geplakt. Een sticker 'Small Talk' van Tim Holtz maakt het geheel af. Je kunt natuurlijk ook een gestempelde text gebruiken of er een op de computer maken en uitprinten. Als allerlaatste heb ik het paneel op zwart gemat en daarna het geheel op een witte kaart geplakt. 

Materialen:
Wit card stock 
Zwart card stock
Small Talk Sticker 


Thank you for stopping by today ! 

Leuk dat je er was vandaag ! 


Sunday, 17 December 2017

Hall of fame

Hello everyone,

and Happy Sunday ! I have another art journal page for you today ! I have used the newly released dog planner props. I also used a gelli printed background and some pattern paper to put behind the dog heads. Here it is:


How fun is that ! I added some stencilling to my gelli print and also some doodle lines along the edges. The images were printed and coloured and put together to make these little portraits. 
I think it turned out really sweet.

You'll find the doggies HERE.


Thank you so much for stopping by today ! 

Saturday, 16 December 2017

Merry - bright

Hello everyone,

Today I have a trio of rusty ATC's I made for Um Wow Studio to share. I made them a little shabby too as I thought it went well with the rusty backgrounds...


And here's how I made these... 


I used embossing powders on the chipboards. I used brass on the Elk's head and the stars, Red & Sparkly on the little circle that wasn't really a chipboard but a loose piece from inside a chipboard that fell out and I used for his nose.


Here is how that looks. 


Next I added some shading with my Big Brush Pens... 


Looks a bit more interesting like this I think. 


The paper was made with acrylic paint in 'iron' and it was made rusty with a patina spray.. I added some embossing and made sure it looked a little shabby... I also added some sari ribbon and some embroidery twine. 


On this card I also added the sari ribbon and embroidery twine and like on the other two a little doodling with a gold pen around the edges. 


This one got the same treatment too ! 


Here is another look at all three... 

I have used the following Chipboards:


Thank you so much for stopping by today !