Sunday, 10 February 2019

The big moon

Hello everyone, 

I was very happy to be asked by Abs of AALL & Create to make some samples for the Creative World fair in Frankfurt in Germany which took place on 26th - 29th of January. I will share all of them in the near future. I hope you'll like these new released stamps by Olga Heldwein ! I will list all the stamps, old and new, under the photos. 


This postcard was made by adding Distress Inks to a piece of 6 x 4 paper. I then added water to make it run and get lighter. I stamped the background with black Archival ink and also heat embossed some of the stamping that was done with Distress Oxides. This works really well because they stay wet for a long time. Next I used a stencil and bleached out some circles with water and also used a white pen to go around the circles. The images were stamped, coloured and cut out and then arranged on the card. I used a Clippings sticker by Tim Holtz as the sentiment. 

I have used the following stamps and stencil:

Stamp set #142 Edison Game
Stamp set #22 Moon set
Stam set #171 Moody Kittens
Stencil #45 Digital Bubbles

For more information about all the fabulous AALL & Create products and a list of worldwide stockists, please visit the website HERE.

Thank you so much for stopping by! 

Saturday, 9 February 2019

A simple tag for AALL & Create

Hello everyone,

I have been playing with my AALL & Create stash again! For today I have made a tag but it turned out a little different to what I normally would do. Sometimes you just have to think outside the box ! lol There are some WIP photos so sit back and have a look ! 


So this is it ! And this is how I made it:


I started by cutting a piece of paper slightly bigger than the stamp. I used my stamping platform to stamp this fabulous image onto the tag. 


I decided to just start colouring and see where it was going ! This is my favourite way of crafting. 


When the colouring was finished I added some pieces of book pages in three places, slightly overlapping the image. I then added some paint over the book text. 


When it was all dry I added some modelling paste over the painted areas, using this fab stencil. I also added some Glossy Accents over the light bulbs to make them nice and shiny. 


When everything had dried properly I matted the tag on a piece of black card stock and added some doodling and finished it off with a ribbon. 


I have used just one stamp and one stencil ! 

Stamp set #145 - Twigs and leaves by Bipasha
Stencil $49 - Rota Vitae by Olga

For more information about all the fabulous AALL & Create products and a list of worldwide stockists, please visit the website HERE.

Thank you for stopping by today !

Squeeeeeeek !

Hello everyone, 

I was very happy to be asked by Abs of AALL & Create to make some samples for the Creative World fair in Frankfurt in Germany which took place on 26th - 29th of January. I will share all of them in the near future. I hope you'll like these new released stamps by Olga Heldwein ! I will list all the stamps, old and new, under the photos. 


Clean and simple is not my strong point but I thought I'll give it a go. I took a white panel and added a print of the Bubble stencil on it. You do this by rubbing a Distress Oxide Ink pad over the stencil and spritzing it with water. You can then print it like a stamp. Great technique.. I then stamped, coloured and cut out the little mouse and adhered him to a vellum circle which I then adhered onto my panel. I added the sentiment which was layered in black card stock and voila !

I used the following stamps and stencil for this card :

Stamp set #169 Balance
Stencil #45 Digital Bubbles. 

For more information about all the fabulous AALL & Create products and a list of worldwide stockists, please visit the website HERE.

Thank you for stopping by today ! 

Friday, 8 February 2019

Destination unknown

Hello everyone,

For today's inspiration post for VivaLasVegaStamps! I have made an art journal with a video ! Yay ! I finally dug out my Lindy's Stamping sprays again, I hadn't used them in ages ! And I absolutely love the result !


If you'd like to see how I made this then please hop over to the VivaLasVegaStamps! YouTube channel ! 


I have used the following stamps:


and 


Other materials :

Prima Marketing Finnabair Modeling paste & Matte Medium 
Tim Holtz Idea-ology Collage paper - botanical 
Tim Hotlz layering stencil 
Archival Inks Saffron, Tiger Lily and Jet Black 
StaZon Ink - Dove Gray
Lindy's Stampgang Star Burst Sprays - Yellow rose of Texas and Marigold Yellow Orange
Amsterdam Acrylics - Gesso 
Amsterdam Acrylics - White Titanium paint
White paint pen Molotow

I hope you enjoyed my post ! 


Dream

Hello everyone,

and welcome to my blog where today I am sharing a page in my journal that I made for Katzelkraft.


I made the background with Distress Oxide Inks and when it was finished I didn't like it, so I used my brayer to roll some white paint over it. Much better ! I also added some stencilling with the same Oxide Inks. Next I stamped the background and the images too; the rat and cupcake were also stamped on white card stock. I coloured them and cut them out. 
I added washitape to the page and placed the cake and the rat on top of the stamped ones. Lastly I stamped the sentiment. 

I have used the following stamps: 


Thank you for stopping by today ! 


Thursday, 7 February 2019

Happy birthday

Hello everyone,

and Happy Thursday to you !

For today's Vera Lane Studio Post I have made a postcard and 2 cards. One birthday card and one 'all-purpose' card ! lol


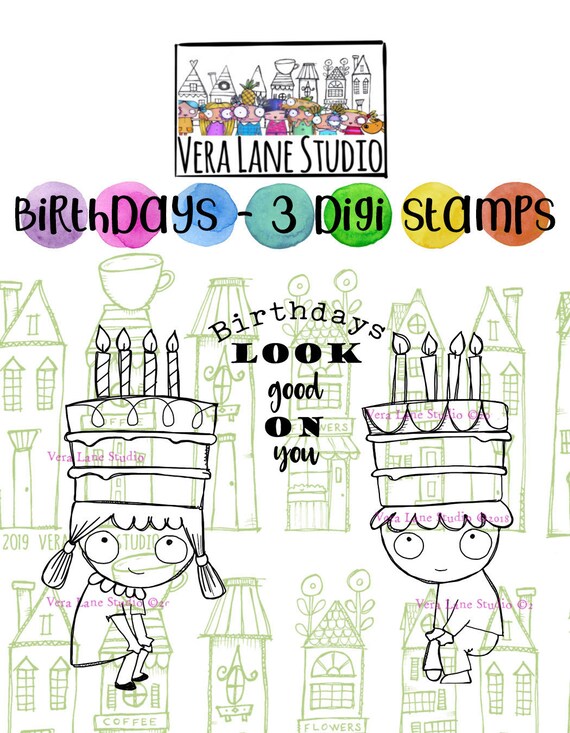
The first card was made with the this week released "Birthdays" set. It contains this adorable boy and also a girl with a cake on her head ! I just replaced the sentiment from the set with an older one. 
After printing this image, I coloured it with my Copic Markers and placed it onto this card front which was from my stash. I just added some blue paint and then wiped it off again with a baby wipe through a stencil. You get a lovely subtle pattern. I also added some washitape and some doodle lines. 

You'll find the "Birthdays" set HERE

image 0


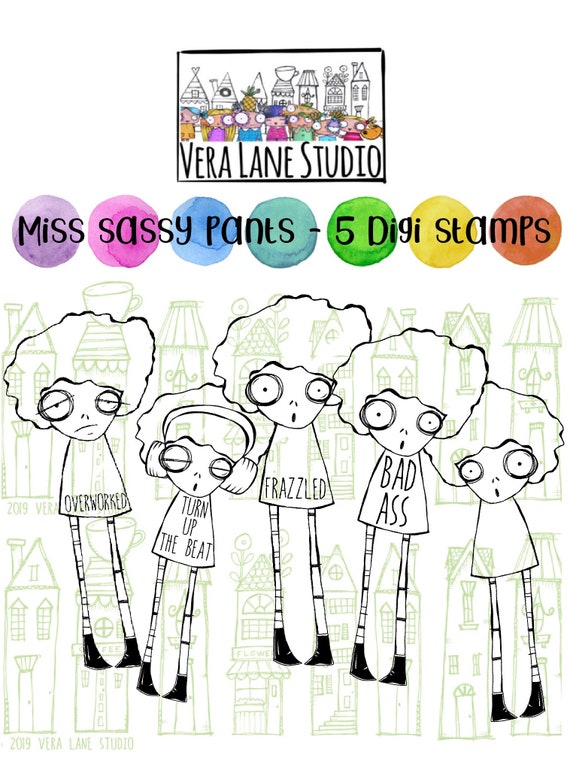
This C&S card was made by adding ink to a piece of card stock with the same stencil I used for the first card. I then added washi tape and a piece of a gelli print. I added a sticker by Tim Holtz. The girl from the "Miss Sassy Pants" set  was printed and then coloured with my Copic Markers. I cut her out and adhere her onto the strip of washitape. The panel was then glued on a white card. 

You'll find this adorable girl and her friends HERE

image 0

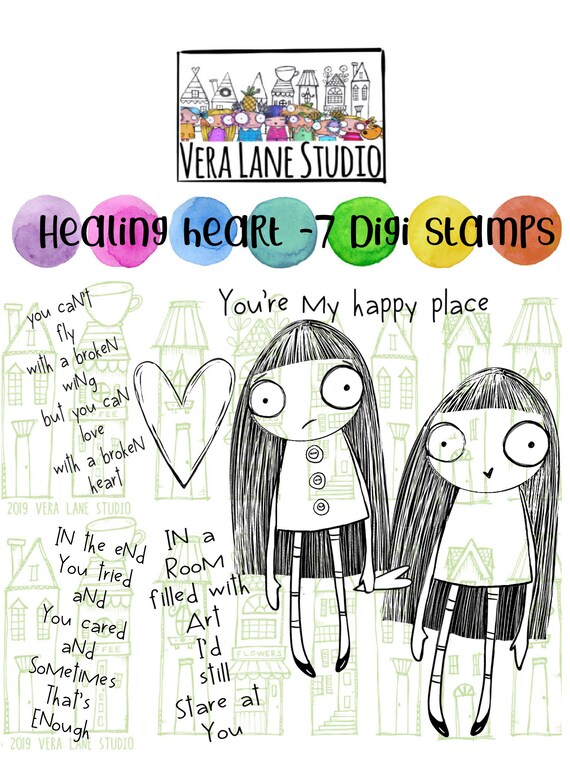
And last but not least I have a postcard with the set 'Healing Heart" ! 


Background is a gelli print; I printed the girl and the heart together and coloured her and the heart with Copic Markers. I cut the image out and adhered it to the card after putting down some washi tape. 

You'll find her HERE.

image 0

Thank you so much for stopping by today ! 


Wednesday, 6 February 2019

I'm smiling inside

Hello everyone, 

I was very happy to be asked by Abs of AALL & Create to make some samples for the Creative World fair in Frankfurt in Germany which took place on 26th - 29th of January. I will share all of them in the near future. I hope you'll like these new released stamps by Olga Heldwein ! I will list all the stamps, old and new, under the photos. 


I started this postcard by brayer-ing acrylic paints over a piece of 6 x 4 card stock. I then placed a stencil on top and wiped away some of the paint. I also added modelling paste through the same stencil. Next I added stamping and splattering. Next I stamped the dog and the sentiment on white card stock and coloured the dog and the balloon. I then cut him out and adhered him onto the card. The sentiment was cut into strips and added.

I used the following stamps and stencil:

Stamp set #170 Dog Attitude
Stamp set #125 For the Record
Stencil #49 Rota Vitae 

For more information about all the fabulous AALL & Create products and a list of worldwide stockists, please visit the website HERE.

Thank you for stopping by today !