Tuesday, 7 March 2017

the road not taken

Hello everyone,

I have an art journal page to share with you today. I have made this for the VivaLasVegaStamps! DT. I've had this elephant in my stash forever and I thought it was time to get him out !


The base is a gelli print I made earlier and on top of that I added some stamping and stencilling. The elephants were stamped on separate white paper and cut out. I adhered them behind each other on the page as if they were following each other. The bird is a Sandpiper with very long legs and beak which I cut off to make him into something else... lol

I have used the following stamps:

Thank you so much for stopping by today !! 

Sunday, 5 March 2017

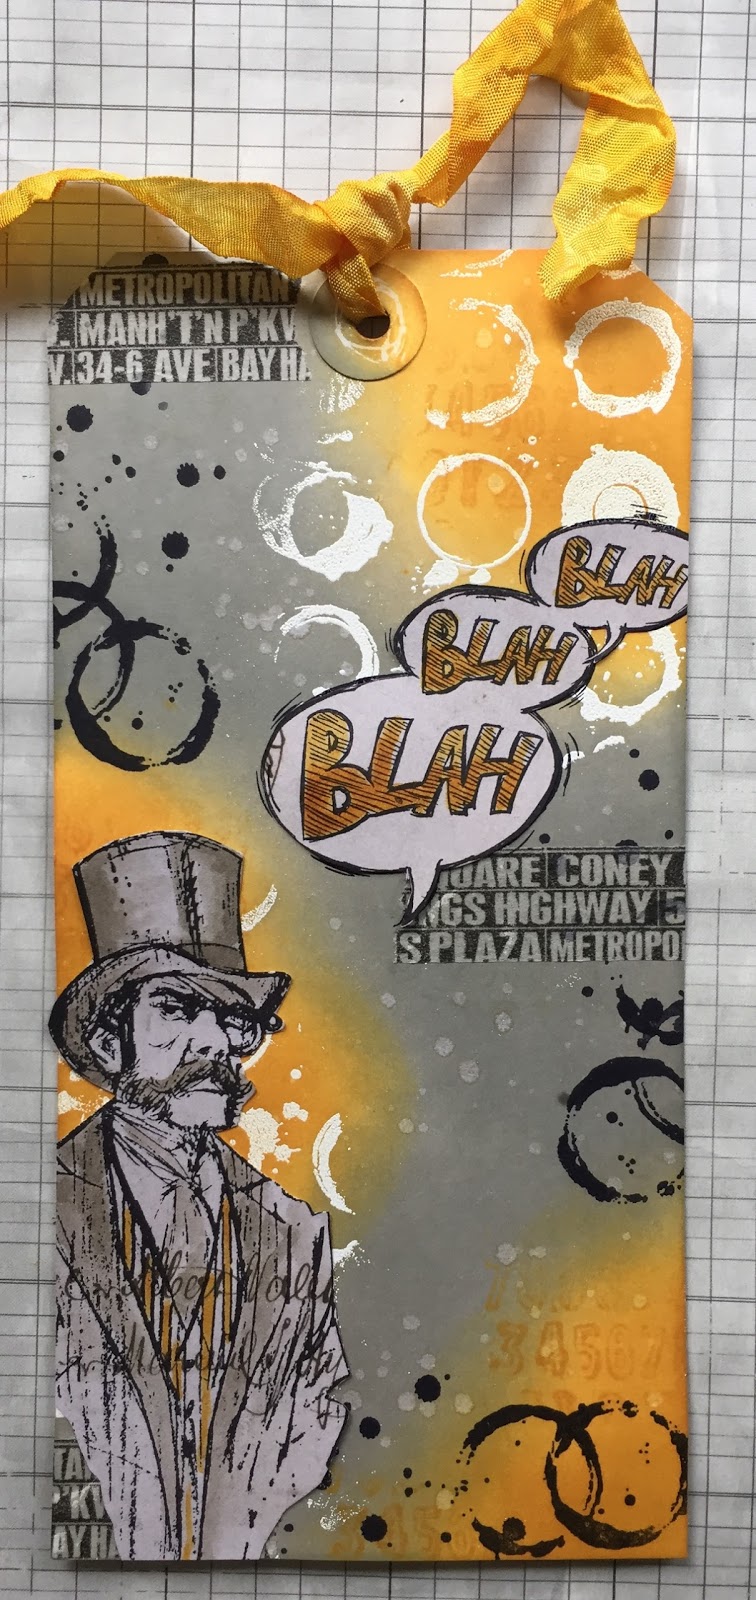
Blah Blah Blah

Hello everyone,

and welcome to my second inspiration post for this month's "inspired by Tim Holtz" challenge over at Country View Challenges. I have made a tag for this and almost everything I have used is by Tim Holtz. I am amazed at the amount of Tim-stuff I have in my stash to be honest ! lol


I hope you will play along with us this month ! You could win a GBP 20 voucher to spend in the shop HERE. Just make sure to read the rules.. 

Here's how I made my tag : 


Thank you so much for stopping by today ! 


Thursday, 2 March 2017

Another Oxide experiment !

Hello everyone, 

Hallo allemaal ! 

Here's the second part of my Tim Holtz Oxide Ink adventure.. I have made two tags. 

Hier het tweede deel van mijn avontuur met de Oxide Inks van Tim Holtz. Ik heb twee labels gemaakt


I forgotten how many colours I used here, but it was a lot... 
I weet niet meer hoeveel kleuren inkt ik hier gebruikt heb maar het waren er veel... 


I also used a stencil with white Dylusions paint. 

Ik heb ook hier en daar een stencil met witte Dylusions Verf gebruikt. 


The stamps are by Artistic Outpost. 

Stempels zijn van Artistic Outpost. 


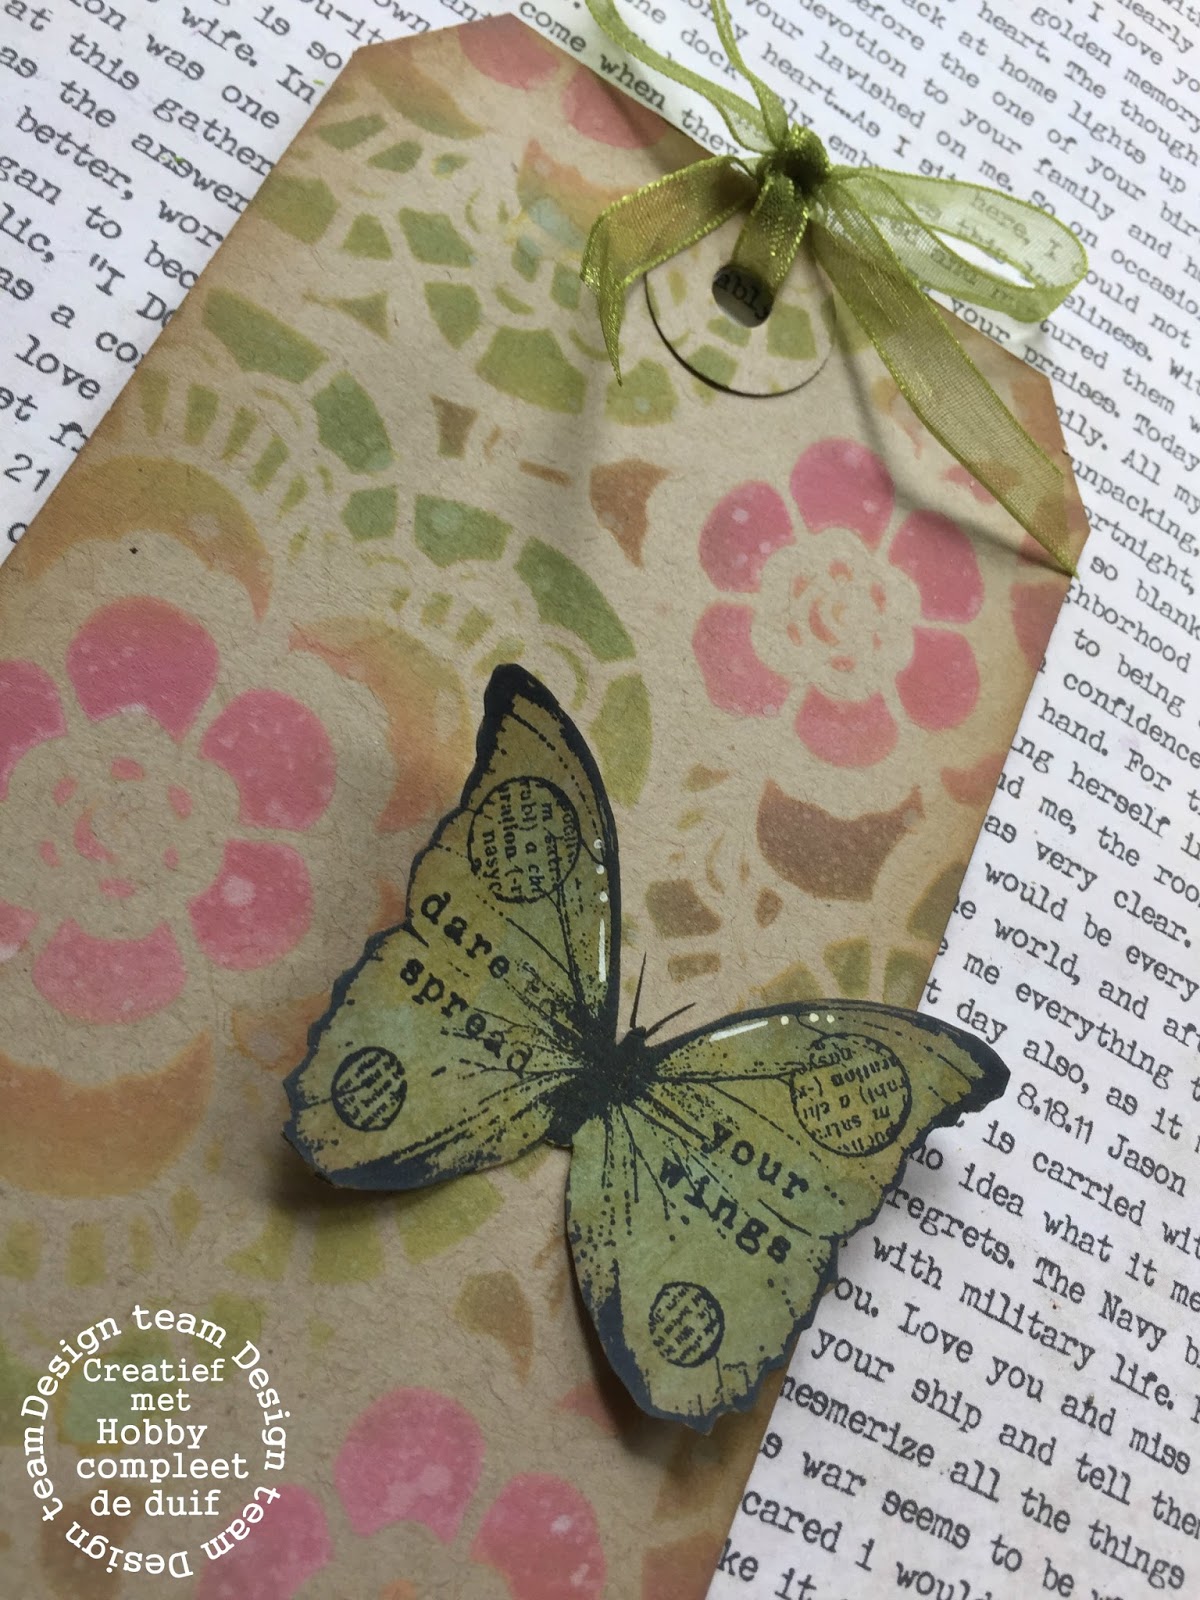
This was made with a stencil, 3 colours of ink and a stamp. I used Kraft card stock for this. 

Deze label is gemaakt met een stencil, 3 kleuren inkt en een stempel. Alles op Kraft card stock. 


Such a lovely effect ! 

Wat een mooi effect hè..


Materials used : 
gebruikte materialen:


Apart from these materials I used some other stuff from my stash. 

Naast deze materialen heb ik not wat spulletjes van mijn voorraad gebruikt.

Thank you so much for stopping by today ! 

Dank je voor je bezoek ! 


Follow your dreams + YouTube tutorial

Hello everyone,
Hallo allemaal,

For my blogpost for De Duif today I have made an art journal with Tim Holtz' Oxide Inks. These are very cool ! and very different to the 'normal' Distress Inks.

Voor deze blogpost voor De Duif, heb ik een art journal gemaakt met de Oxide Inks van Tim Holtz. Die zijn echt leuk ! en zo anders als de 'gewone' Distress Inkten.

I have filmed the process and the link to the tutorial is at the bottom of this post. You will also find a list of materials that I have used. Enjoy !

Ik heb het hele process gefilmd en heb de link onder aan deze post geplaatst. Je vind hier ook de lijst van materialen die ik voor deze pagina gebruikt heb. Ik hoop dat jullie hier inspiratie in vinden !


Those little dogs are so much fun, I want to keep on using them.... 

Die hondjes blijven leuk vind ik en ik blijf ze ook gebruiken... 


A close up ! 

Hier is een close up. 


Here you see the cool effects of the Oxide inks..

Wat een mooie effecten kun je bereiken met deze Oxide inks. 


Another detail...

Nog een detail.. 

and here is the link to the Tutorial ! Enjoy ! 

Hier is de link naar mijn YouTube kanaal :


I have used the following materials: 
Ik heb de volgende materialen gebruikt :


Stempels:


gebruikte kleuren: 
092 - blue grey, 090 - grey, 091 - light grey, 036 - light blue, 031 - Cobalt blue, 037 - Cornflower blue, 063 - Ochre, 040 - green, 047 - may green.

Oxide inks : 


Thank you so much for stopping by today ! 

Dank je voor je bezoek vandaag ! 

March

Hello everyone,

and welcome to my calendar page for March ! I used 100 Proof Press for this page as usual. You'll find all the lovely stamps from them HERE !

Here's my page for March :


Unfortunately I totally forgot to take any photos while I was making this... I got so carried away. I had this idea for ages and wanted to try and do it for real ! 

I started with the wall. I put modelling paste through a stencil to make the bricks. I used paint and a Faber Castell Big Brush Marker to colour and shade the bricks. After that was done, I painted the left side turquoise, varying the shading by adding white. Next I stamped the background with turquoise and grey Archival Inks.  The baby girl was stamped on white Neenah card stock and coloured with Copic Markers. I then cut her out and cut a slit on the border between the blue and the wall. I slipped her in there and glued her in place. The sentiment was typed on my old typewriter. 

I have used the following stamps:


Thank you so much for stopping by today ! 

Wednesday, 1 March 2017

Cherish

Hello everyone,

and welcome to a brand new Challenge over at Country View Challenges. This month the lovely Christine chose the theme "Inspired by Tim Holtz" and who isn't ?

I had a good rummage through my Tim goodies and found that I had a lot more than I thought ! lol
Apart from the little canvas board I used everything is Tim Holtz.

Why don't you play along with us? You can win a GBP 20,- voucher for the shop HERE.
Just make sure you read the rules on the Country View Blog.

Here is my project :


This was so much fun to make ! Here's how: 


I used a pallet knife to scrape a thick layer of Distress Crackle Paint on this little tiny canvas. The size is 10 x 10 cm or 4" x 4" 


While the canvas is drying I added some black ink to this little frame by Tim. 


After putting on the ink and wiping it off again, the frame looks like this. 


I used a grey and black (not in the picture) Distress Crayon to age this little fractured doll (by Tim). I scribbled the crayon on my craft sheet and mixed it with Distress Collage Medium to make it permanent. 


Here is how it came out. I added another layer of Distress Collage medium of the top to make sure the colour is not coming off. 


In the meantime the canvas was dry and looked like this. Isn't that cool ! 


Again I used Distress Crayons to colour the canvas and again I sealed it with Distress Collage Medium. 


This was the result. I then took some cut and dry foam to add ink to the edges of the little canvas. 


Here's how that came out. 


Next I added stamping to it.....


Here are all the bits to go on the canvas, I decided to add one of these numbers too and gave it the same treatment with crayons and Collage Medium. I also found some lace to put behind the frame.  Time to put everything together... 


It the last second I also added a little rub on on the doll for more interest. 

And here's the finished result again. I love the end result ! 


Here are some close ups.


Thank you so much for stopping by today ! 

Just be you

Hello everyone,

It is the first of March and that means another post for Roc Nicholas Stamps. For today's project I have made a duo of ATC's.


This was so much fun ! I normally work with separate layers but these ATC's are one layer apart form the two tiny stickers saying 'be you'. They were cut from white Neenah card stock and then stamped with the images and Memento ink. All the colouring was done with Copic Markers. 


I used the following stamps: 

Heart Vine
Just be You
Daisy Head

You'll find all Roc's stamps HERE and her blog HERE. 

Thank you so much for stopping by today !