Tuesday, 7 February 2017

Tomorrow doesn't exist

Hello everyone,

This is my second inspiration post for Country View Challenges. I have made a card this time. The challenge is still to make something in 30 minutes or under. I tool about 15 minutes to make this card.

I filmed the process too so hop over if you are interested.

We would love you to participate in this challenge ! Just make sure to read the rules on the CVC blog first.


I gelli printed the background, added some stamping and stencilling and then stamped the girl on it. 
I then added the sentiment and some doodling. The panel was then adhered to the card. 

Here's the video:


Thank you for stopping by today ! 


Monday, 6 February 2017

Do small things..

Hello everyone,

and welcome to this blogpost where I am showcasing the wonderful 100 Proof Press Stamps. As you might already know, Sara from 100 Proof Press asked me if I was interested in doing some design  work for her and of course I had to say yes ! Her stamps are wonderful ! I already had some in my collection but for today's art journal I used one of my new ones :


And here's how I made it :


I wasn't sure about what colours I wanted to use so I sat down with some lovely DecoArt Media paints and my gelli plate 


Apart from sometimes stamps and stencils I use these 'tools' on my gelli plate. 


First layer of paint....


And this is how it looked when finished. I decided to try some cooler colours too. 


Again first layer... 


And the finished article; I decided to use this one... 


Next stamping the background. I tried to do it with paint but it gave me a very faint impression so I repeated the process with white embossing powder. 
Remember to wash your stamps straight away after using paint as it is really difficult to get off once it dries... 


I also added some model paste through a stencil..


Here is the almost finished background; I really like how it turned out. I added some script stamping in grey archival ink too. 


I added some starbursts in black for contrast. 
The bird was coloured with Copic Markers and cut out. I thought he didn't stand out enough so I added a die cut heart underneath him.. I added some lines to the outside of the heart with a black marker. 
The last thing I did is add the words. This is a Mother Teresa quote, I stamped it and cut it into strips, adhered it to the page and doodled around them. 


Here's a close up of the lovely bird. 


and a close-up of the embossing and model paste. 


And this is the finished page again... 

I have used the following 100 Proof Press Stamps:


Thank you so much for stopping by today ! 

Saturday, 4 February 2017

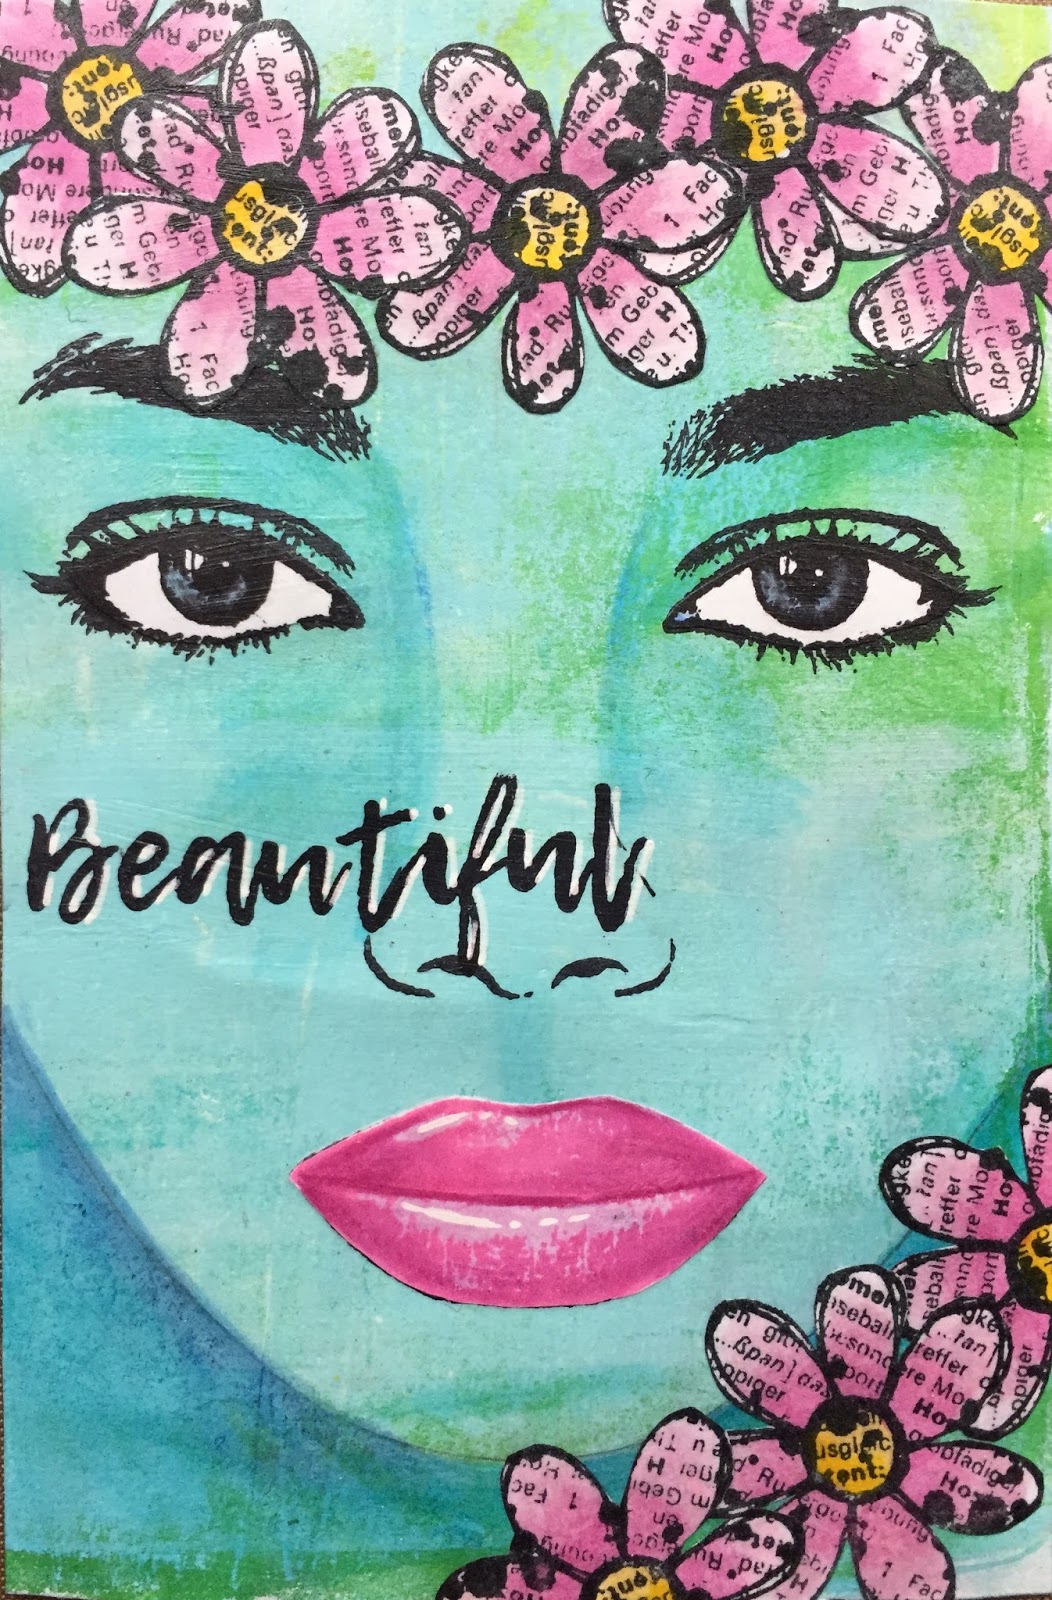
Beautiful

Hello everyone,

Just a quick post from me today.  I have been doing DT work all day but found time too to make a postcard for the UK Stampers Forum. I have recently become a member of this super friendly supportive group. They organise all sorts of swaps and thing... Check it out ! Anyway here is my postcard:


Isn't she gorgeous! I have used a gelli printed piece of paper that I had lying around and stamped the beautiful face stamps by Visible Image in it. I also added a sentiment from a different set, also from Visible Image. There is also a template for the face which I used at the bottom for the contour of the face. 
I then stamped the mouth, eyes and flowers (by Carabelle Studio) on thin marker paper and coloured them. I cut the all the bits out and adhered everything on the card with gel medium and gave the whole card a coat too so it is nicely protected. 

Thank you for stopping by today ! 


Friday, 3 February 2017

February

Hello everyone,

and welcome to my 2nd Calendar post for 100 Proof Press. I will do one page per month and this is February's.


Here's how I made it: 


I decided to go with a gelli printed background. First I did a base layer with the Teresa Green and Granny Smith. I then overprinted with the Captain Peacock but after I stamped into the wet paint on the plate with a rubber stamp in the middle (Stylish numbers) and a coaster on the left side. 
Make sure to wash your stamps straight away if you use them with paint because once it dries it is very difficult to get off. 


This is the result after the second layer of printing..


Next I added some stencilling with a Plum coloured paint and some stamping with great Archival Ink (Profit and loss sheet).


Next I stamped the Handstand Clown and coloured him with Copic Markers and cut him out. 


Here you see it all put together. I added a metal clock charm which a painted with rust paste for the clown to (hand) stand on and I typed the sentiment on my old typewriter, cut into word strips and added to the page. I added some colour on the strips with a Copic Marker.


And here is how it looks on the wall ! Fabulous isn't it ! 

I used the following 100 Proof Press Stamps:


Thank you so much for stopping by today ! 


Wednesday, 1 February 2017

The eyes see everything

Hello everyone,

Today a new challenge starts at Country View Challenges and it is a time challenge. The lovely Sue chose it and she wants us to make something in 30 minutes or less.

I can only do this if I decide beforehand what I am going to use and how to do it. This doesn't happen very often. LOL. But in this case I did decide what to make and how to do it and it took me just over 15 minutes to make; I did cut the ATC's before starting.

I also filmed the process if you'd like to see it.


I used 5 of Paperartsy's  Mini Stamps. The base was brayered with PaperArtsy Fresco Finish Chalk Acrylics. I used 'Snowflake', 'Mermaid', 'Captain Peacock' and 'Bubblegum'. 


I hope you will play along with us this month. You could win a GBP 20,-- voucher for the shop. Just make sure to read the rules on the CVC blog. 

I'll be back soon with more inspiration and another video !

Thank you so much for stopping by ! 


Comfortzone

Hello everyone,

We are very excited here over at Stampotique because we have new stamps ! From now on Stampotique will have 6 new images each month ! How about that !

Also today, a new challenge starts and it is called : "Love bugs". So I have used one of the new stamps and added a bug ! Spider girl's spider is loving this tree and so are the birds ! This piece actually very nearly ended in the bin because I messed up the background. After a lot of faffing about I managed to make it look like this :


I was determined to make a one layer journal page. So I started with stamping the image which is called "Communitree" and is by Jill Penney. I coloured her with my Zig watercolour brush pens. I though I could also do the background with this so I started adding blue around the image and using a water brush to spread it and when I touched the image it started bleeding into the blue. 

I ended up using a small brush and white gesso to paint the bleeding out. After I gave the rest of the page a coat of gesso I used acrylic paints to colour the background. It worked out OK in the end. I added stencilling and stamping and a sentiment and that was that ! 


Here is a close up of this new stamp. Note: I added the spider; it doesn't appear on this image. 

I used the following stamps:


You can find all 6 new designs for February HERE.


We hope you will play along with the challenge but before you do make sure to read the rules on the Stampotique DC page. 


Unleash yourself

Hello everyone,

and welcome to my blogpost for Roc Nicholas Rubber Stamps! For today I have made a tag:


I cut this tag out of white card stock then painted it with Gesso. Next I added green acrylic paint. I thinned it down quite a bit so it would drip down the tag. I added some splatters with the same paint and with a blue Lindy's ink spray. Next I took a brayer and rolled over some orange to brighten it up. 
I added a piece of pattern paper at the bottom for "Monster" to stand on and then adhered him on top. I had already coloured him with my Zig Clean Color Real Brush Markers and cut him out. 
I then stamped the sentiment and coloured the letters with watercolour marker again (Zigs). I also added some doodling before adhering it to the tag. 
A piece of ribbon finished the tag ! 

I used the following stamps:


You'll find all Roc fabulous stamps 

Thank you for stopping by today !