Thursday, 24 May 2018

I'm late, I'm late...

Hello everyone,

and welcome to my inspiration post for VivaLasVegaStamps! today !

I have made an Art Journal spread and I have gone for an Alice in Wonderland theme. I love Alice in Wonderland. Strange really if you know that I only started to read the books as an adult. I got really interested when I started crafting as the characters are great for cards, tags, journals... you name it.


This spread was made in my homemade gel printed book. I learned making this in a workshop with Birgit Koopsen. You make lots of gel printed pages and then glue them together to make a book. 
There is a video from Birgit to show the process HERE

I started with heat embossing the Dandilion here and there on the pages. I used fine detail white embossing powder by WOW. Next I stamped the background with similar colours of Archival inks as the background and with grey and black for contrast. Next I added some washi tape and stamped the rabbit and the sentiment. 


The rabbit was coloured with Copic Markers and cut out. I rest amped him onto my page and was then able to cut off small details like the watch chain. I then adhered the coloured one over the top. I also added some shading under him. 


The stamped sentiment was cut into smaller pieces and adhered to the page. A little doodling with a white pen finished the whole thing off. 

I used the following stamps:

Thank you for stopping by today ! 


Tuesday, 22 May 2018

A little notebook

Hello everyone,

and welcome to my post for AALL & Create.

Today I have altered a notebook. These make great gifts and are fun to make. I have lots of photos but have also filmed the process. You'll find the link to YouTube at the bottom of this page.

For more information and a list of worldwide stockist please visit the AALL & Create Website HERE.


Turned out rather nice I think....


I bought these little notebooks in a department store but I don't like the purple outside so I gave it two coats of gesso....


After it dried I added model paste through a stencil (#22 by Autour de Mwa)


Next is colour... I used blues today.


If you want to know how I made the circles grungy you'll have to watch my YouTube Tutorial... 


I created this orange and red background with a gel press plate (watch how in the YouTube Tutorial)


After stamping I cut all the flowers out. 


And here is the end result. 


and the back... 


Both sides at once ! lol 


I also added a ribbon to keep the book closed. 


I have used the following stamp sets:

#70 Quirky Blossoms by Tracy Evans 
#71 Natures Garden by Tracy Evans
#80 Lined by Olga Heldwein

Stencil:
#22 by Autour de Mwa

You will find a list of worldwide stockists for these fabulous products HERE.

Thank you for stopping by today ! 

Oh so lovely

Hello everyone,

For today's project for Um Wow Studio I have made an art journal spread. I kept it simple this time because sometimes less is more and I love how it turned out.


I had one piece of chipboard from the Flourishes Two set left and thought it would be nice to turn it into a swing for this little girl. I didn't alter the chipboard this time but left it natural. I tied some string on either side to represent her swing ropes. 
The background was made with a piece of pattern paper which I found in my stash. I added some acrylic paint around the edges and behind the girl and also some stamping and doodling. The sentiment was actually the name of the pattern paper, it was printed on the bottom edge and I just cut it off because i thought it suited her. 


I have used this set of chipboards:


You will find them HERE


Thank you for stopping by today ! 


Monday, 21 May 2018

A Mixed Up Mag bloghop !

Hello everyone, 
I hope you are enjoying meeting the Mixed Up Design Team! Welcome to my blog.
As you know, each of us is sharing our favourite makes for Mixed Up today, and the project I’ve chosen to share with you is a little book that was published in last month's  Mixed Up Mag. Here's some pics... 
This little book is made with a single sheet of 12' x 12' paper. If you'd like to see the rest of it and the video then go to www.mixedupmag.com to see how you can get the latest content. 


I’m also showing a sneak peek of something else I’ve got coming up soon! It is a little project made with Rubber Dance Stamps. There will be a process video too ! 


The Mixed Up website has tons of mixed media projects, including these and many more! If you want to know more pop on over to the website HERE.


Make sure you visit everyone’s blog and leave a comment to be in with a chance of winning:

A ONE YEAR subscription to Mixed Up worth £40 PLUS 10 Mixed Up Printable resources of your choice!

Here’s the hop list!
Corrie Herriman (YOU ARE HERE)
Visit each designer and leave a comment on their blog for a chance to win a fabulous mixed media prize!
The draw is open internationally. 
The draw closes 31st of May 2018 at midnight GMT.
Thank you so much for stopping by today and happy hopping ! 


Friday, 18 May 2018

Dare to be different

Hi everyone,

and welcome to my blogpost. Today I have a tag to share. When I got my DT stash from AALL & Create last week I was very excited about Olga's little 'Quirks' and I had to use them straight away !


Here's how :


I used border stamp #80 and stamped it with VersaMark. I then heat embossed it with white powder. 


Next I smooshed Distress Oxides on my work surface and dragged the tag through it. 


With this result. 


Next I stamped the Quirks from both sets. (#73 and #104)


Coloured them with Copics and added some white detail here and there. Then I cut them out. 


They are so cute ! 


And here is the end result again. The sentiment is from set #6 by Tracy Evans. 

If you want information or want to know where you can buy these stamps then have a look at 


where you'll find a list of stockists around the world. 

Thank you for stopping by today ! 


Two cards

Hello everyone,

and welcome to my weekly post for Katzelkraft. I am in love with their new stamps and I had this great idea of using one of the cake ladies with the couch and the sheep together on something. Unfortunately I couldn't make it work so instead I made two cards with these images and added a cake stand with a cake !


I used a piece of designer paper for the background of this card. I coloured the images with Copic Markers, cut them all out and adhered them to the paper. The cake stand was stamped directly onto the paper. I did also add some shading at the bottom. 
I used only part of the sentiment from the Teatime set. 

For this card I used these stamp sets:


This sheep must be my absolute favourite from the release. The look on his face makes me laugh everytime I see him. I adhered him onto some vellum and used some washitape to make 'ground' for him to stand on. I then glued the whole thing onto a gelli printed card front. I added the word 'smile' and a clippings sticker by Tim Holtz. 

I used these stamp sets for this card:


Thank you for stopping by today ! 


Thursday, 17 May 2018

Confidence is beautiful

Hello everyone,

and happy Thursday to you all ! For today's Vera Lane Studio projects I have made a postcard and a card with the new Men's wear set and a tag with a golden oldie !  The Men's wear set is available as Collage set and as a normal digital image that you can colour. I have used the blank one and have coloured it myself.
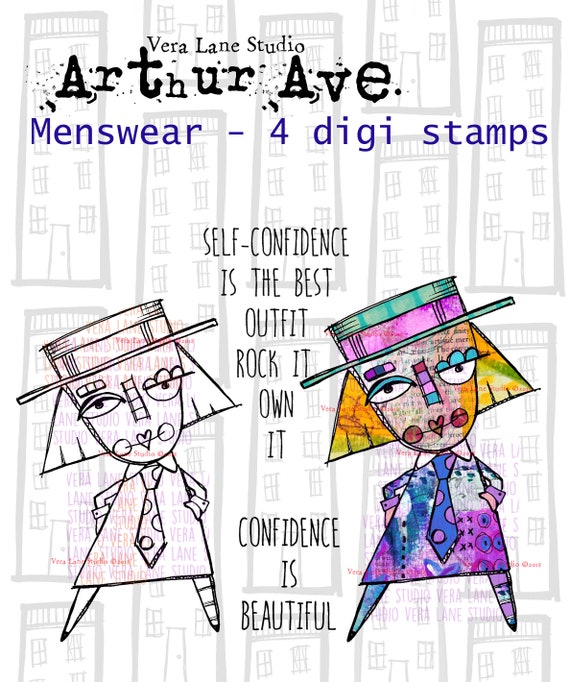
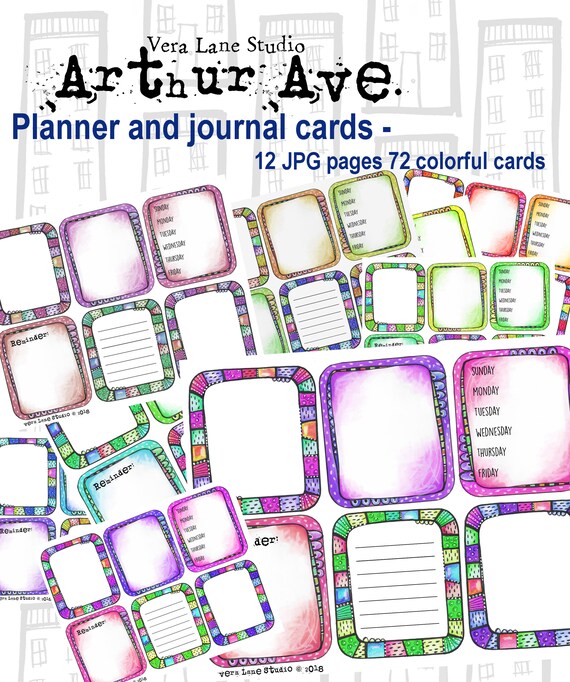


For this card I have used one of the fabulous journal cards. I don't have a journal but they are also great for cards, art journals, tags etc... They are already coloured so very easy to use. I have matted it onto some pattern paper and then glued the image and sentiment on it. 

You'll find Men's wear HERE


You'll find the journal cards HERE


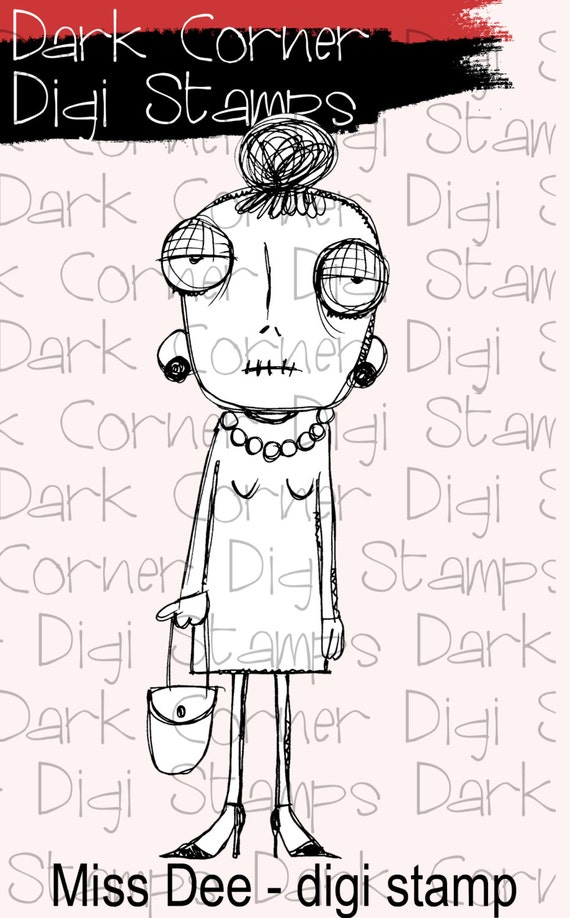
For the second project I couldn't resist getting Miss Dee out again... 


She is easily in my top 10 of Vera Lane Images. I love the look on her face; makes me laugh every time I see it... 

You'll find Miss Dee HERE


Thanks for stopping by today !