Showing posts with label Copic Refills. Show all posts

Thursday, 21 September 2023

This week at Vera Lane Studio

 Hello everyone, 

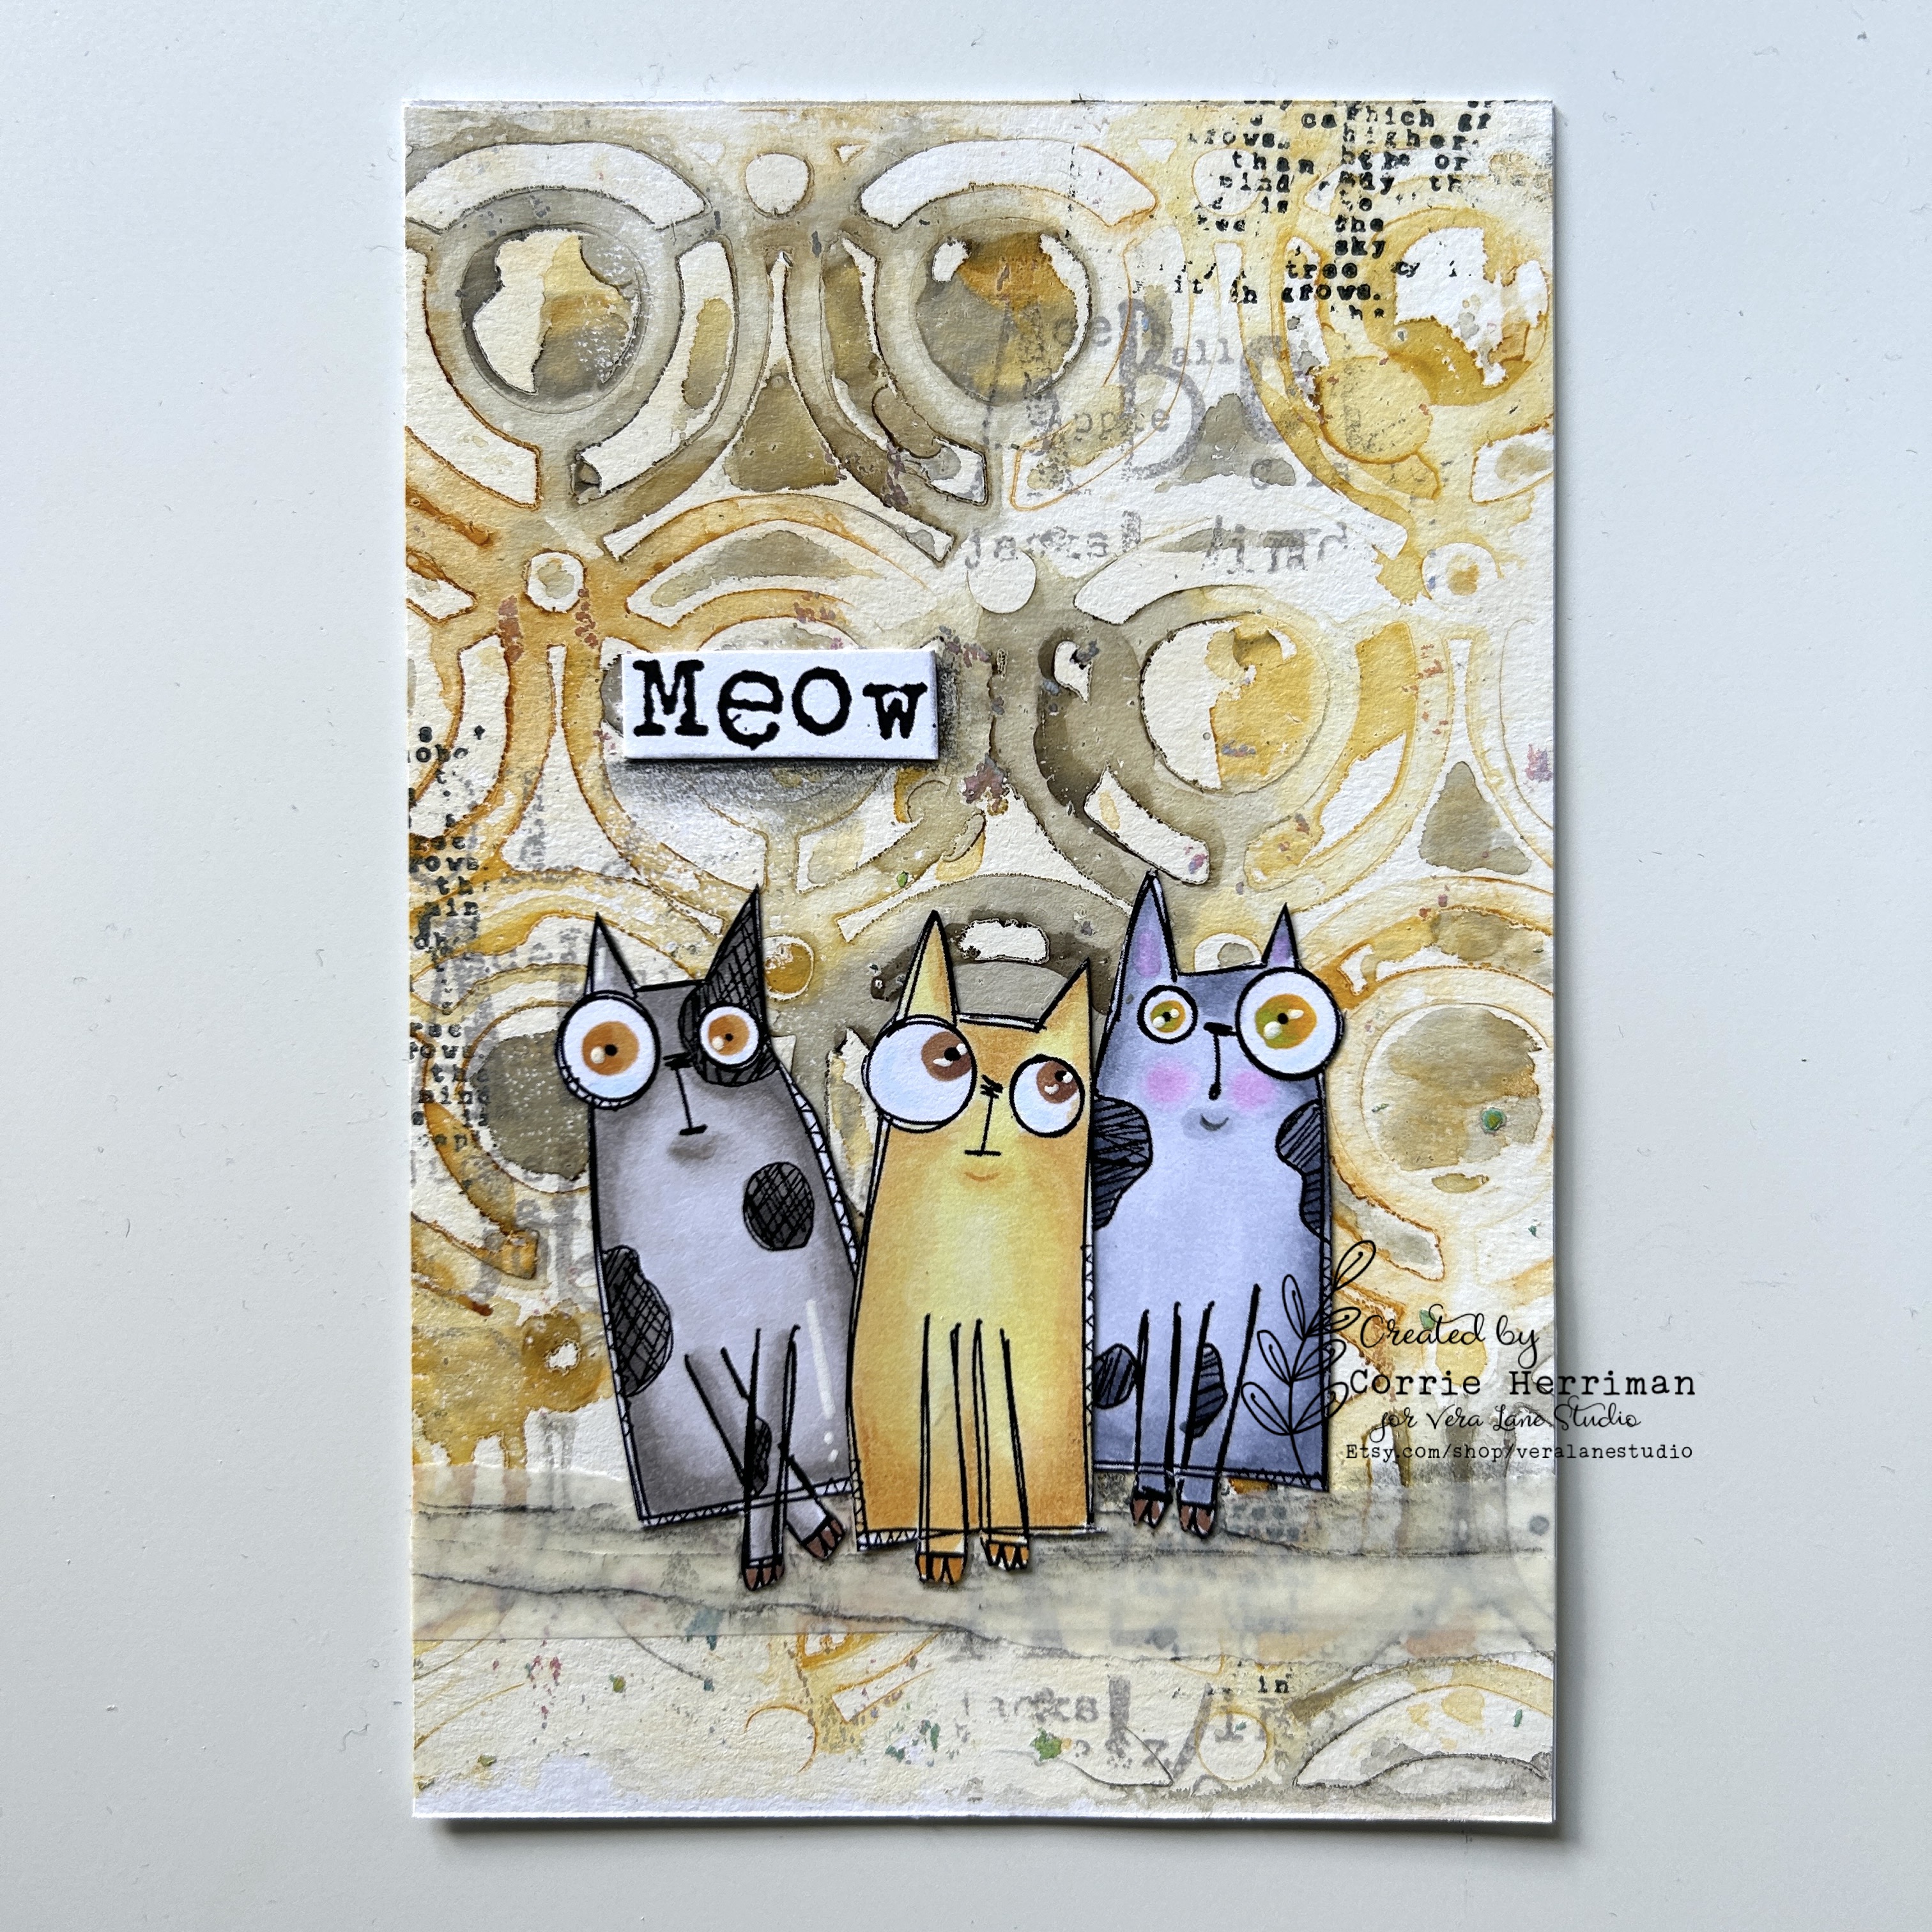
For today's Vera Lane Studio project I have made a postcard with the newly released set "Meow". They are so cute and I had lots of fun making this card. 


After printing the cats, I coloured them with Copics and cut them out. I then made the background using the same colours Copic Refills and a stencil on the gelli plate. I like how that came out and how it really suits the cats. I put some washi tape down and added some stamping. 
I then glued everything down and added some shading with a graphite pencil here and there. 

You'll find these cats (and a few more)  HERE

Thank you for stopping by ! 


Thursday, 14 March 2019

This week at Vera Lane Studio

Hello everyone,

happy Thursday ! For today's Vera Lane Studio DT post I have made an Artjournal page and a postcard.


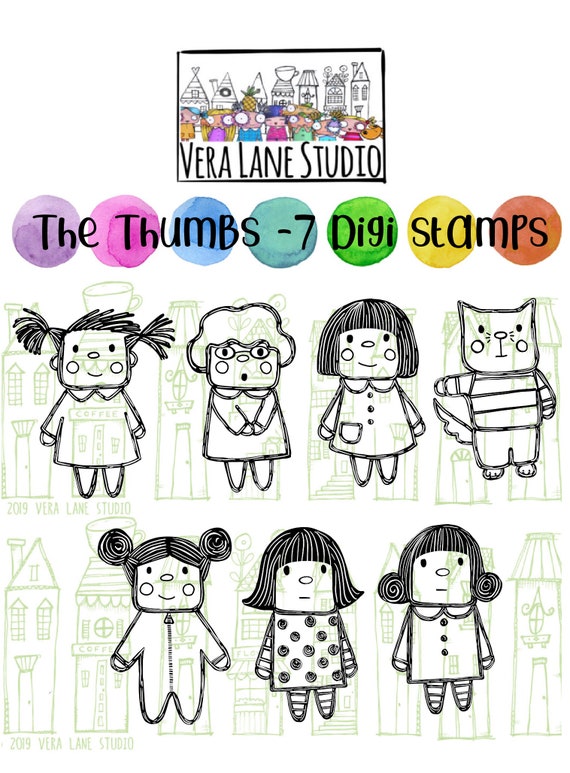
These two besties are from the "Thumbs" set. I coloured them with Copic markers and cut them out. The background is a gelli print which I made with Copic Refills and a stencil. I added some patterned paper, book text and washitape to place them on. The words are part of a snarky sticker by Tim Hotlz. 
You'll find the Thumbs HERE.

image 0


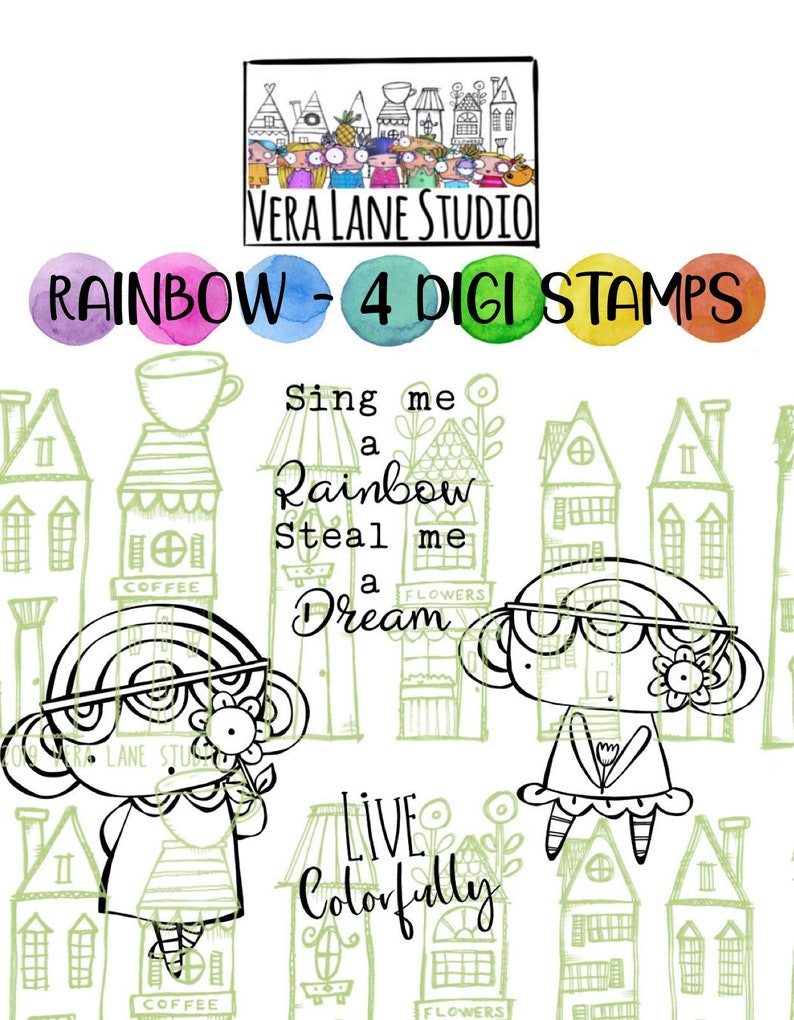
This postcard was made with the latest release called "Rainbow". I coloured her, cut her out and because she is so colourful decided to keep the background black and white. This is just a piece of design paper. I added some book paper, washitake and added the sentiment which is from the same set. 

You'll find Rainbow HERE

image 0

Thank you so much for stopping by today. 


Thursday, 11 October 2018

Happy little accidents...

Hello everyone,

Happy Thursday to you ! For today's Vera Lane Studio DT post I have made two postcards.


For this card I resized, printed, coloured Bob and his easel and then cut them out. The background is a print from the gelli plate made with Copic Refills. I just added some washitape. 

You'll find Bob here: 


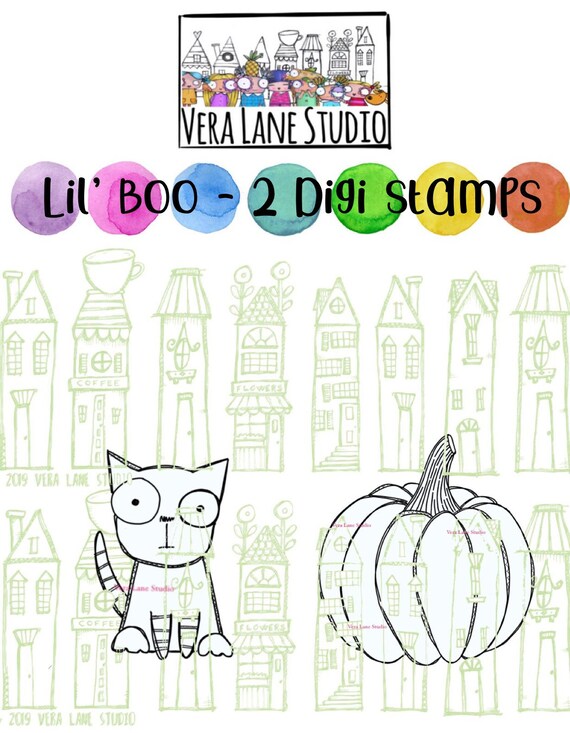
This second card was made in exactly the same way. I found the sentiment online but it originally said 'black' cats... lol, as this one is grey I just deleted the word black. 

This adorable kitty, called Lil' Boo, with its pumpkin is HERE.


image 0


Thank you so much for stopping by today ! 


Tuesday, 27 February 2018

Meow, meow

Hello everyone,
Hallo allemaal,


Here's my second project using one of the background I made last Sunday with my gelli plate and Copic Refills.

Hier is mijn tweede project gemaakt met een van de achtergronden die ik afgelopen zondag met de gelli plate en de Copic Refills heb gemaakt.


This is the background I've used for my journal page.

Dit is de achtergrond die ik heb gebruikt voor mijn AJ pagina. 


After I cut out the piece that I wanted, I stamped the word Cat here and there and then added the Meow sentiment twice. 
Nadat ik het stuk van de achtergrond had afgesneden heb ik hier en daar het woord Cat en het woord Meow gestempeld. 

This stampset is by Studio Light from their Cats and Girls series designed by Miranda van den Bosch. (STAMPMB04)

Deze stempelset is van Studio Light uit hun Cats and Girls lijn die ontworpen is door Miranda van den Bosch. (STAMPMB04) 


Daarna de kat gestempeld, ingekleurd met Copics en uitgeknipt. Hij is daarna op de pagina geplakt. Ik heb wel eerst een stukje washi tape geplakt waar hij op kan zitten ! 

I stamped the cat, coloured him and cut him out. He was adhered to the page on top of some washitape. 

Leuk dat je er was vandaag ! 

Thank you for stopping by today ! 


Monday, 26 February 2018

Happy birthday

Hello everyone,
Hallo allemaal,

As promised yesterday I am now making projects using the backgrounds I made with the Gelli Plate and the Copic Refills..

Zoals belooft hier het eerste project gemaakt met een van de achtergronden die ik gisteren heb laten zien..


This is the background I have used.
Dit is de achtergrond die ik voor deze kaart heb gebruikt. 


The stamp I've used is by Studio Light (STAMPSL226) and I have coloured it with Copic markers. Some of the colours I used are also in the background. 

De stempels is van Studio Light (STAMPSL226) en ik heb hem ingekleurd met Copics, sommige kleuren die ik heb gebruikt zitten ook in de achtergrond. 

Thank you for stopping by today ! 
Leuk dat je er was vandaag ! 


Sunday, 25 February 2018

Experiment with Copic Refills and the gelli plate...

Hello everyone,
Hallo allemaal,

A little while ago I saw a video by Diny Sprakel and her friend where they were experimenting with the Gelli plate and Copic Refills. So I thought I'd try this as well... and it was fun ! I will certainly use this technique again !

Een tijdje geleden zag ik op Facebook een video door Diny Sprakel & vriendinnen waar ze aan het experimenteren waren met de Gelli plate en Copic navullingen. Ik dacht, dat wil ik ook wel eens proberen... En leuk dat het was, ik ga deze techniek beslist vaker gebruiken.

You'll find the video HERE

Hier is de bewuste VIDEO


Here are my backgrounds.... I will use them in my projects this week ! So watch this space !
Hier zijn mijn achtergrondjes.. Ik ga deze in my projecten gebruiken deze week dus houd mijn blog en mijn FB in de gaten !


For this print I have used/voor deze heb ik gebruikt:  Copic Refills Y15 - YR07 - R29. 
I also used a stencil by Studio Light from their Mixed Media Line MASKMM26. Ik heb ook een stencil gebruikt van Studio Light van hun Mixed Media Line MASKMM26.  


For this print I have used refills / Voor deze print heb ik gebruikt: YG17 - B02
I have also used a doily stencil and a Foam Stamp by Studio Light FOAMMM05. Ik heb ook een Doily stencil en een foamstempel can Studio Light gebruikt FOAMMM05. 
I used the refill to ink up the foam stamp and then stamped it over the design on the gelliplate.
Ik heb ook voor de foam stempel de refill gebruikt en deze over het patroon op de gelli plate gestempeld alvorens de print te maken. 


This print is made in the same way as the previous one.  
I have used Y15 - YR07 and R29 for stamping and I used a light yellow acrylic paint to pull the print instead of white.
Deze print is op dezelfde manier gemaakt. Ik heb Y15 - YR07 en R29 gebruikt om de veer te stempelen en een light gele acrylverf in plaats van wit om de print te maken. 


For this print I have used V25 - B02 and YG17 and a baroque stencil. I used white paint to pull the print. 
Voor deze print heb ik V25 - B02 en YG17 gebruikt en een barok stencil. Ik heb witte acryl verf gebruikt om de print te maken. 


This print was made with the same feather stencil and Copic refills Y15 - YR07 and R29. I used white paint to pull the print. 
Deze print is gemaakt met hetzelfde Studio Light stencil and Copic Refills Y15 - YR07 en R29. 
Ik heb witte verf gebruikt om de print te maken. 


For this print I stamped the foam stamp with Copic refills B02 and V25 on the gelli plate.  I then brayered white paint over it and pulled the print. 

Deze is op een andere manier gemaakt. Ik heb de foam stempel verschillende keren afgedrukt op de gelli plate. Uiteraard heb ik Copic Refills gebruikt om te stempelen. De kleuren B02 en V25. Daarna witte verf erover gebrayerd en geprint. 


This is B02 and V25 with the feather stencil by Studio Light. Of course I used white paint to pull the print. 
Deze is gemaakt met B02 en V25 en het stencil met de veren van Studio Light. Natuurlijk ook weer witte verf gebruikt om de print te maken. 


Deze is op dezelfde manier gemaakt met YG17 en B02. Er zat nog wat orange op de plaat zo te zien...
This one is also made with the same stencil. I used YG17 and B02 for this one. It looks like there was some orange left on the plate...


Voor deze print heb ik weer met de foam stempel gestempeld. Ik heb R29 gebruikt alvorens de witte verf erover te rollen en de print te maken.
For this one I stamped the foam stamp again. I used R 29 this time. Then rolled over the white paint and pulled the print. 


Deze is weer inkt Y15 - YG17 en B02 en een stencil. Je moet er alleen aan denken je stencil op de kop op de gelli plate te leggen zodat je de tekst in de print kan lezen. 
This one is Y15 - YG17 and B02 and a stencil. Just remember to put the stencil face down on the gelli plate so the text is legible in the print. 


Deze twee zijn niet zo mooi. Ik denk dat mijn gelli print een beetje vies was dus het is een beetje bruin geworden..
And these last two were actually not that good as I think my plate was dirty so I got brown... 


Ik hoop dat jullie dit leuk vonden !
I hope you enjoyed this experiment ! 

Thank you for stopping by today !