I was very lucky to be chosen to participate in the PaperArtsy 3UP for this week. It was a so called 'lucky dip' where you could choose what you wanted to work with. I chose bright colours in paint and stamps by Clare Lloyd, Kim Dellow and Emma Godfrey. Thank you Leandra & Darcy for supplying the stamps and some of the paints I used and choosing me in the first place!
To do something different and also to take me out of my comfort zone, I decided to make an art doll... I have never even attempted to make one but I thought it would be nice to give it a go..
I have taken lots of photos along the way so you can see how I made this art doll.
Here she is :
And here is how I made her :
I started out with a piece of white card stock that was cut so, that I could roll it into a cone shape. I painted it with a mixture of 'snowflake' and 'southern skies' paints, making it slightly lighter at the top...
Next I painted a scrap of paper with 'snowflake' and when it had dried I put some of the 'metallic glaze' over the top. After drying I stamped the cloud on it twice. I planned to use these as wings.
See the lovely shimmer the 'metallic glaze' gives.
Next, I did the same with this flower shape by Emma Godfrey (EEG16). I painted a piece of card stock with 'yellow submarine' and then stamped the flower repeatedly.
Next step was to add some more colour to the clouds/wings and to the flowers. I used Caran d'Ache Pablo pencils and a blending stump with blending solution to blend the colours together.
This is what that looked like. I also used a white gel pen to add some white to the flowers. Next I cut everything out.
For the face of the doll I chose one of the stamps from set ECL03 by Clare Lloyd.
I stamped her on white card stock and coloured her with Copic Markers. My favourite way of colouring images is colouring them with Copic Markers. They are easy to use and blend and the results are always fabulous.
Isn't she cute... I stamped her again, taking away the eyes, nose and mouth and turned it into the back of her head.
The legs were made of some round wood I found in my hubby's hobby room. (He is a model aeroplane builder, so there are always lots of scraps of wood available). I forgot to take a picture but the base is a block of balsa wood which I painted black. The legs were painted with black and white paint. Some holes were made in the base for the legs to fit in.
Next I stamped 'choose happy' on some white card stock.....
...and used the same 'southern skies' paint to add some interest around the edges.
It was then adhered to the block as a sentiment.
Now for the fun bit. I love collaging..
I stamped the flowers onto the dress with black Archival ink.
I then added some shading around them with a Faber Castell Big Brush Marker.
I then 'collaged' the flowers in place. I think the combination of blue and yellow and orange is fabulous... So that's the dress done. I did alter it for the final fitting as it was to big...
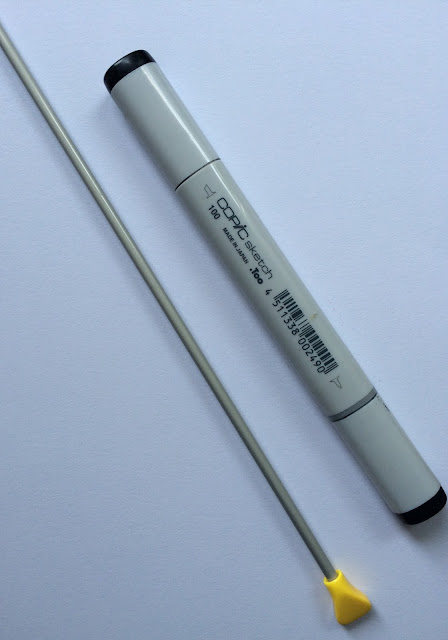
Next I took some thinner white paper, a Copic Marker and a knitting needle... haha
I drew stripes on the paper with the Copic Marker....
and then rolled it around the knitting needle to create arms..
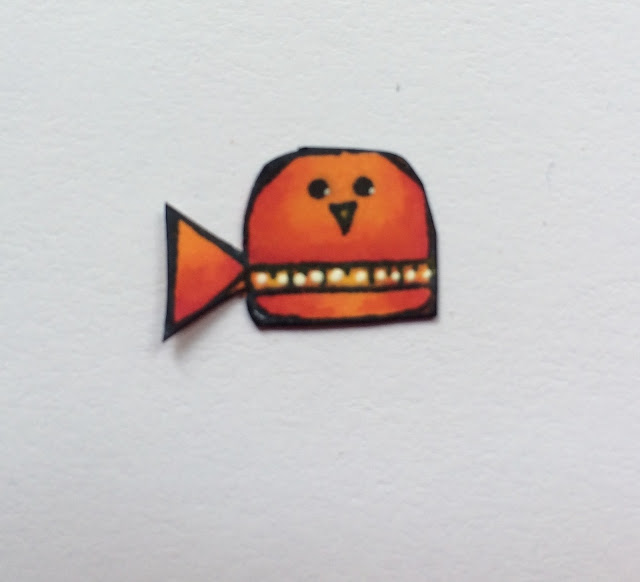
I also stamped this little birdie from Kim Dellow's set EKD02 for her to hold.
From set EEG16 by Emma Godfrey I chose this little shape to make into flowers for her hair. That completed all the parts I needed for making the doll.
So here's everything. The next thing was to assemble everything into a doll.
First I adhered the piece of lace to the bottom of her frock, which was then glued around the legs. The dress is effectively a cilinder so the legs are inside. When this had dried I glued her head in the opposite opening. Then I added her arms, wings and a bit of lace around the neckline of the dress.. Lastly I glued the flowers in her hair and added a little rhinestone in the centre of each one.
I thought the little bird on his own was a little small, so from the small cloud in the Kim Dellow EKD02 set I created a heart, coloured it with Copic Markers and adhered it at the spot where her arms come together. The little bird was then adhered on the top.
And here she is again... I think it is not a bad job for a first attempt...
A close up of her face, which I think came out great..
I hope you enjoyed my little tutorial. I centainly enjoyed making her. I am just not sure what to call her.... Clare maybe, or Kim or Emma !!!
Anyway thank you for stopping by today !


Thanks for joining us Corrie, considering she is your first art doll she is fabulous. She is so very happy, I love the bright colours. Darcy x
ReplyDeleteSuch a fun project, great tutorial. Lovely fresh bright colours.
ReplyDeleteThis comment has been removed by the author.
ReplyDeleteBeatiful project! I always enjoy the way you use colours in your projects, and this is no exception :)
ReplyDeleteThis comment has been removed by the author.
ReplyDeleteOh Corrie it's so great to see you 3 UPPING! I love your work. You've done an amazing job here with your art doll she's gorgeous. I love Clare's girl faces and what you did with her. The stripes trick is very clever. Will definitely pinch that. You definitely chose 'Happy'. I love her!
ReplyDeleteGorgeous Corrie and I adore how,you used the stamps too. Lovely colouring. Tracy x
ReplyDeleteGorgeous project
ReplyDeleteGreat project - we wouldn't know it was your first art doll if you hadn't said :-)
ReplyDeleteGreat project - we wouldn't know it was your first art doll if you hadn't said :-)
ReplyDeleteGreat project Corrie - it made me smile! xx
ReplyDeletelove this, the colours are fab and the back of her head beautifully adapted x
ReplyDeleteYour art doll is lovely! The colour palette is gorgeous and she looks adorable! Such a fabulous use of the PA stamps too. Great project! xx
ReplyDeleteso cool Corrie - those wings are awesome - I didn't clock where they came from. Really wonderful piece! Hugs rachel x
ReplyDeleteTotally fabulous!! LOve it!! Thanks for your kind welcolm onto the SDC team, very kind, it's going to be loads of fun working with you, :D xx
ReplyDeleteHey Corrie
ReplyDeleteWhat a lovely art doll you made!
Luv' it so much and thanx for your tutorial!
Absolutely precious Corrie!!!! I adore her!!!!!! Fantastic tutorial!
ReplyDeleteso wonderfully happy and fun! Love the awesome colors and thanks for showing how you put her together!~kim
ReplyDeleteWow Corrie, this paper doll is absolutely fabulous! I love her dress - I would like to have one for myself :-) Great work and tutorial! Hugs
ReplyDeleteOh my and you did the BACK OF THE HEAD!!! Brillliant attention to detail, and now i know how to make striped legs!! Fabulous post! Thanks Corrie! ~ Leandra
ReplyDeleteGreat art doll Corrie. Love her! :)
ReplyDeleteCorrie, your art doll is stunning! Hugs, Clare X X X
ReplyDeleteStunning x
ReplyDeleteYou did so good! She is lovely and so creative! What an amazing project, so glad to see that someone else did a doll! ;0 Congrats on your feature!
ReplyDeleteI absolutely adore this! She is wonderful and I love the way you have mixed and matched. Stunning work. :) Kimx
ReplyDeleteSorry to be so late commenting but after being away I'm just catching up on all the posts. Wow, is your little doll gorgeous or what! Love the way you did the back of her head and your colouring of her face is awesome. So cute how she is holding the little birdie too. A #3Up triumph!
ReplyDeleteHugs
Lesley Xx
I love her so much!
ReplyDeleteBravo for stepping outwith your comfort zone but something tells me she will not be your last art doll - she is wonderfully whimsical and I love that she has a wee friend.
Congratulations for being selected as part of 3Up.
Wishes
Lynne